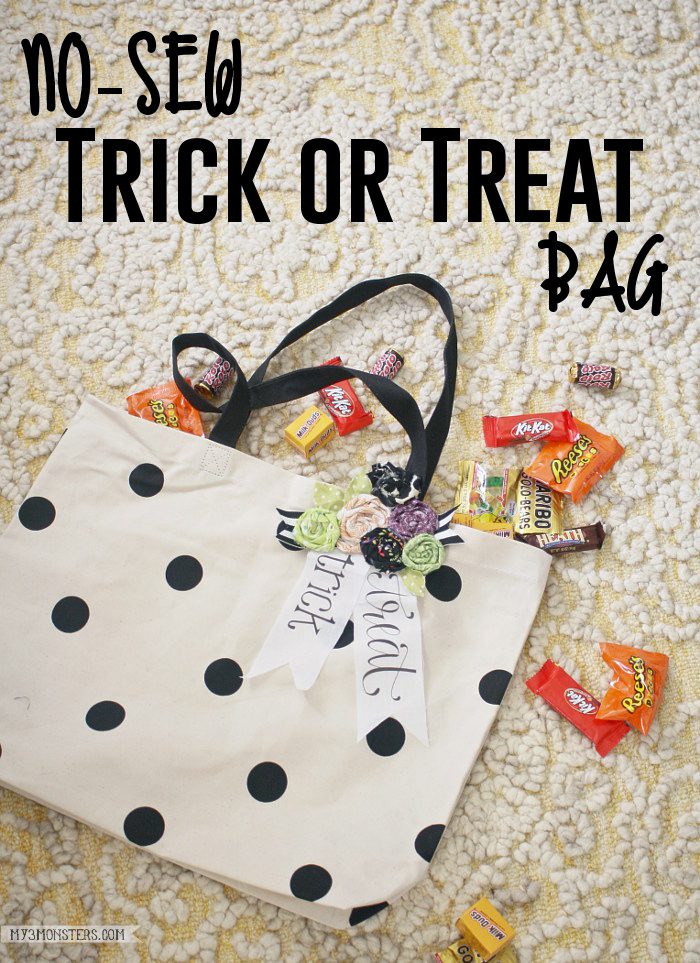
No-Sew Trick or Treat Bag
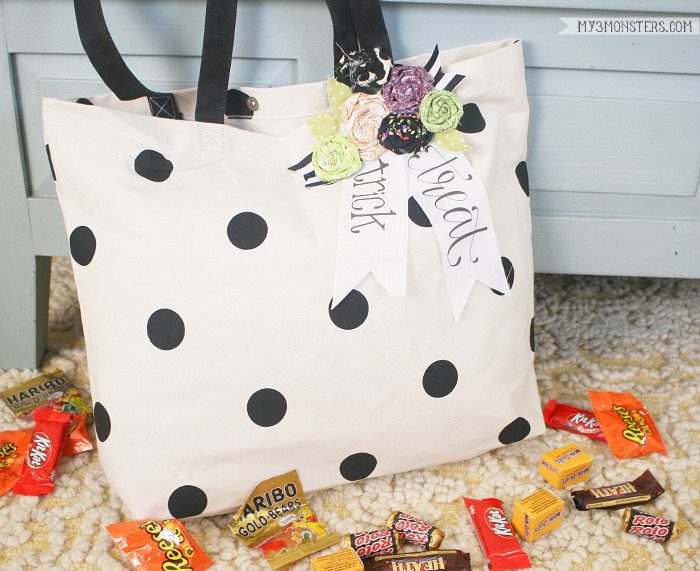
Hi guys! It’s Amy from My 3 Monsters again. Some of my fondest childhood memories center around Halloween. My mom was the queen of super cool hand crafted costumes, so I could never wait to hit the streets on Halloween night and go Trick-or-Treating with my siblings. Back at home we would dump out our giant bags of candy on the living room rug and sort it, bargaining and trading until we each ended up with a bag of THE BEST treats. Everyone knows when it comes to Trick-or-Treat bags, BIGGER is always BETTER! When I saw these adorable polka dot canvas shopping bags at Walmart a while back, I knew they had a higher calling in life . . . as No-Sew Trick-or-Treat Bags!
As far as my boys are concerned, an old pillowcase will do the trick for Halloween candy collecting. Luckily, I also have a daughter who always tended to want cuter options. She’s a freshman in college now, but this polka dot and rolled rosette beauty would have been right up her alley. {Shhhhh! Don’t tell her, but she and her roommates will be getting a few of these darling bags filled with costume props and goodies in a care package next week!}
You will need:
- a canvas tote bag (I found this one for $5 at Walmart by the check-out area with the other reusable shopping bags)
- hot glue gun and hot glue
- freezer paper
- approx. 1/4 yard of muslin fabric
- scraps of coordinating fabric and ribbon in Halloween colors
- Trick & Treat printable
My favorite part of this bag are the hand lettered “trick” & “treat” ribbons. Did you know that you could print on fabric, right from your little old ink jet printer?! All you need is a piece of freezer paper and some inexpensive muslin fabric.
Freezer paper comes in big rolls similar to parchment paper. You can find it in most grocery stores on the same aisle as the wax paper and parchment paper. In fact, when you go to the store to pick up your adorable tote bag, grab a roll of freezer paper while you’re there! Freezer paper has one side that is shiny or waxy and one side that feels like parchment paper. Tear off a sheet of freezer paper that is roughly the same size as your fabric. Don’t worry about exact dimension right now — you’ll trim it to size later. Lay the freezer paper, shiny side down, on top of your fabric and use a hot iron without steam to temporarily bond it to the fabric.
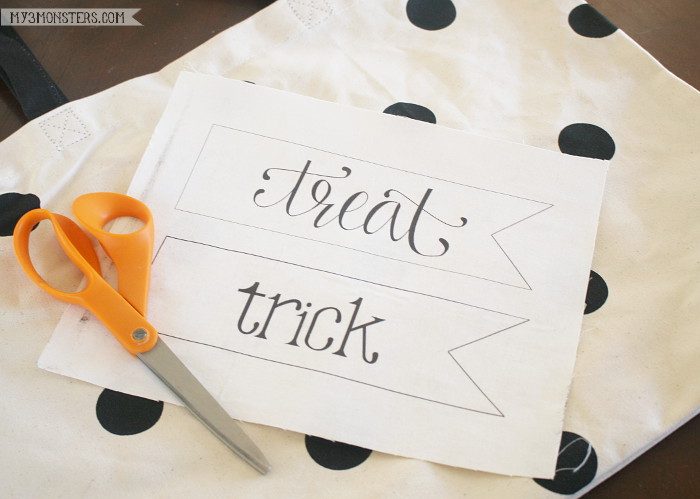
Using a piece of printer paper as a template, cut your fabric/paper combo into 8.5 x 11 inch pieces so it will fit nicely in your printer. Place the fabric/paper in the feeder of your printer fabric side up. Download my Trick & Treat image here and print it onto the fabric. My printer was a tiny bit finicky about pulling in the fabric/paper, but I found that with just a little bit of guiding it worked beautifully.
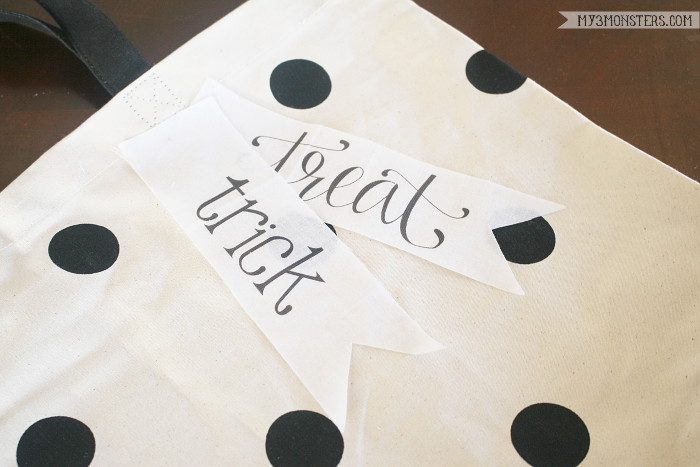
After printing, make sure the ink is dry before carefully peeling the freezer paper away from the fabric. It should come off easily. Cut the “ribbons” out of the fabric and attach them to your canvas bag with hot glue.
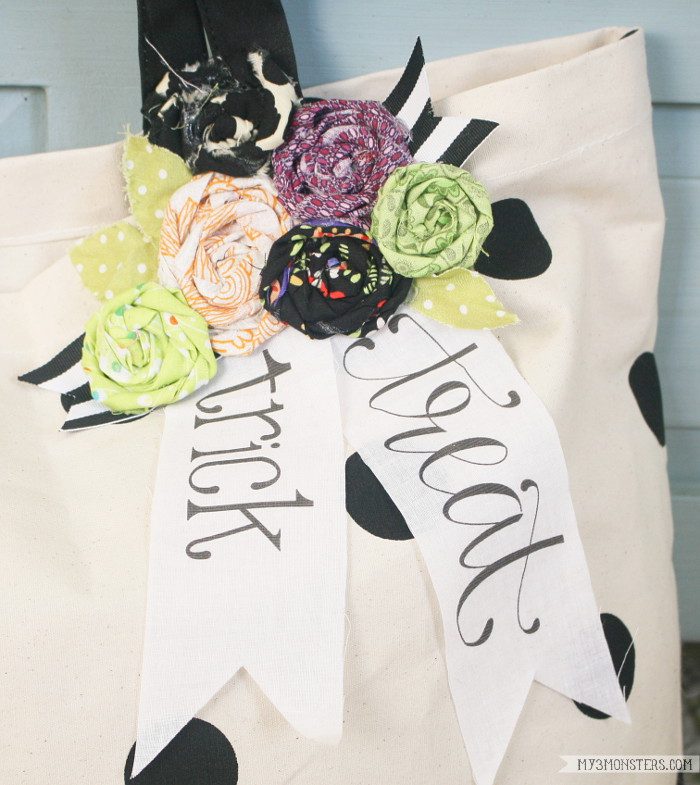
Using hot glue and scraps of fabric in Halloween colors, create rolled rosettes directly on the bag. Add as many or a few as you like, I even put one going up the handle to make it cute. I also cut a few leaf shapes out of my fabric and glued in some ribbon scraps to round out the design. That’s all there is to it, friends! No sewing, no sweat. Just one tote-ally adorable Trick or Treat bag. {Ha ha — see what I did there?!}
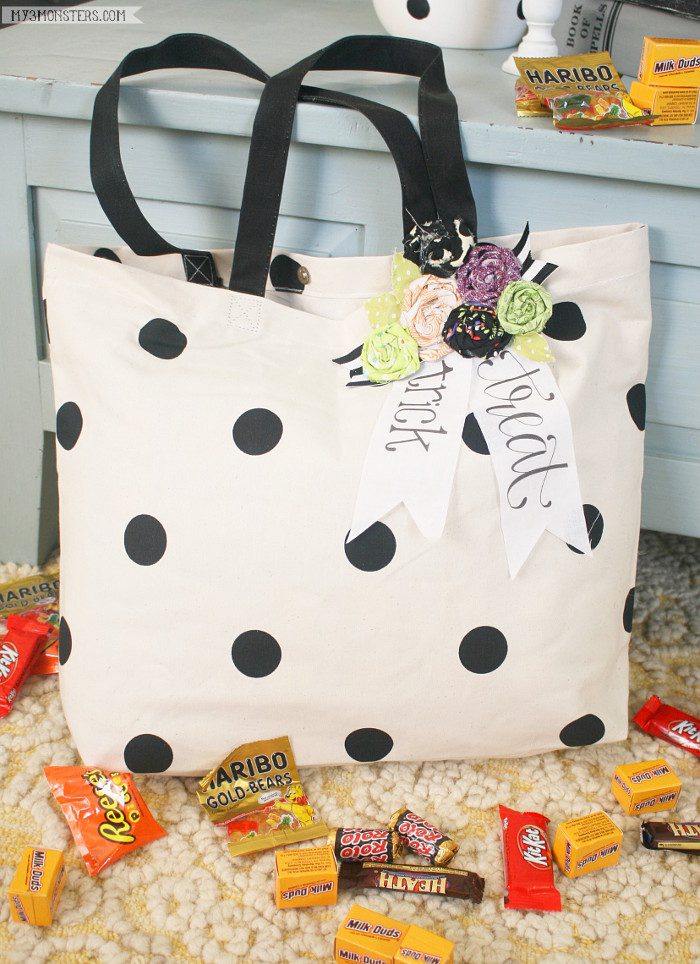
You’ll have plenty of room to hit every house in the neighborhood {and maybe a few more} with this Trick or Treat bag!! I’m even thinking about making one for myself to use instead of a bowl to hold my candy as I pass it out to the neighborhood kiddos this year. This grown-up girl wants some Halloween cuteness, too!
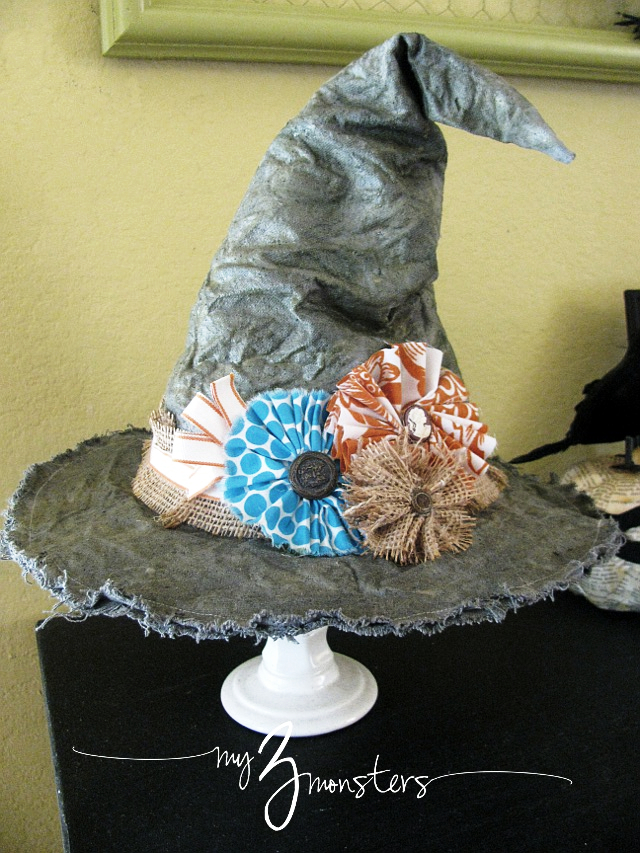
Looking for more Halloween inspo? You might like these ideas from My 3 Monsters:




This is the cutest bag. I want one for me, then maybe I’ll get to go trick or treating 🙂
Totally 😀 We pay for all the costumes and candy anyway, LOL 😀
This is so super cute! I love the polka dots and the fun flowers, too. What a great idea!
Thank you for sharing this week at Brag About It link party on VMG206 (Mondays at Midnight). I plan to feature you next week!
~ Megin of VMG206
What a neat idea! 🙂
I would love for you to share this with my Facebook Group for recipes, crafts, tips, and tricks: https://www.facebook.com/groups/pluckyrecipescraftstips/
Thanks for joining Cooking and Crafting with J & J!
I LOVE IT………………….THANKS FOR SHARING !!!