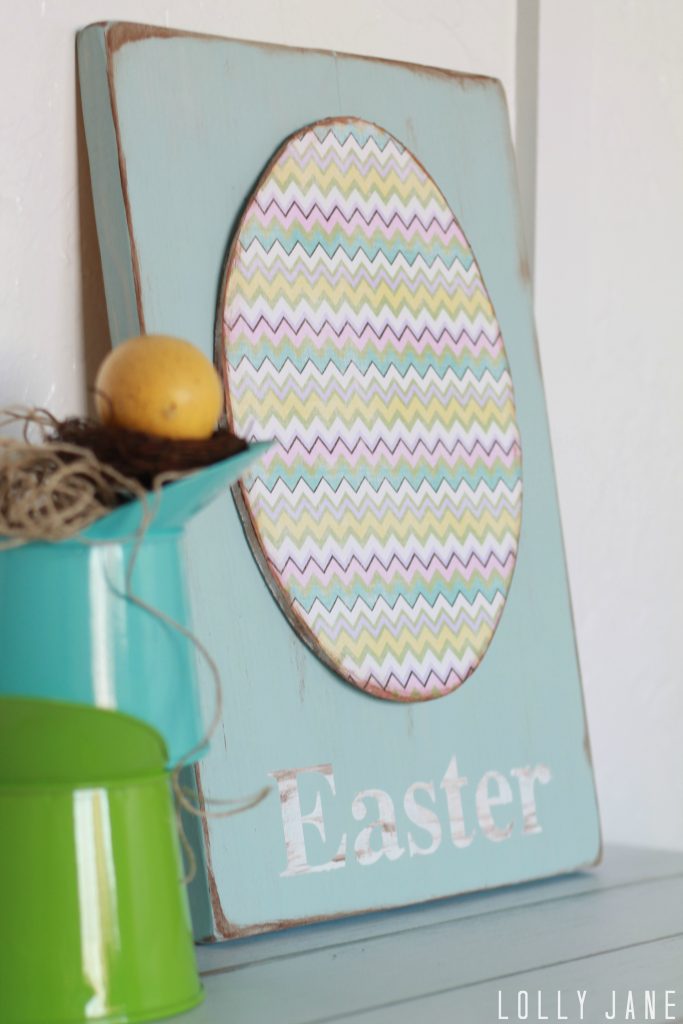
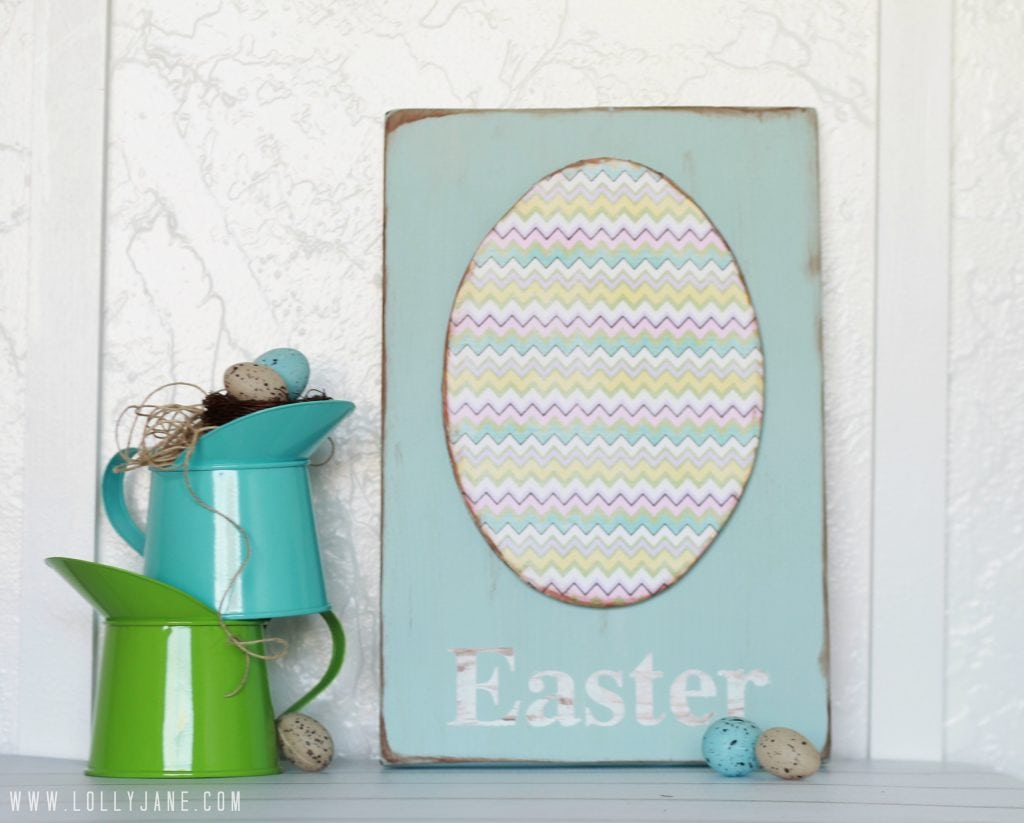
Foam Egg Easter Sign
Today’s Easter project is not only fast, but super inexpensive, I’m talking less than $5 for this sign. I love wood signs because you buy the 6′ wood one time and you can reuse your unused wood for the next project. And your initial cost is only $8 for a 6′ board to start so you’re not too deep in the hole! I saw this fun Etsy sign thought it was so cute! My friend Marni and I partner up for craft nights and we loved this sign we crafted so I re-created it on the cheap. (Psst! If you need an invite to our private FB group and you’re local, email me at [email protected].)
Here’s how you too can make a foam egg Easter sign, too!
Start off with the following….
- Piece of 12″ wide x 16″ long board
- Sheet of foam board (our egg is about 9″wide x 12″ long)
- X-Acto knife or utility knife
- Srapbook paper (ours is from Hobby Lobby)
- Pencil
- Decoupage
- Foam brush
- Vinyl stencil (we have a vinyl cutter but you can email Marni [email protected] to order your own if you don’t have access to one)
- Small amounts of DecoArt’s Sea Glass blue, Cotton white and Cinnamon brown acrylic paint.
- Paint your wood blue.
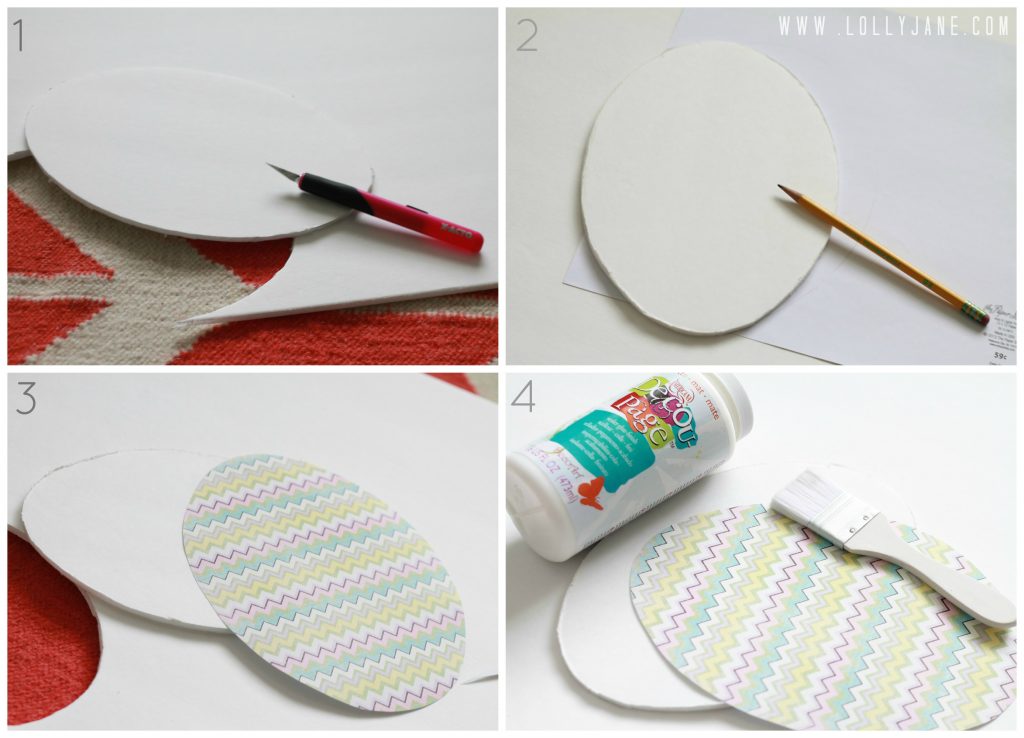
- Freehand & cut out an egg shape with your utility knife.
- Backward trace your egg onto scrapbook paper, cut it out.
- Decoupage your paper onto your foam egg.
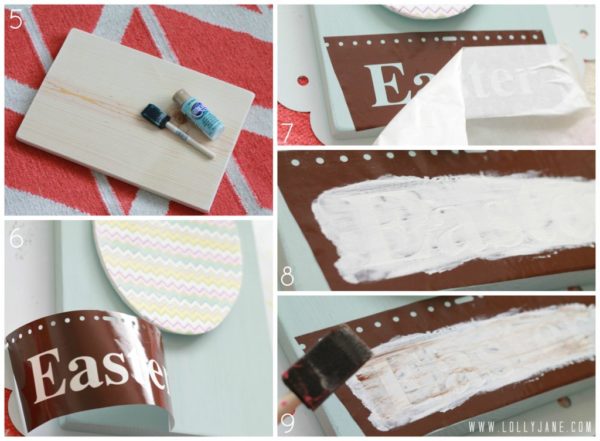
- Hot glue the foam egg onto the board.
- Peel the inside of your letters out.
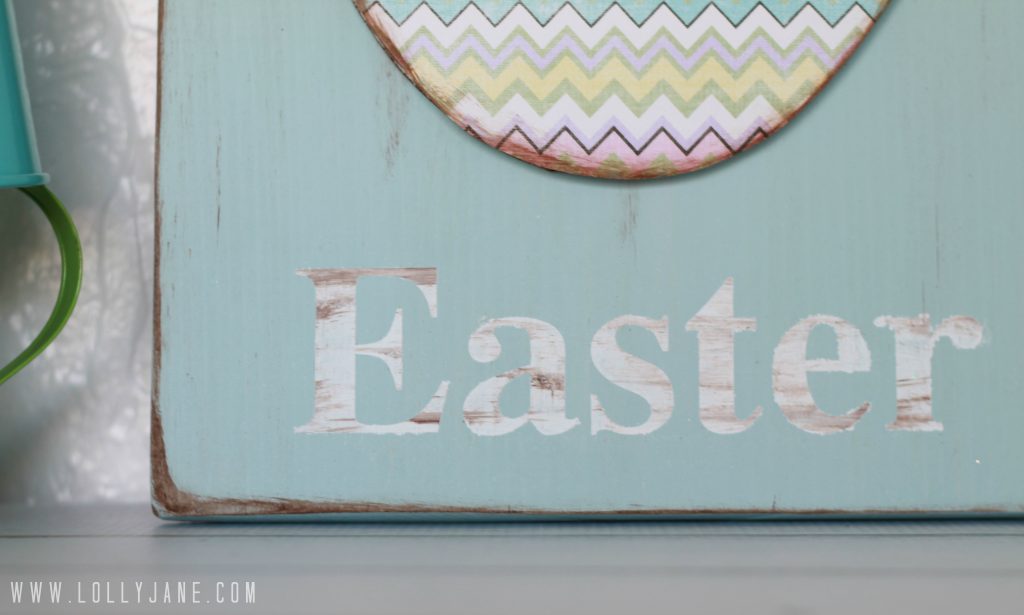
- Transfer tape your letters (Georgia font) and place it on your dry board.
- Paint white inside your stenciled letters.
- Lightly distress with brown acrylic paint.
- Distress the rest of your board, (optional.)
That’s it, you guys! Easy and affordable. I think it’d be really cute to make multiples of these minus the wording, but have several different coordinating egg patterns lined up on your mantle.
Click for more Easter and spring ideas and don’t forget about our link party going on now.
Enjoy these free Easter tag printables:
And an easy vintage spring bunting too!
We update our FB page and Pin boards daily…and are always checking in on Instagram too!



Ok I must be a crafting ignoramus but how do you distress something? I just tried it and it just looks dirty.
Did you attach the foam egg to the board with mod podge? Or wood glue?
What is the dimensions of the board? How tall is the egg? What color blue did you use? What font did you use?
Hi Amy,
Thanks for asking- we’ve updated the post to answer your ?’s. Happy crafting!! (: xo
Thanks for the tutorial! I made one of my own and am in LOVE. It’s up over on my blog if you’re interested in seeing it.
Thanks again!
Oh!!! How cute is this..?? It’s SUPER Cute!! OMGoodness how cute would that be.. A SUPER Cute Crafty Hero or Hero’s.. UHEM!! Maybe Twin SUPER Crafty Hero’s… Okay now how cute would it be to do 3 boards. This one and then one where it is Cracking and the the 3rd with the cute little Chicky Baby sitting in his shell:)
Love it!!
xo
Angelina
Hi Kelli and Kristi, this is so pretty, love the soft colors and distressed look. Thanks for sharing the how-to and have pinned!
Super cute!! I love the distressed look!!
I love this! It can’t believe this is just foam board. It looks like an amazing vintage find. Wonderful!
oh my, that’s so cute, you’re so dang crafty! love your set up around it, too;)
This turned out so great! It really looks like a wood sign too 🙂 So wishing I was local! Pinning!
You two just never cease to amaze me with all that creativity just oozing out of you! So cute!!
Love how distressed everything is. cute!