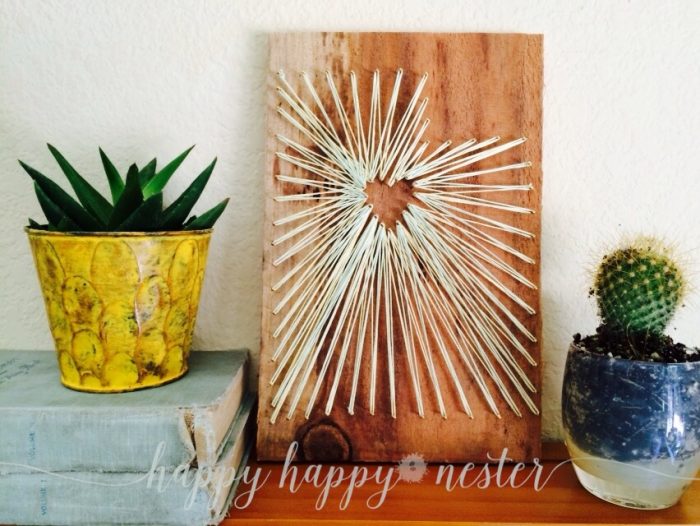
DIY string art
Hi there! We at Happy Happy Nester are so excited about this months project. Have you seen the string art that is surfacing all over social media these days? When my friend and partner Marci created one, we both thought what a great for a blogpost for Lolly Jane. She was approached by her neighbor with this cool project, and of course she quickly found herself a rustic piece of wood, some brass nails and embroidery string. Probably the most difficult part is deciding the string colors and the design. The possibilities are endless and they are such cute home decorations. Also, we think that they would make nice gifts for family and friends.
So, lets get busy making one!
Supplies needed:
- Pattern (You can find one online)
- Wood plank (You can find free wood on Craigslist)
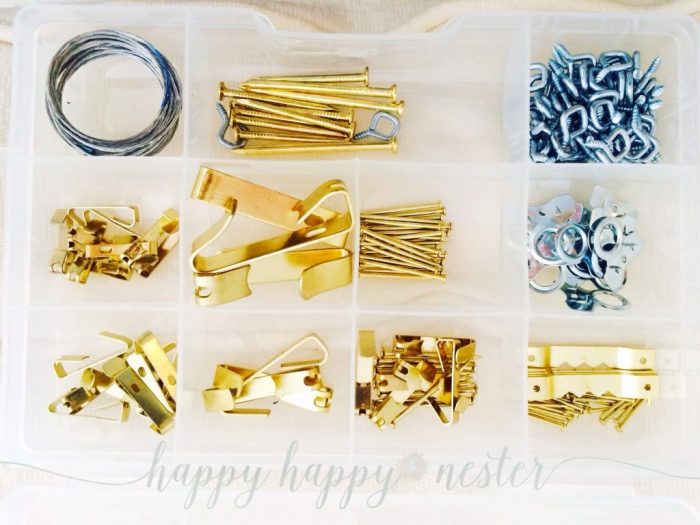
- Brass nails
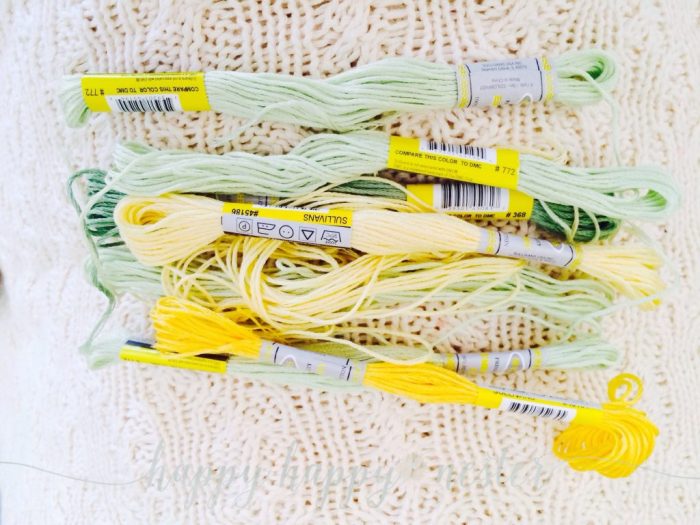
- Embroidery floss
- Hammer
1. Pick a pattern for your string art.
2. Find a piece of wood plank that your pattern fits on. (I wanted something rustic, so I used a rough piece of redwood in my wood pile).
3. Tape your pattern to your wood plank. Get the position just right.
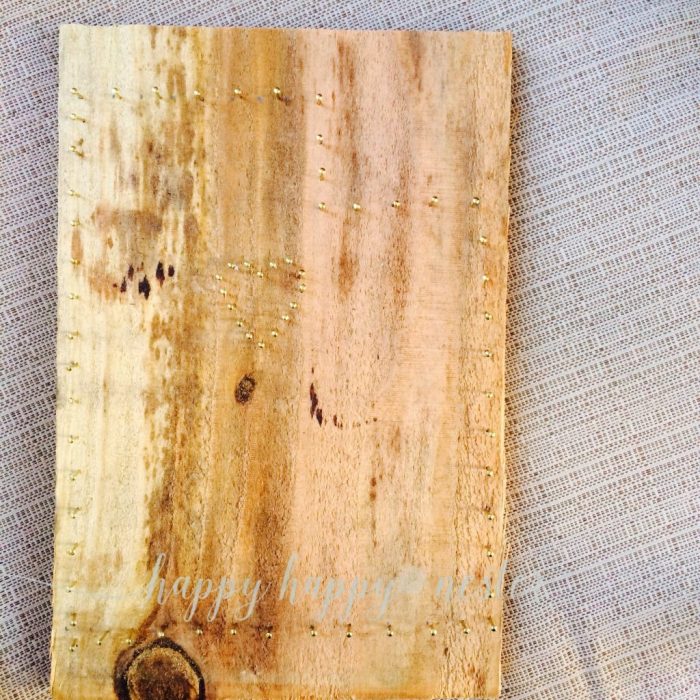
4. Next draw dots where your nails are going to go, that way you can adjust your spacing before putting nails in the board. Use something as a spacer, for example a pencil, a chopstick or your pinkie finger.
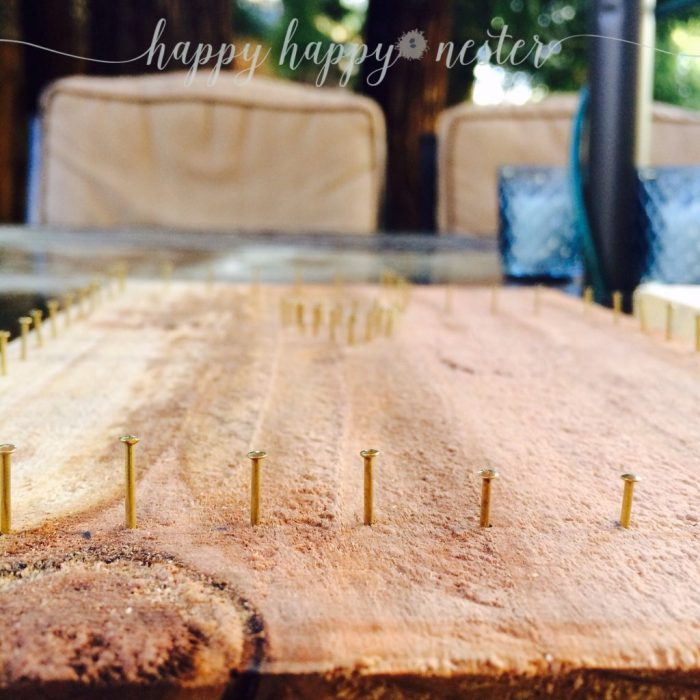
5. Once you’re pencil marks are complete, tap your nails into the pattern. Make sure they are in the board far enough in that they’re sturdy, but far enough out that you can wrap string around them. (I used 1/2″ brass nails)
6. Pick your embroidery floss colors. Use 1, 2 or 3 colors. I picked 2. I picked yellow and green, the choice is completely yours.
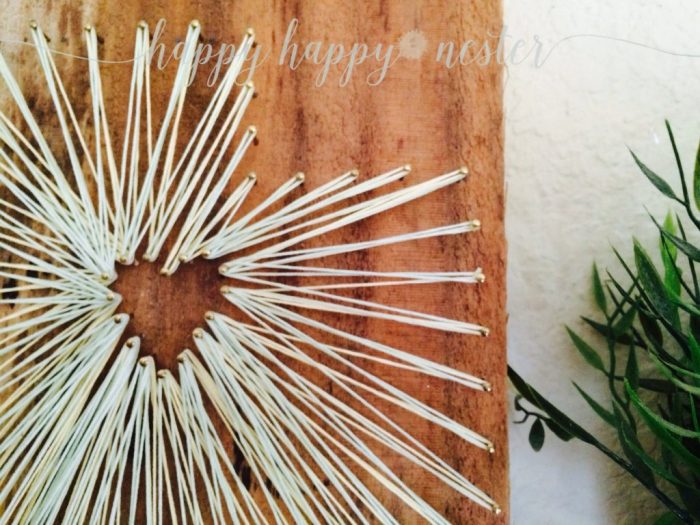
7. Tie a double knot around your first outer nail. Then start wrapping. You can trim any extra floss when you’re done. Here is a chance to get creative! You can wrap the floss back and forth or around and around. You get to decide. (I added up all of my outer nails and divided it by the # of inner nails and wrapped all of my outer nails once and my inner nails 3 times for every one outer nail….. does that make sense?!?) Basically you decide your pattern. Don’t be afraid, just go for it!
8. Continue to weave the floss around the nails until you make it through all of them. Tie off your embroidery floss with a good double knot. Trim excess floss.
9. Stand back and admire your beautiful string art. I love mine!!!
I have lived in four states and Canada, so I guess Ill have to get busy creating a board for each place. What states have you lived in? Any beautiful color combinations you are planning on using? We would love to hear from you with a comment. It would be fun to lightly chalk paint the board before attaching the strings. So many fun variations and ideas. I hope you enjoyed this craft project and you are inspired to make your own string art. Please visit us at: Happy Happy Nester for some additional craft projects and home décor inspirations.
Cheers,
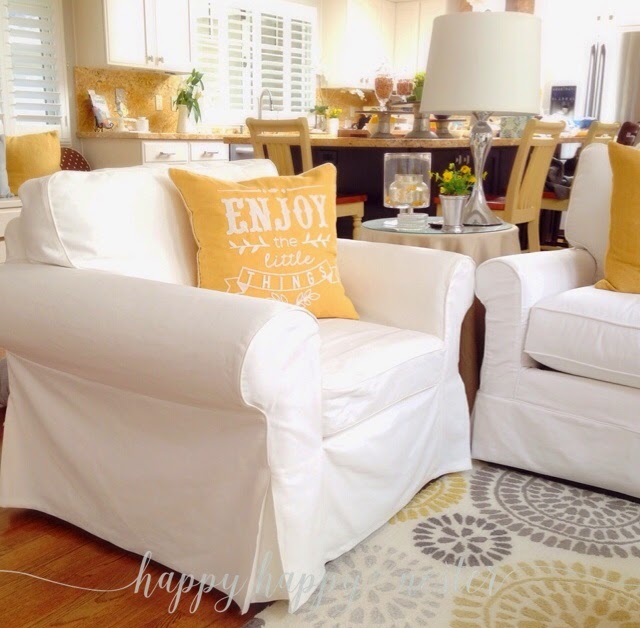
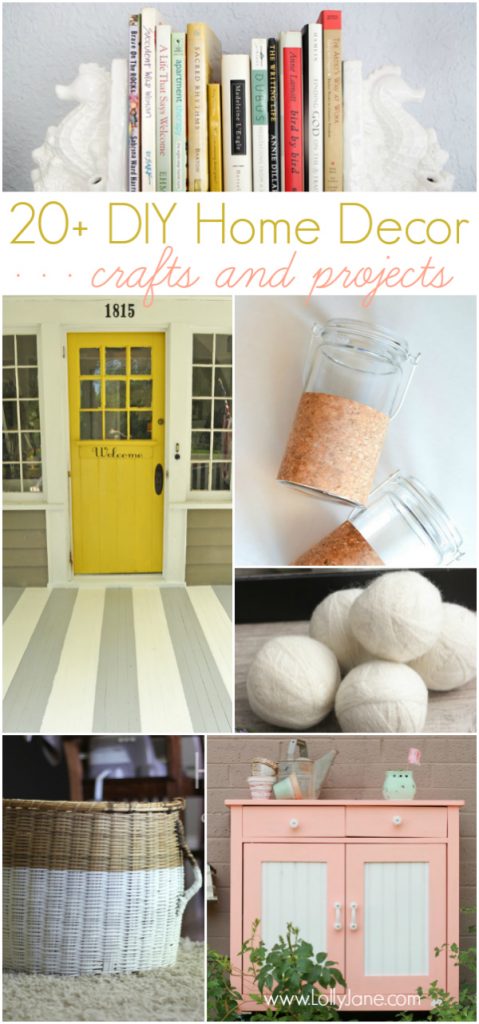
Check out more fab DIY’s from Janine like her amazing Living Room Remodel, Decorated Craft Space and her DIY Paper iPhone Cover:
.JPG)

We think it’s fun too 😀
So cute! LOVE this!
This is so fun! I love the thick embroidery string that you used!! Definitely going to try this one!!
-Shonee
http://www.hawthorneandmain.com
Stringed craft is making a comeback – yay! A lot better than that fiddly seventies geometric string craft!
So neat and creative!!