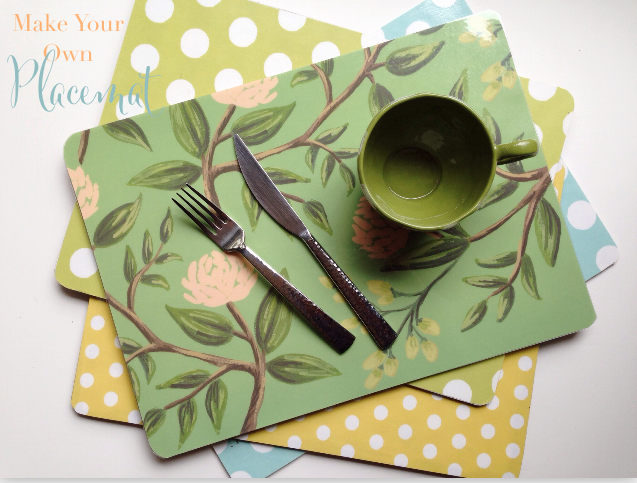
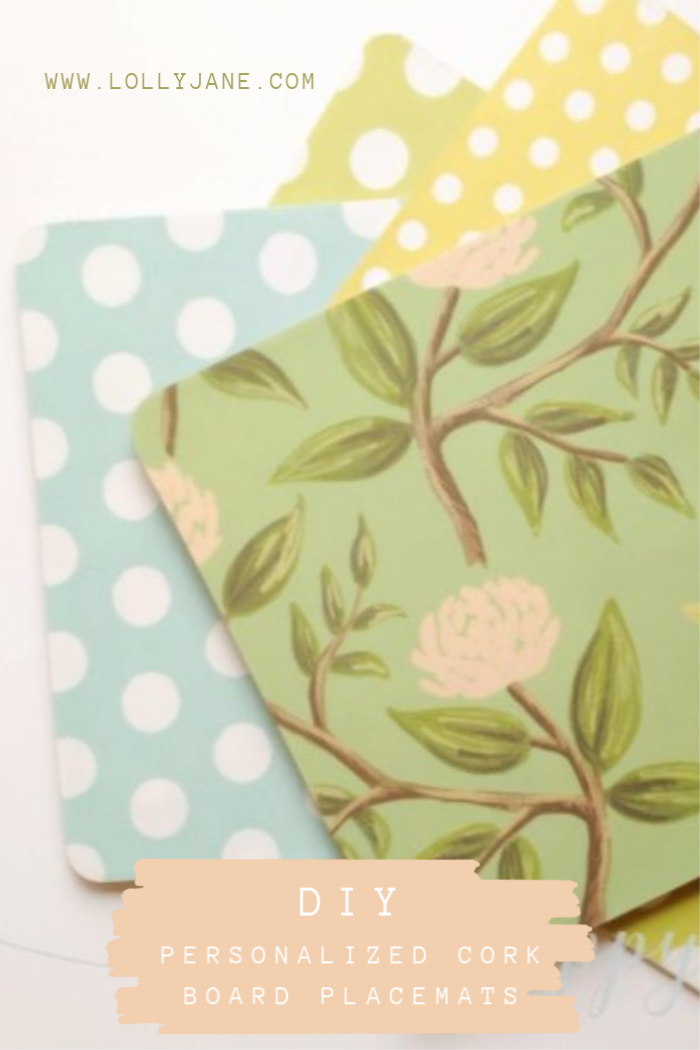
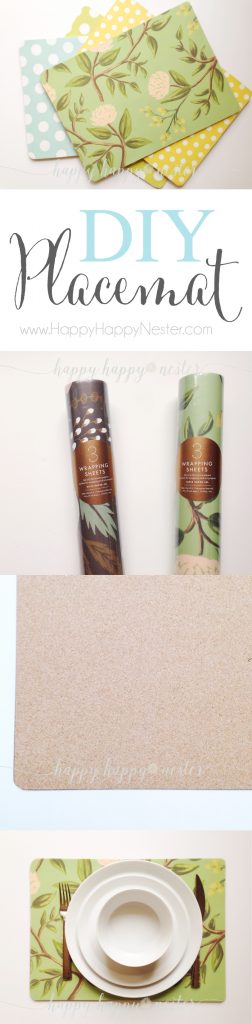
DIY Personalized Cork Board Placemats
Are you sick of washing your place Settings? Make these personalized cork board placemats to match your decor then wipe down after use. Easy!
Hello there, I’m Janine from Happy Happy Nester, and I love blogging about crafts, our home and lifestyle in Northern California. I’m so honored and excited to be a contributor for Lolly Jane! Today, I would like to share with you, my favorite way to make your own personal placemats.
There are a couple of cool things about this project. First of all, they are pretty easy to make and you don’t have to be a crafty person, you just need 5 items. Secondly and most importantly, there is no laundering of fabric or for that matter, no ironing!
I don’t know about you, but I’m that fond of washing and ironing placemats on a daily basis. With these mats all you have to do is wipe them clean with a dish rag and you’re ready for the next meal.
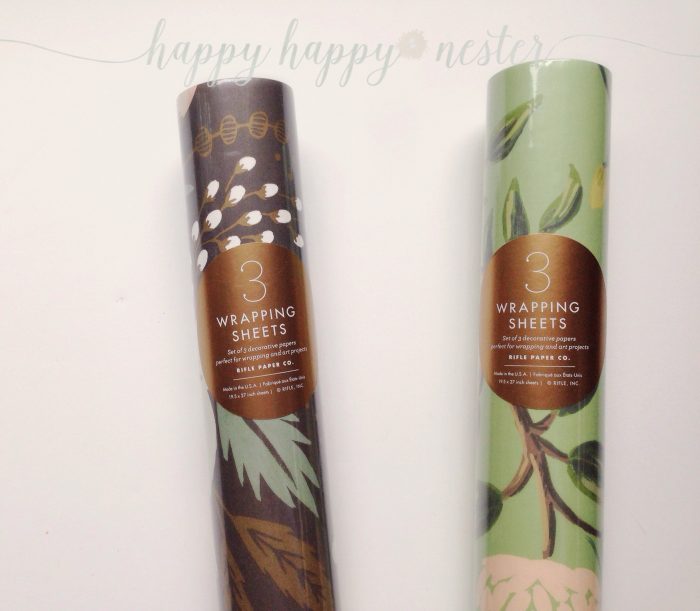
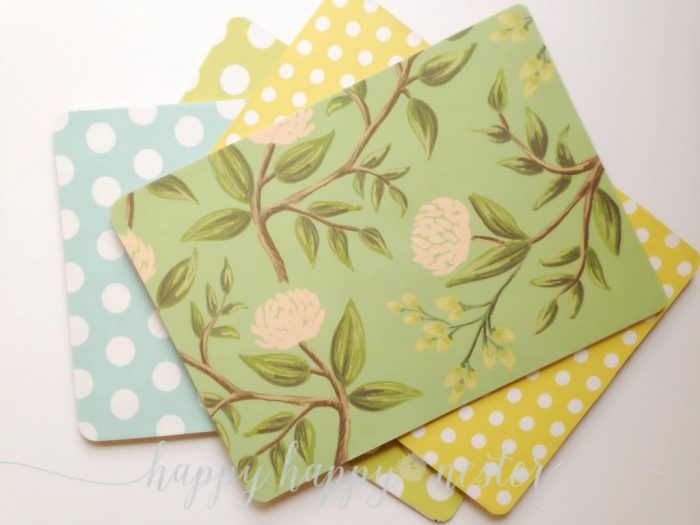
And finally, you can choose any wrapping paper or big sheet of paper you fancy, for this project. The store, Papersource has a great selection of fine papers and for this project, I used wrapping paper from the lovely, Rifle Paper Company. If you aren’t acquainted with Rifle Paper, you need to be, their paper and products are so fun and gorgeous!
supplies to make cork board placemats
- big sheets of paper/wrapping paper (the amount of sheets, depends on how many placemats you make)
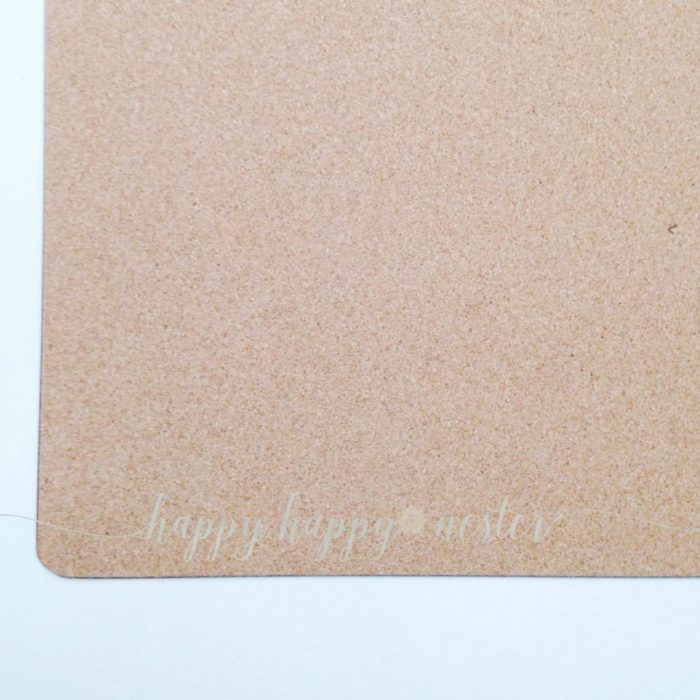
- cork boards place mats
- x-acto knife
- steel edge ruler
- glue
*if you have a cork board that has a dark illustration and your paper is light, you may need to prime your cork board with white paint. This guarantees that the dark illustration won’t show through the paper.
directions to make cork board placemats
Step 1: You’ll trace and cut out your paper to the size of the placemat.
I like to cut the paper a smidge bigger than the placemat, to guarantee that it will cover the corkboard.
When cutting your paper, I find it works well, to just cut with an e-xacto knife, on a kitchen cutting board.
 Step 2: Then, take your cut papers to your local Kinko’s store, that offers laminating services.
I usually call them in advance, and they will turn on the machine and warm it up for me.
If the machine isn’t on when you arrive, you might be waiting a little longer for your job. I am able to get two placemats done for just under $5 each.
Step 3: Next, you’ll cut out your laminated placemats with your x-acto knife, being careful not to break the laminated seal around the paper.
The seal of the two sides of plastic, encapsulate the paper. This is a good thing, since the paper edge won’t be exposed to water when you wash them.
Step 4: Thoroughly, cover the top of the corkboard placemat with glue and place the laminated paper with the print side up.
Make sure to squeeze out any bubbles. And, if you want to make sure it dries well, place a heavy object on top of the placemat while it dries.
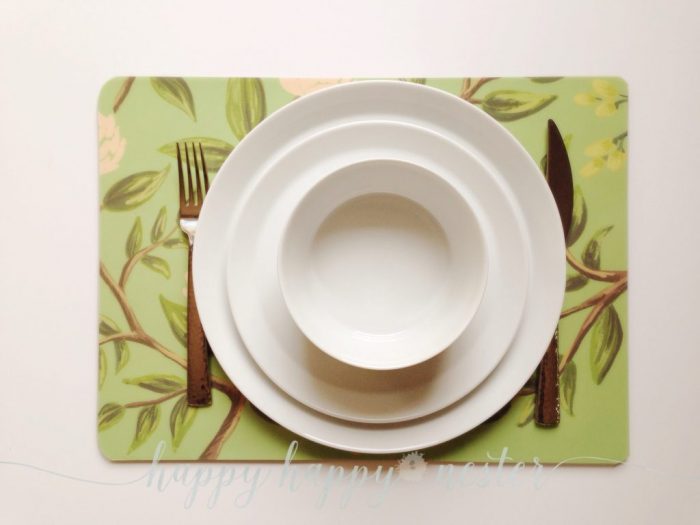
You’re done, and now you can enjoy your personalized and beautiful placemats.
You could have fun with this project! For instance, if you want to cut the corkboard to a smaller size, you could make a mouse pad! It would be cool to print out a photo and laminate it, and then adhere it to a smaller corkboard.
The possibilities are endless! I now have a few different sets of placemats for the various seasons.
I was thinking that I could make some for the holidays this year, since there are so many fun holiday gift wrap!
Thanks so much for visit, and if you want to see more of what I’m creating, hop on over to Happy Happy Nester and say, “hi!” I hope to see you over there! But, in the meantime, happy crafting!
Cheers, Janine

Hi Ellie! I would send Janine a quick email as she is the cute creative behind this project 🙂
[email protected]
Hi,
Would love to try this! How are you able to make sure not to cut off the sealed edges (protecting from water) if the print is slightly bigger than the board?
Thanks,
Ellie
Thanks! Matte 🙂
Thanks, Patti! Here is a 4 pack: http://amzn.to/2vDFFZ8
Hi. Where can I find corkboard placemats?
Can I go to resale shops & find Pimpernel placemats & put the paper on those?
Thanks so much. Been wanting to make my own for a long time. Luv your ideas?
Hi, I your your place mats! Did you use matte or glossy laminate?
Love these! I invite you to stop by and share at my blog hop ( you can link up now through Sat midnight) Hugs!
AGREE! She is so talented! I’m dying to find some to customize for my kiddos. No more messes!! WIN!
I’m in love with these! The colors,graphics…SO PERFECT for spring!!
Paige.Rose