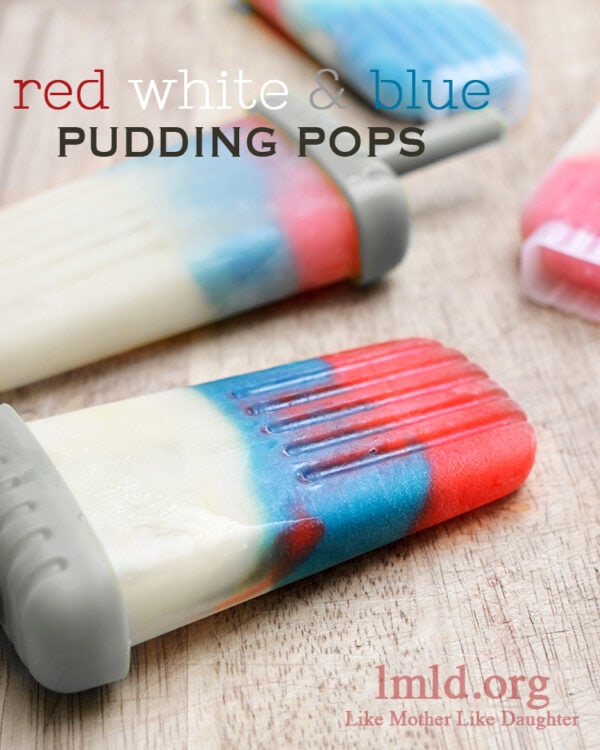
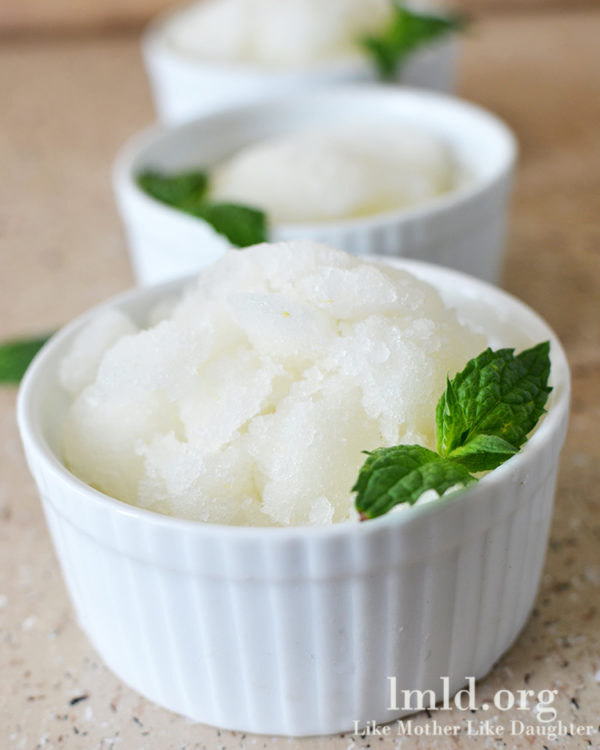
Red white & blue pudding pops
I hope everyone had a nice Memorial Day yesterday. I spent the day relaxing at home and enjoying time with my sleepy new baby and thinking of all those who have served our country and are currently serving. I am so grateful for all of them.
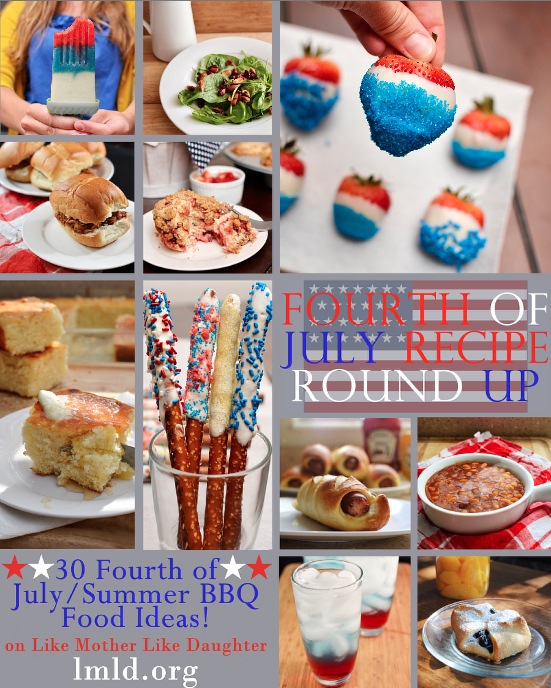
Now that Memorial Day is passed our next holiday is another patriotic holiday. As you know, the Fourth of July is just a few weeks away and it’s time to start preparing for your celebration! Of course we want to remember what the holiday is about: the freedom that we are blessed with for living in this country. One way to remember is to have lots of red white and blue! I’ve got 30 great Fourth of July recipe ideas if you need some ideas for your celebration before you watch fireworks. From red white and blue to burger and breakfast ideas, it’s a roundup of everything you could need!
And these red white and blue pudding pops are such a fun and easy dessert! They are simple to make, with your choice of instant pudding mix – just make sure it’s a white pudding, but you can choose white chocolate, vanilla, cheesecake or etc.
Red White and Blue Pudding Pops
- 3.4 oz (1 small box) cheesecake instant pudding (or vanilla, or white chocolate flavors)
- 2 cups skim milk (to keep it light)
- 8 drops red food coloring
- 8 drops blue food coloring
- 4 popsicle molds or paper cups and popsicle sticks
1. Pour together the pudding and milk.
2. Stir with a whisk for 4 minutes, until the pudding just starts to get thicker.
3. Separate the pudding into 2 additional bowls. Have 1/3 of pudding in each bowl.
4. In one of the bowls drop the red food coloring in and stir until combined.
5. In another bowl drop the blue food coloring in and stir until combined.
6. Put spoonfuls of one color of pudding in at a time to fill about 1/3 of the popsicle molds.
7. Fill with additional colors until popsicle molds is almost full. (It will expand a little in the freezer)
8. Place in freezer until pops are solid, a few hours. (If you are using paper cups and popsicle sticks, freeze the pudding for about 20 minutes and then stick your popsicle sticks in.)
Enjoy these refreshing and festive treats!
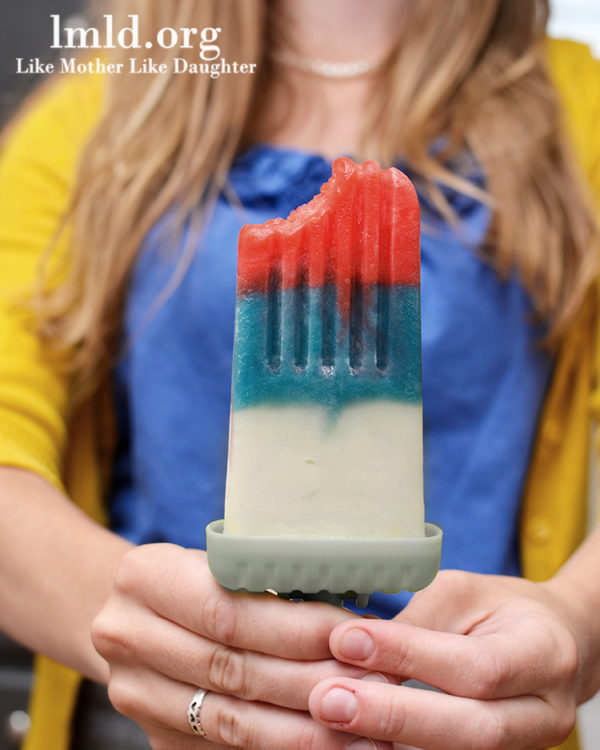
Ps. To get the pops out of the popsicle molds, let them sit at room temperature for a few minutes, or run hot water over them for about 30 seconds. You can do the same for the paper, but make sure not to get the pop wet!

Blog | Facebook | Twitter| Pinterest | Instagram | Google+
____________________________________
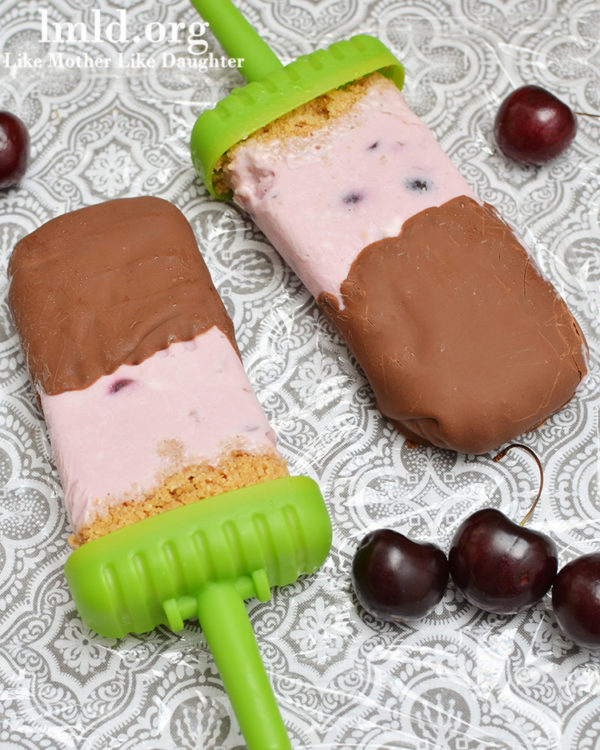
We are in the triple temps here (for the next 6 months!) and can hardly wait to make a BUNCH of these for our kiddos… and us 😉 Check out some of Aimee’s other sweet treats for the summer!
Chocolate Covered Cherry Cheesecake Popsicles
Take a peek at ALL of Aimee’s yummy recipes, (including more frozen treats!) So glad to have her here today- click here to get to know her better!
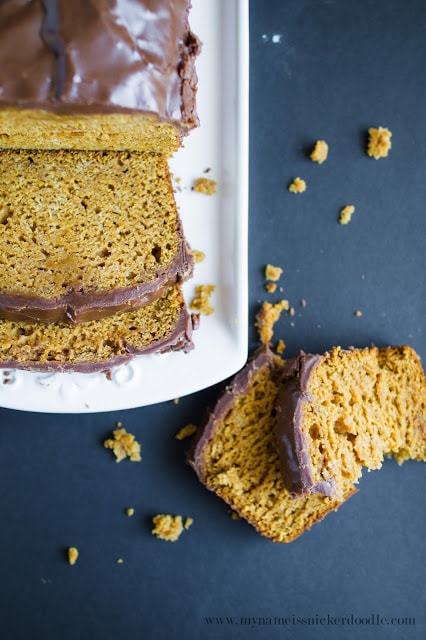
PS- We’re not gourmet like LMLD but we did make our own frozen treat that one time… we knocked off Dairy Queen’s dilly bars. YUM! And yes, we made/shot these way before pretty staging so don’t compare our pics to Aimee’s! Ha! (This is why we have foodie contributors. LOL!) XOXO
Yum, the pops look so delicious! My kids would love this! Pinned!
Agree, Cheryl!! We love to create the project and then when it comes to showing how to display it we almost always draw a blank! Ha! 😀
All of these look amazing!
On staging… I wish I was rich and could hire someone to stage my photos for me. I feel like it’s such a struggle for me. It’s definitely a learning process 🙂
~Cheryl
http://snaps-of-ginger.blogspot.com/