Count Your Blessings Board

We’ve teamed up with our friend Kristyn of Lil’ Luna and came up with 2 fun home decor projects for our upcoming craft night, an interchangeable bunting plaque + clothespin blessing board.


Note: This project is even cuter with holiday fabrics like Valentine’s Day, Easter, 4th of July, etc., but there are too many holidays to create bunting for each one so we simply chose to display the 4 seasons. Feel free to BYOHF {bring your own holiday fabric} and mix it up! 😉

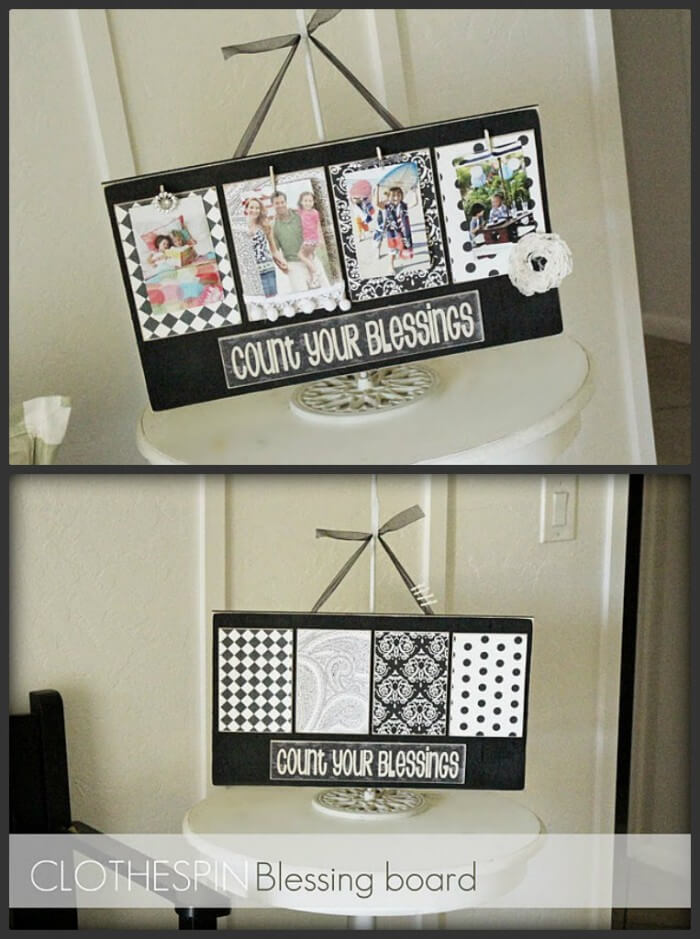
The materials {above} are provided. Shown below is an example of what it can look like all blinged up; crafters are encouraged to bring embellishments as they are NOT provided. (;
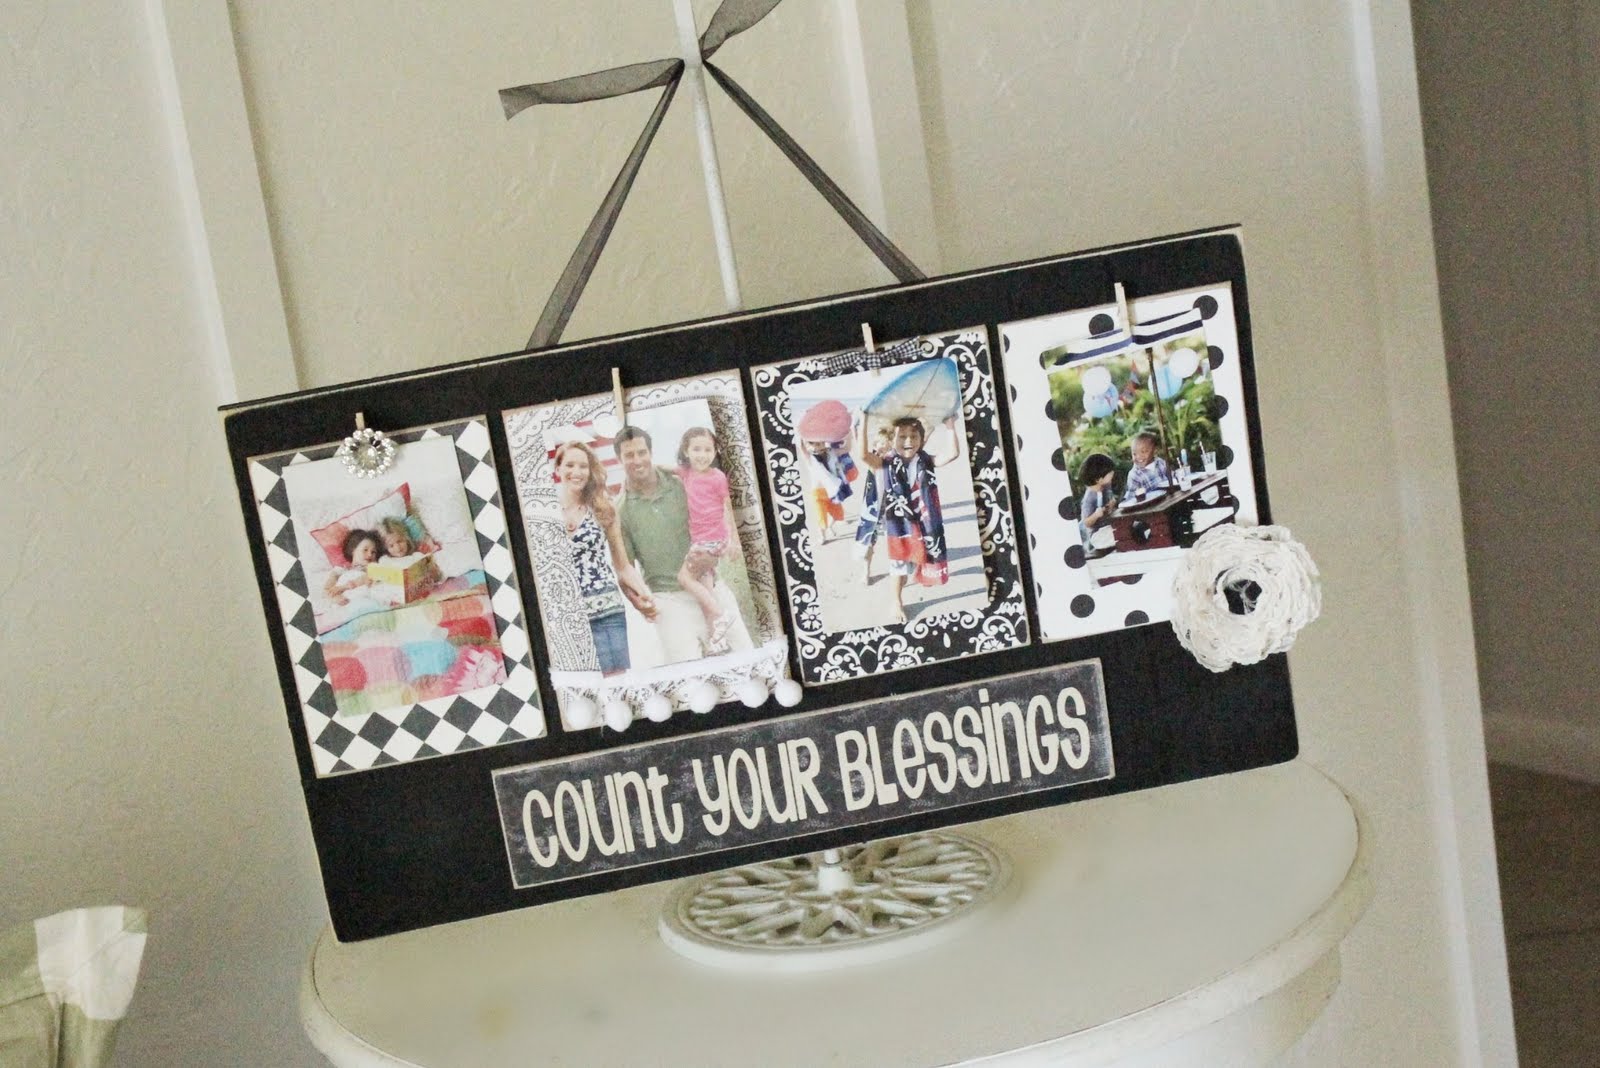
Add some colored photos to break up all the black & white:

Here’s the scoop on the craft night:
Thursday, August 4th from 7-9 PM in Gilbert, AZ. Cost… $16 for interchangeable plaque, size 11″ x 11″ or $20 for clothespin blessing board, size 11″ x 19.25″. Please note the clothespin blessing board will be backed on beadboard NOT MDF as shown. Paint colors are white, cream, brown or black; vinyl lettering provided in the colors as seen on the displayed items above. Email [email protected]. Signup is July 26th and payment due by July 27th. This craft night will bring a fun evening of crafting, chatting, door prizes & good eats. Bring a friend! (:
UPDATED. Per your requests, here’s the deets on the clothespin blessing board:
Suppplies:
- Bead board/wood
- Saw
- Scrapbook paper
- ModPodge
- Foam brush
- Vinyl lettering
- Paint
- Mini clothespins
- Embellishments
Directions:
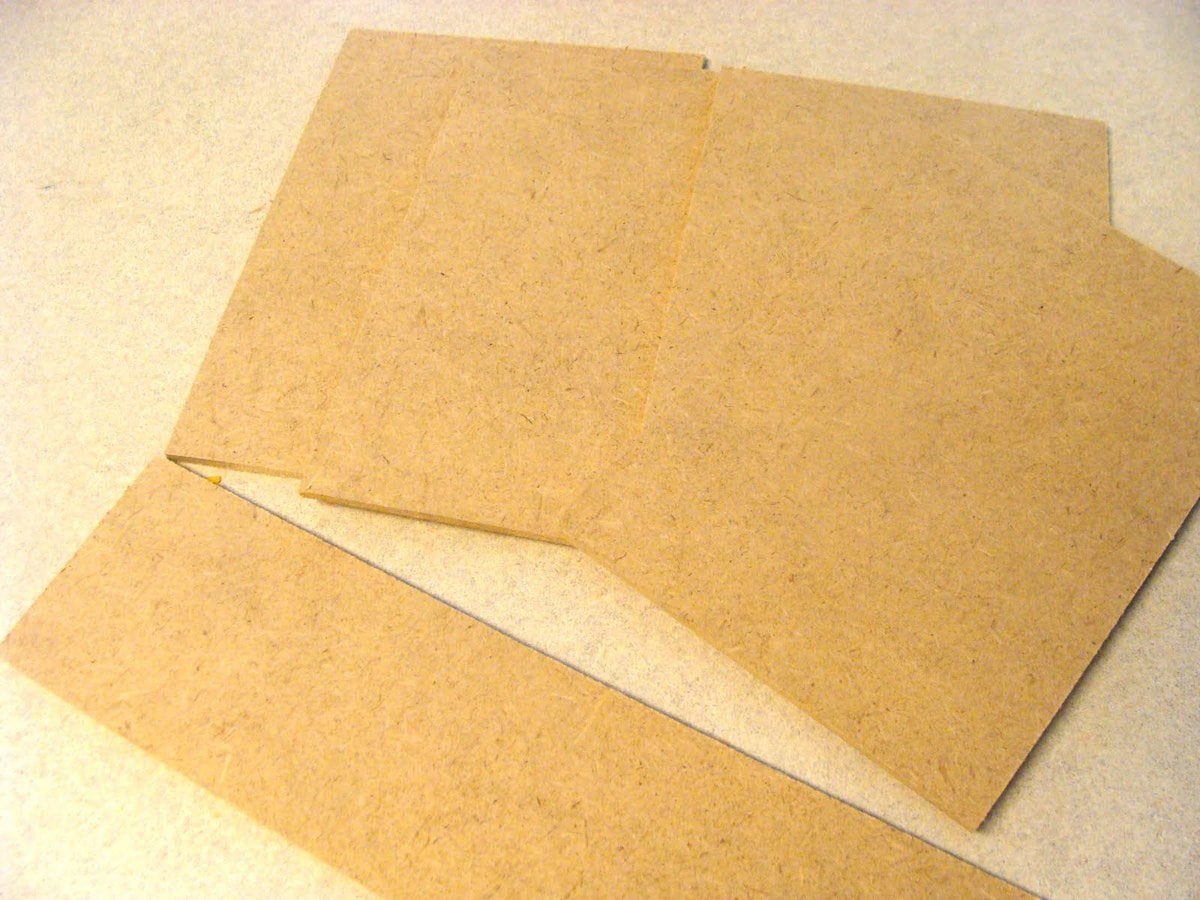
1. Cut your bead board to approximately 12 inches x 20 inches. Also cut your hardboard into 4 pieces that are approx. 4.5 x 6.5 inches. You will also need one hardboard piece that is approx. 2.5 inches x 12 inches.
2. Paint your bead board piece and let dry.
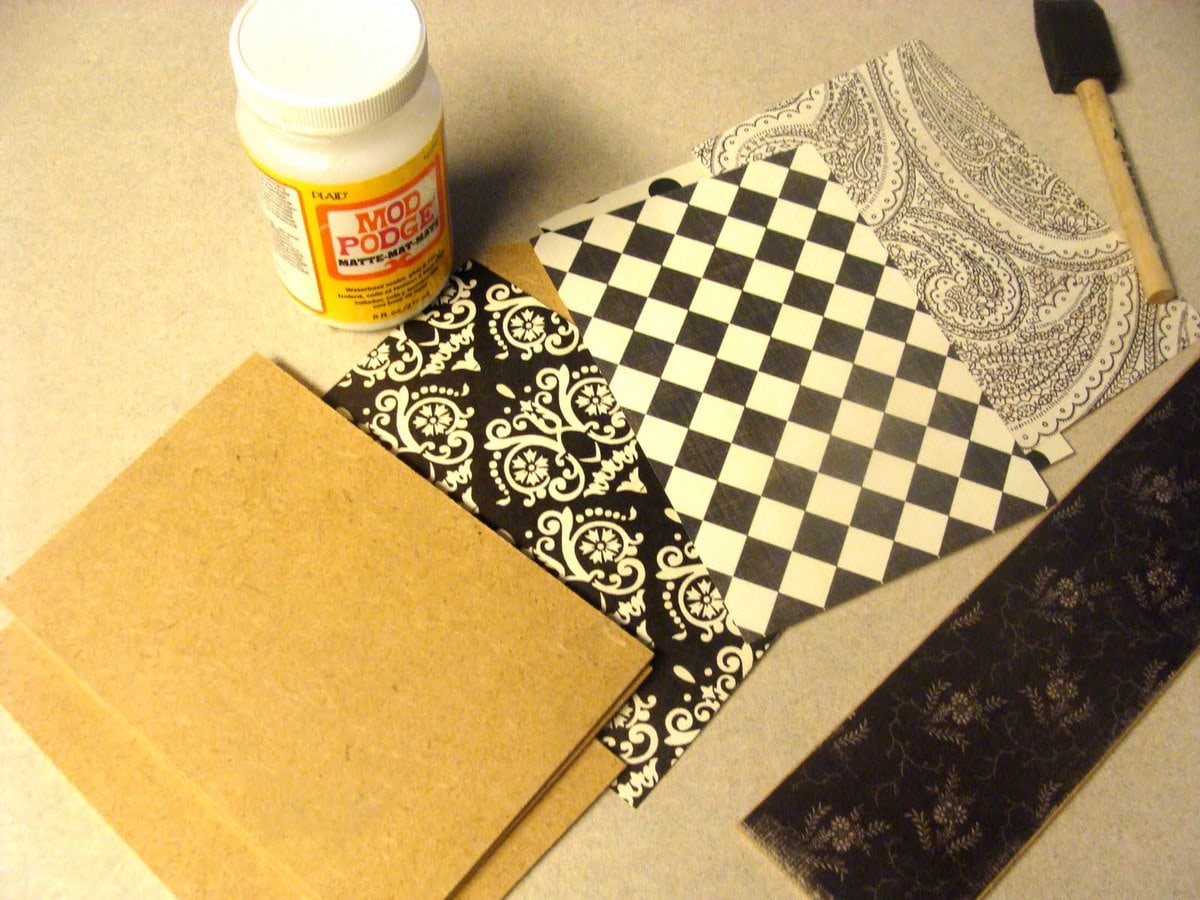
3. Cut our 4 pieces of scrapbook paper that are approximately the same size of your 4 rectangular pieces. Mod podge these on to the rectangles and let dry. You will also cut out one piece of scrapbook paper that will go onto the long rectangular piece. Mod podge this on as well.
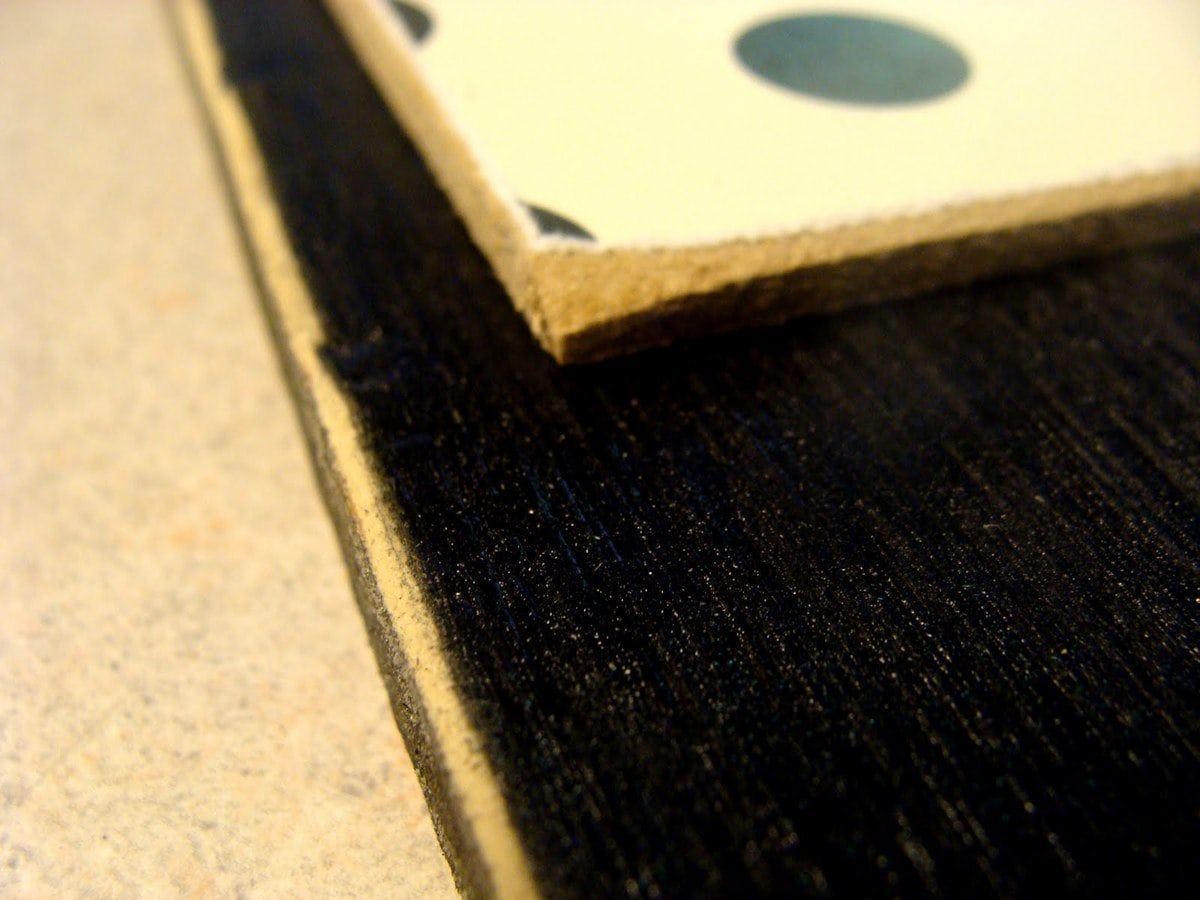
4. Distress beadboard and hardboard if desired.
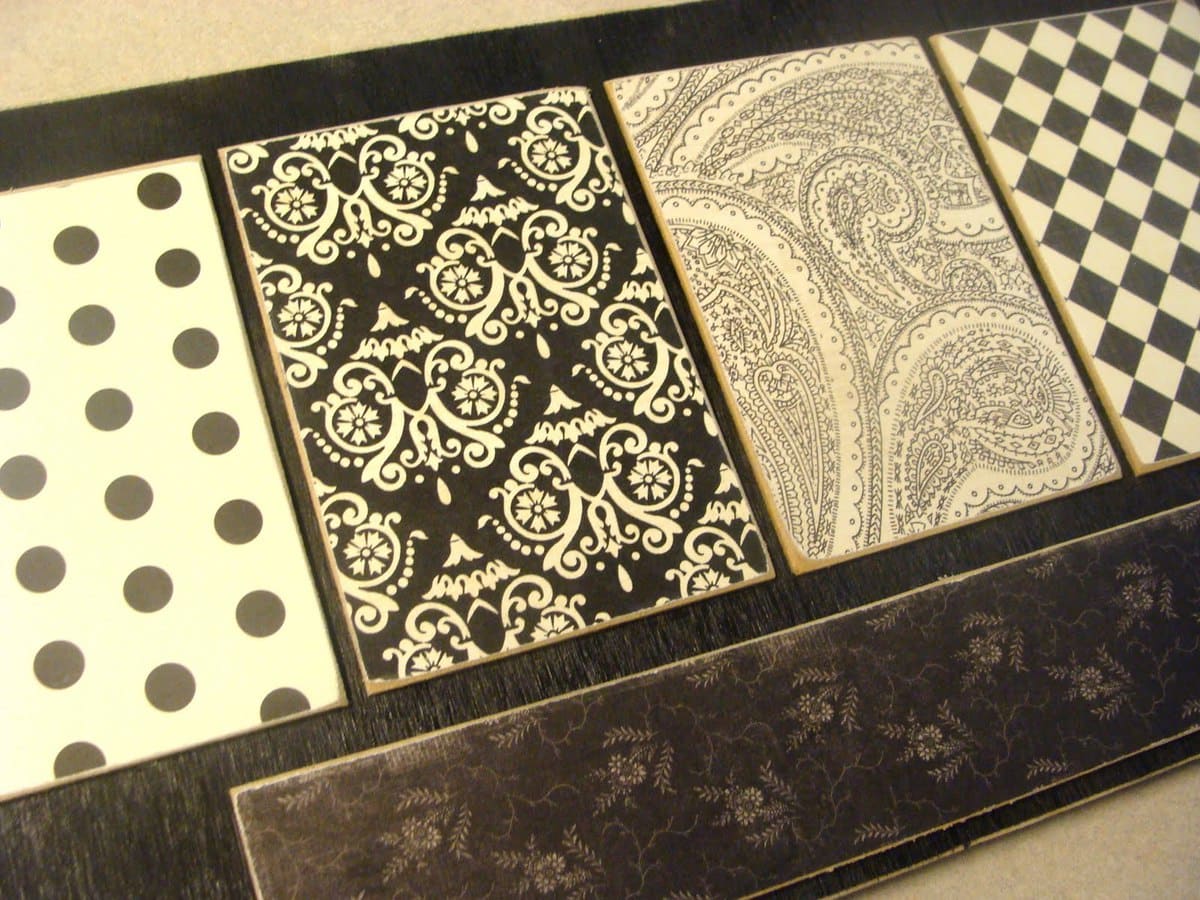
5. Hot glue all 5 rectangular pieces to your beadboard.
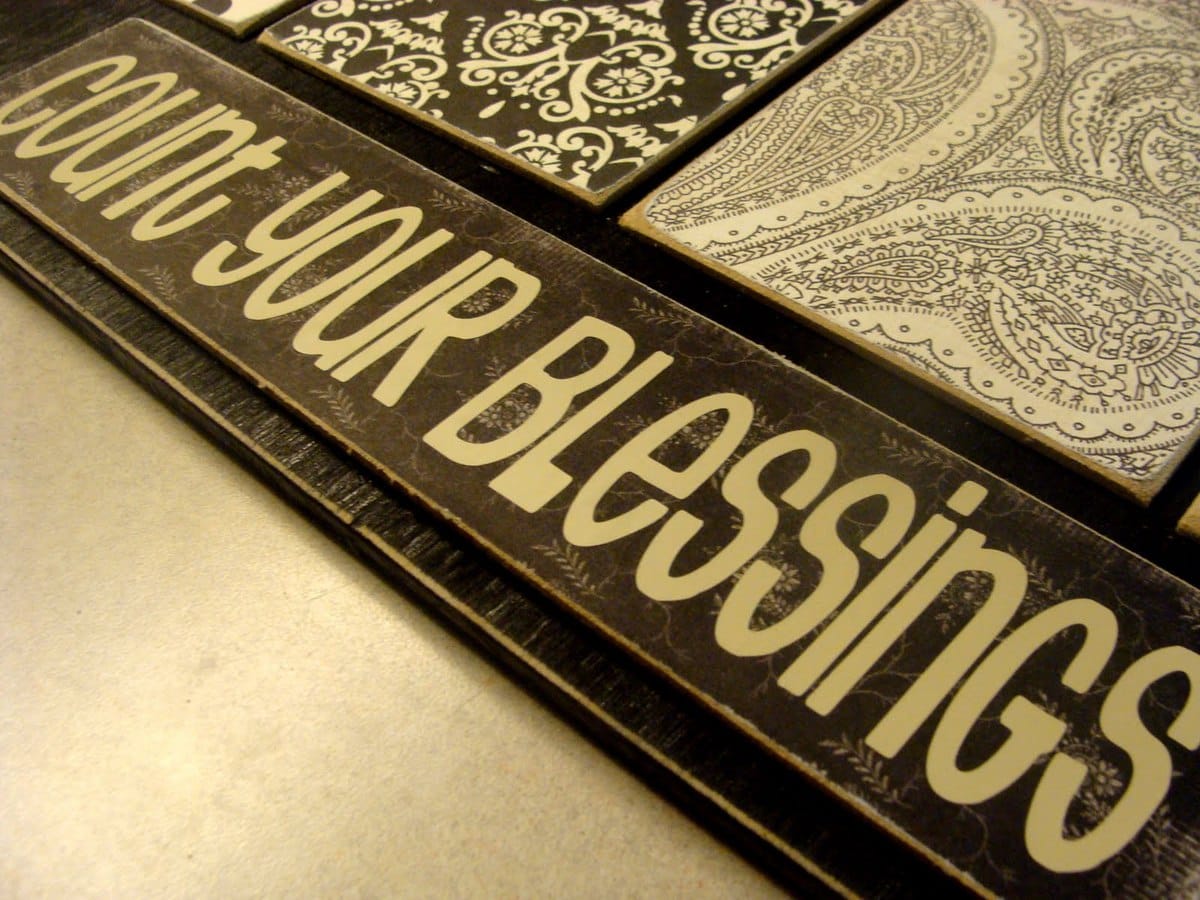
6. Add vinyl lettering to the rectangular piece of wood.
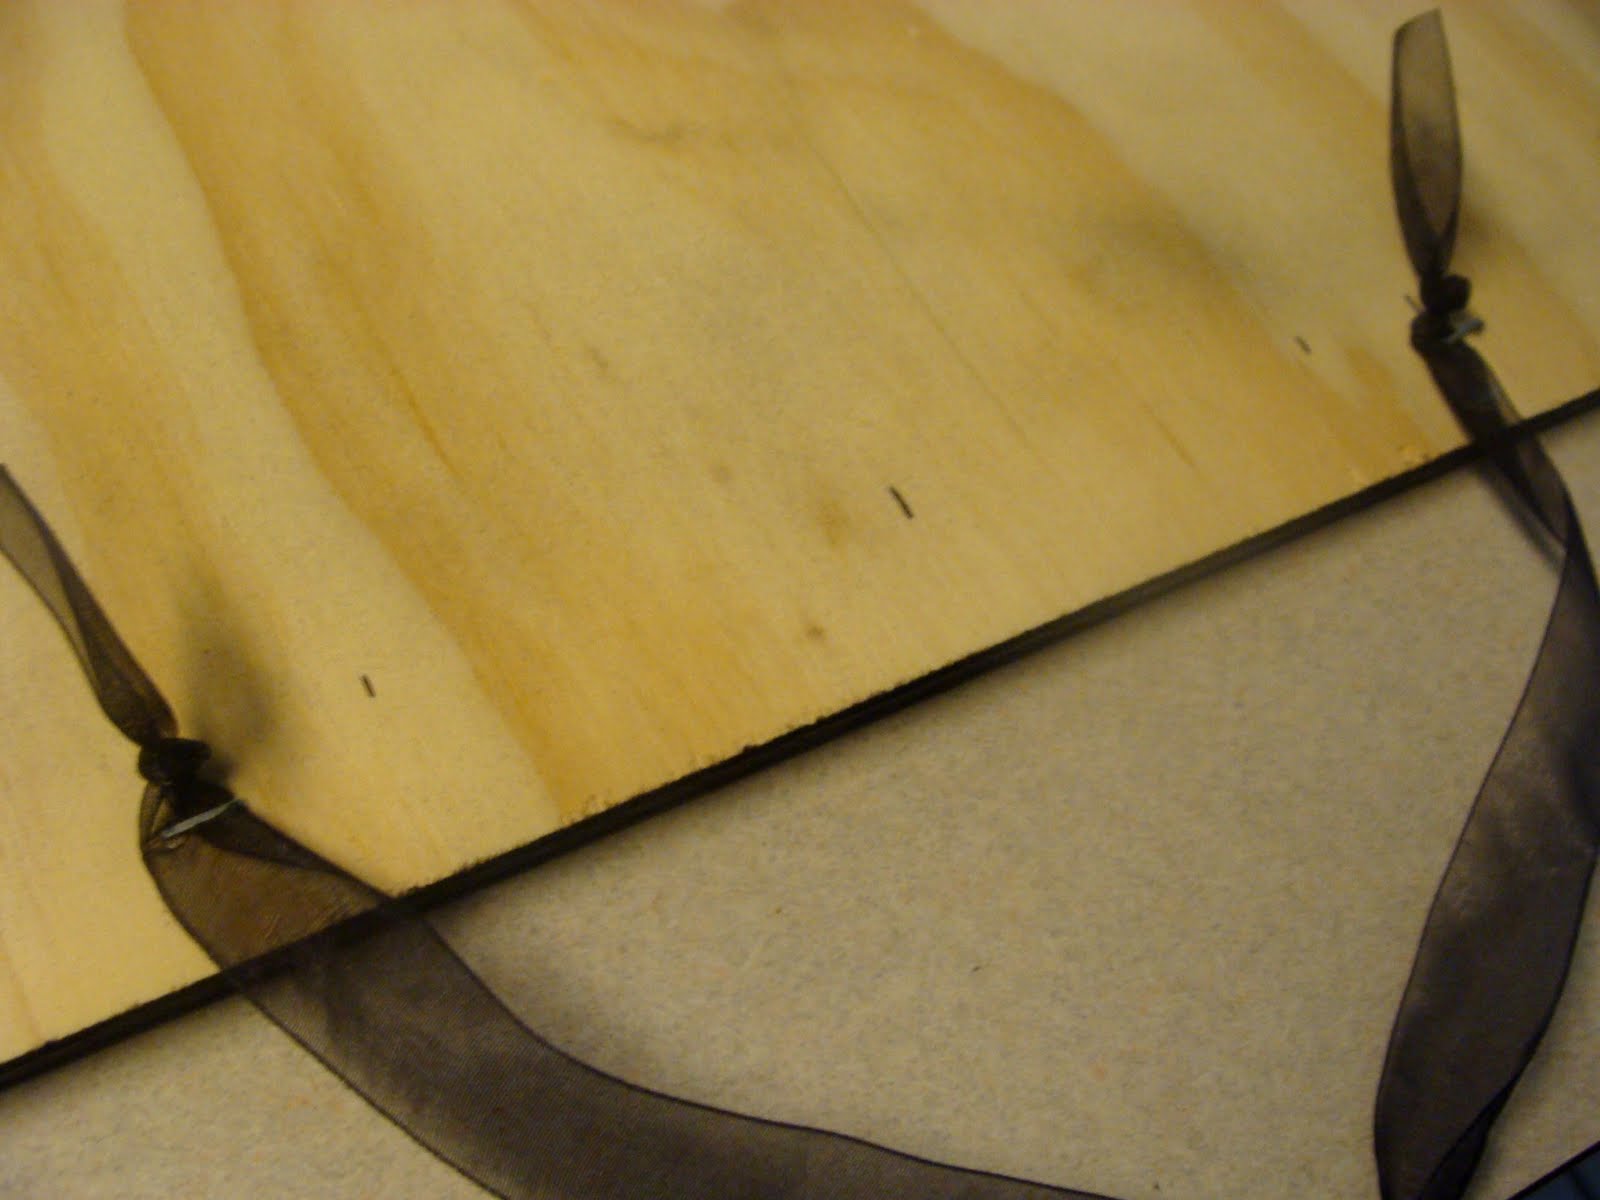
7. Add ribbon to back. I used wood for the sample instead of bead board and to add vinyl I marked the center on the back and then marked a spot 3 inches on either side. I think stapled ribbon to the back using my staple gun and then tied a knot. For the bead board We drilled holes through the top and had them
string the ribbon through.

8. Glue mini clothespins to the top of each panel. Optional: Add some bling!
This project is versatile; by simply swapping scrapbook paper colors/patterns, it can match any home decor! Here’s a peek at our guesties projects from the craft night:
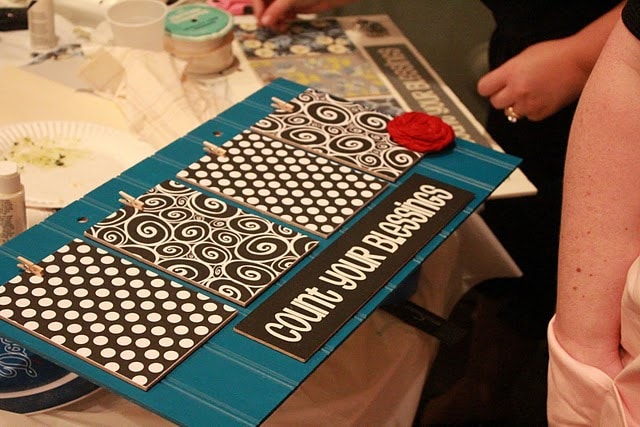
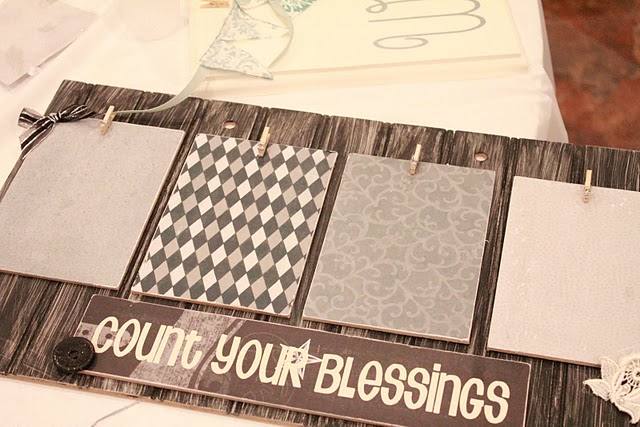
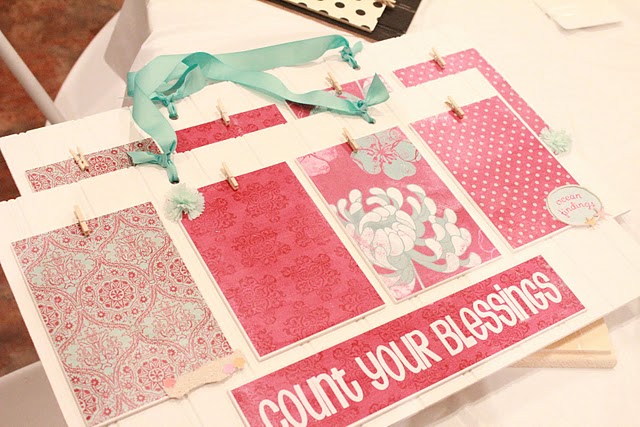
This is a cute way to display photos that remind you to COUNT YOUR BLESSINGS! (: