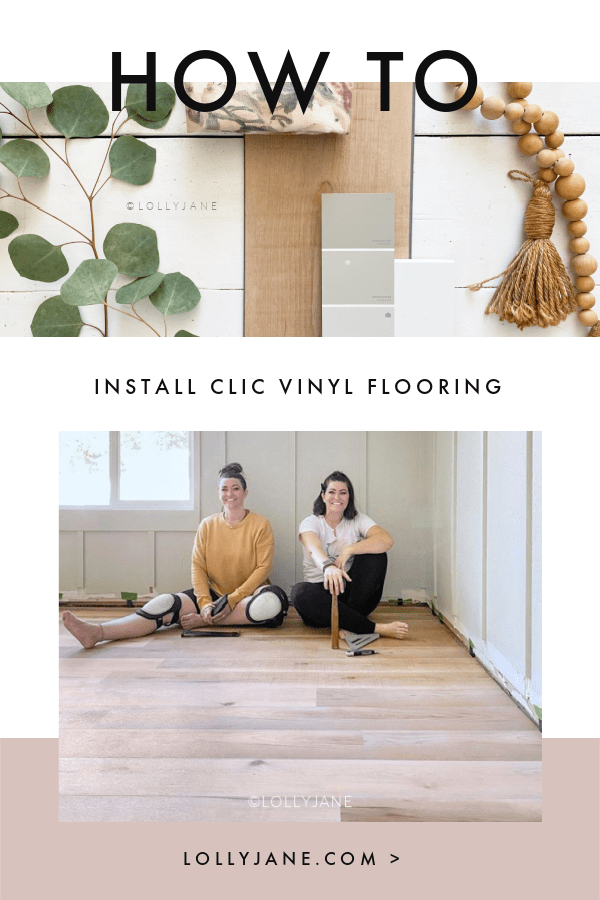
Luxury Vinyl Plank Flooring
Luxury vinyl plank flooring (or LVP) is an inexpensive way to update your home, especially for high traffic areas. LVP is durable, waterproof, scratchproof, kidproof, petproof, low maintenance plus it’s on-trend with wood looks.
We’ve been living on concrete floors for the past four years after a bathroom flood. We’ve gone back and forth with what to replace them with but nothing seemed right so we painted them and lived on them.
I hated them and was embarrassed of this room but it’s a private family room away from the rest of the house so other than the kids’ friends, not a lot of guests saw it.
Now I wish it was the main room in the house because it’s incredibly gorgeous! These Style Selections floors totally make the space. I’m so excited to get the rest of the house done but had to share the first room we completed, it’s stunning!
UPDATE: See the final room reveal here!
why we chose luxury vinyl plank flooring from lowes
We’re hard on our floors.
We have multiple children. Multiple work dogs. An irrigated lot. We live in the desert.
We need DURABLITY.
And since we’re a law enforcement family with a limited budget, we needed long-lasting but also affordable floors.
Enter Style Selections flooring.
Style Selections vinyl floors are waterproof. Waterproof! No more warping or worrying about standing water if a kiddos spills or the doggo has an accident.
It can handle kids, dogs and stands up to daily use.
The luxury vinyl plank installation is easy, too: just click it together.
And since it’s exclusive to Lowe’s which is a national chain, it’s convenient for homeowners to get their hands on it.
Why We Choose Vinyl Floors
We try to spend our money on timeless products to make our money last longer.
Our old floors were really dark but these new floors are a classic color that will stay in style through the different yearly trends.
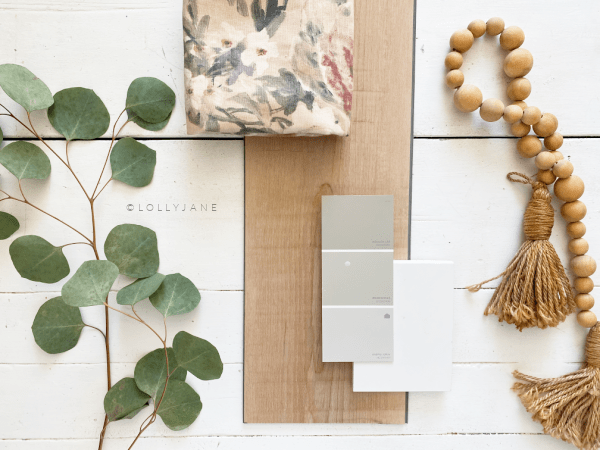
Luxury Vinyl Flooring Samples
When making such a big decision, it’s so helpful to have actual samples in hand. Making a large purchase based on online pictures can be scary. Especially buying flooring online as it makes up the biggest part of your home.
Luckily, you can head to Lowe’s flooring section and grab a free sample…or 2 or 3 or 4…to help narrow down your choices. (You can also order samples online and have them shipped directly to your home free of charge or even order them to the store.)
We sampled these floors right after we removed the tile…you can see Anni’s little dirt feet prints that wipe off easily!
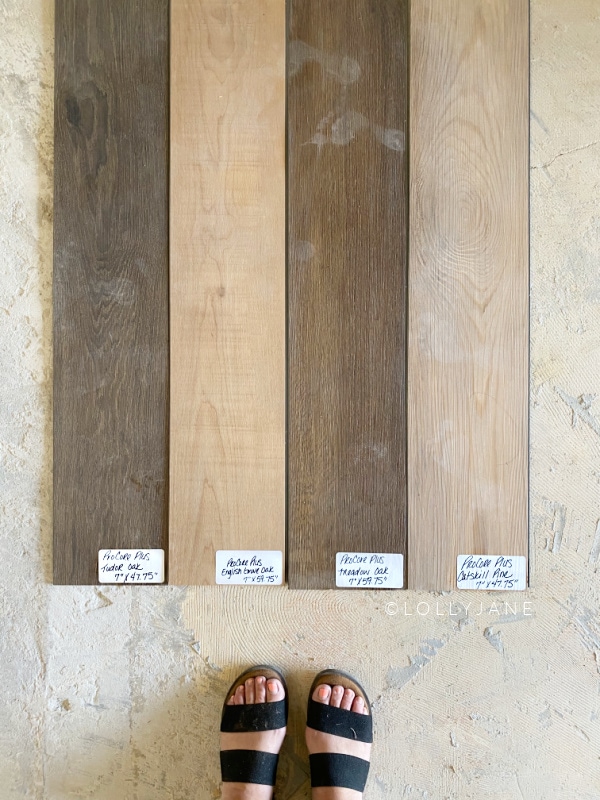
We sampled Tudor Oak, English Grove Oak, Meadow Oak and Catskill Pine and loved them all. We had a tough time deciding. Our top 2 choices were English Grove VS Catskill Pine, we love the grays in Catskill but also love the beachy, farmhouse feel of the English Grove.
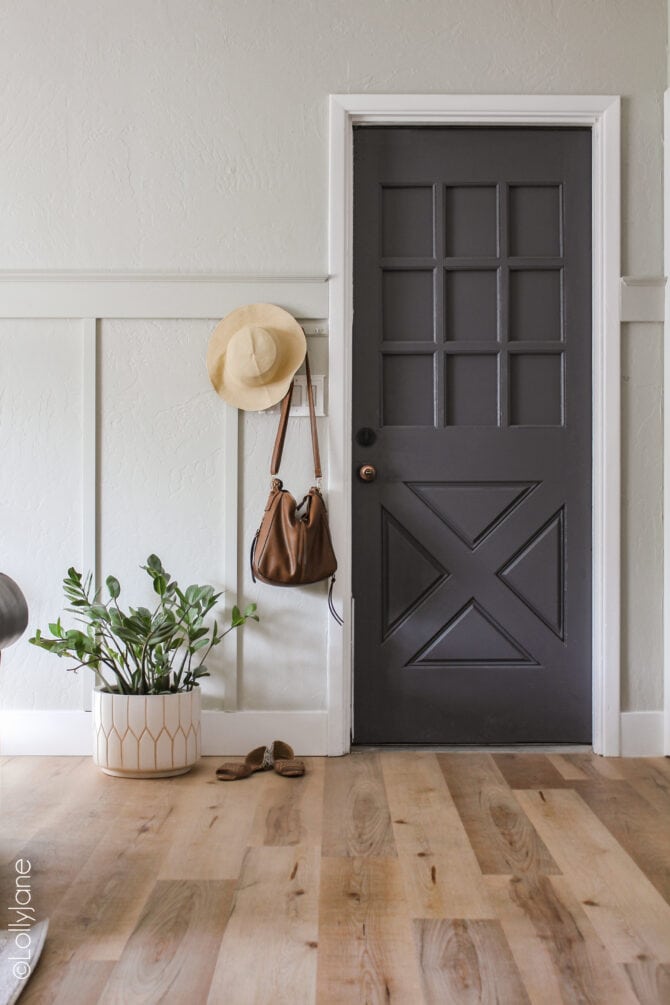
In the end, we decided on English Grove Oak. It’s way lighter than my last floors but I AM IN LOVE!
They feel like real wood!
My last floors have a more plastic feel.
These look hand scraped. I love all the texture and how each piece varies by color to easily match any home decor style.
Tips and Prep for Installing Vinyl Floors
To get started, you’ll need to prep the floors and gather the right tools. Please note: These tips supplement official instructions, carefully review the install instructions.
Start out with the right tools…the old saying of working smarter, not harder is more appropriate than ever with DIY projects. Here are must-have tools for installing vinyl flooring:
- Utility Knife
- Square
- Knee Pads
- Rubber Mallet
- All-in-1-Flooring Kit (Pull Bar, Tapping Block and 30 Installation Spacers)
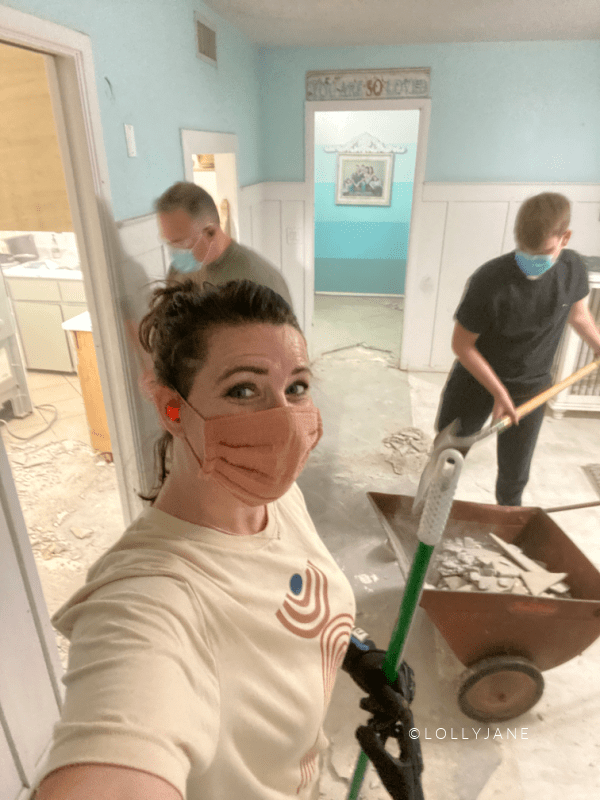
Prepare your subfloor. Make sure your floors are flat: remove any staples, loose nails, tack strips, etc. If you have any concrete damage or cracks, be sure to fill them in, we used this concrete filler.
We removed tile flooring ourselves which was a total nightmare but so worth it. Read more about that here.
Remove baseboards. If you want to reuse the existing baseboards, use the utility knife to break the caulk seal then gently pull them off with a crowbar.
If you want to keep them on during install or reuse them, you may need to use quarter-round molding to finish them after install.
We personally like the look of laying the floors first then adding base boards on top of them afterward. We then caulk along the tops of the base, seams, corners and doorjambs to finish them off.
Plan your layout. Choose the orientation of your flooring. Aesthetically, most people prefer it being parallel to the longest wall; however, this is a personal preference.
Choose your starting wall, it’s always best to start with a straight wall with a doorway. The first row can be assembled and then slid underneath the door jamb, much easier than finishing at a doorway.
Carefully measure and plan out your layout before starting and avoid those difficult little cuts. If your last row is less than half the width of the flooring, simply move your starting line over by half the width of the flooring.
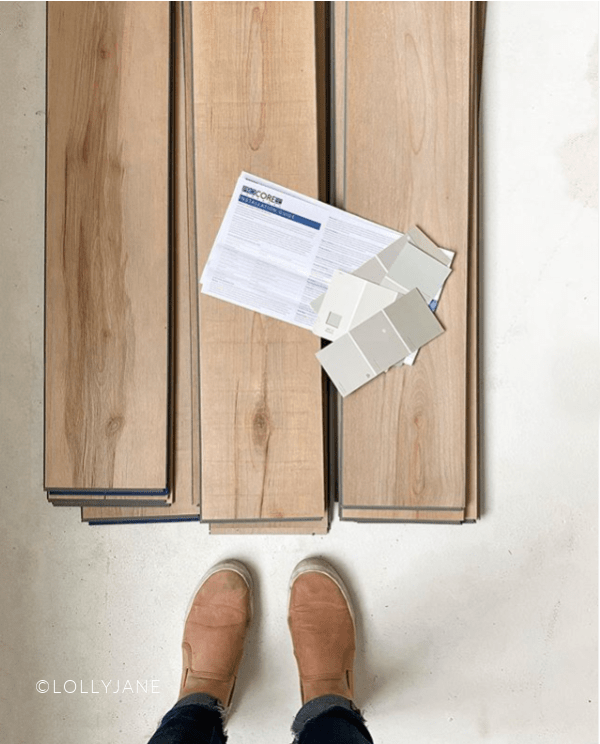
Planks should have a random layout, with all end joints kept at least 8-inches apart. Avoid making patterns or stepping the rows to create a professionally installed look.
The easiest way to make it random is to lay out 4-5 boxes at once then pull a plank from row 1, 2, 3, etc then start back over with 1. I also laid a row out ahead of time to be sure it wasn’t too similar to the last row laid.
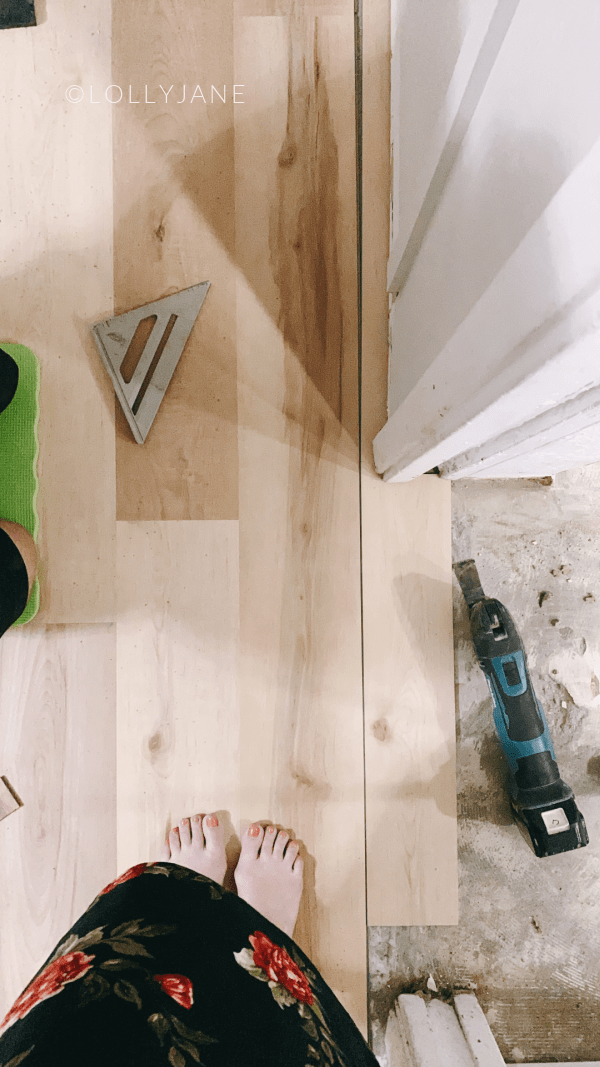
Undercut your door jambs. This will allow the flooring to slide underneath and you can avoid making difficult cuts.
The easiest way to get under the jambs is to use an oscillating tool. The flat attachment will cut both directions pretty easily.
I used a long flat head screwdriver to help the small pieces underneath become “unstuck” then used the oscillating tool again to double check all the little wood chunks underneath came out okay.
Sweep it well before you tuck the flooring underneath the doorway so it lays flat.
Step by Step Clic Vinyl Floor Install Instructions
Start from the left corner of the room. Remember to use the non extended locking mechanism side and end next to the wall. Don’t forget to leave an expansion gap with the spacers. We used painters tape to hold them into place.
If it’s less than 50-foot in length or width, you need at least a ¼-inch gap around the entire perimeter. Between 50–85-foot, increase to ½-inch all around. Keeping the first row straight makes everything easy! Check it, correct if needed and then firm it up to stop movement with more wedge spacers.
Mix things up. Select the flooring from several boxes at random, to create a more aesthetically-pleasing natural look.
For lengthwise cuts, first measure (allow for expansion gap) and mark both ends with a pencil. Use a straight edge or another piece of flooring, lined up on your marks and mark your cut line. Carefully cut along your cut line using a jigsaw with a carbide blade. If you don’t have one, use a sharp utility knife, carefully scoring alongside a straight edge a few times. Bend the plank until it snaps, then finish the cuts with your knife, trimming off any excess. Never use a tapping block. If needed, use a scrap piece of flooring with the joint locked in before tapping it.
After the first five or six rows, turn yourself around and continue, working from on top of the installed floor covering. You are then “pulling” the side joints together, rather than “pushing” them, making the process even easier.
Love and take care of your new floors. Protect it by using nylon or felt pads underneath your furniture. Do not move heavy or sharp objects directly across the surface, be sure to use furniture surface sliders.
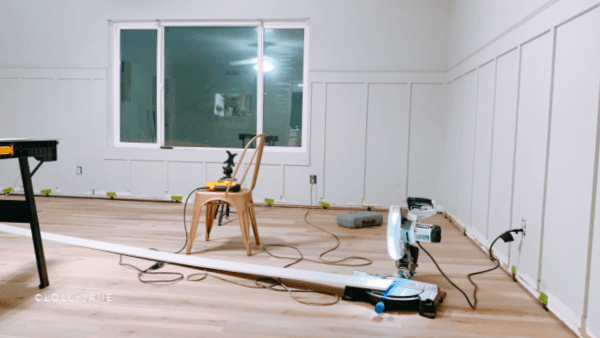
HOW TO INSTALL BASEBOARDS
We used 5 1/2″ Craftsman baseboards (locals, use code lollyjane for 10% off) to compliment our new gorgeous vinyl floors.
They’re simple and straightforward, a little height for elegance but they let the floors steal the show.
To install baseboards, you’ll need a miter saw and nail gun. You can use a hand saw and box and a nail and hammer instead but the miter and nail gun help streamline the process.
Measure the wall you’re installing base on. Cut the ends at 45 degree angles so they meet up cleanly. We butt our base against the door jambs with a straight edge then make angled cuts for the corners.
If your wall is longer than your base, a way to hide the seams are to cut them at 45 degree angles and have them “slide” together rather than having them butt up against each other side-by-side. Once you putty it then sand it down, the seam practically disappears.
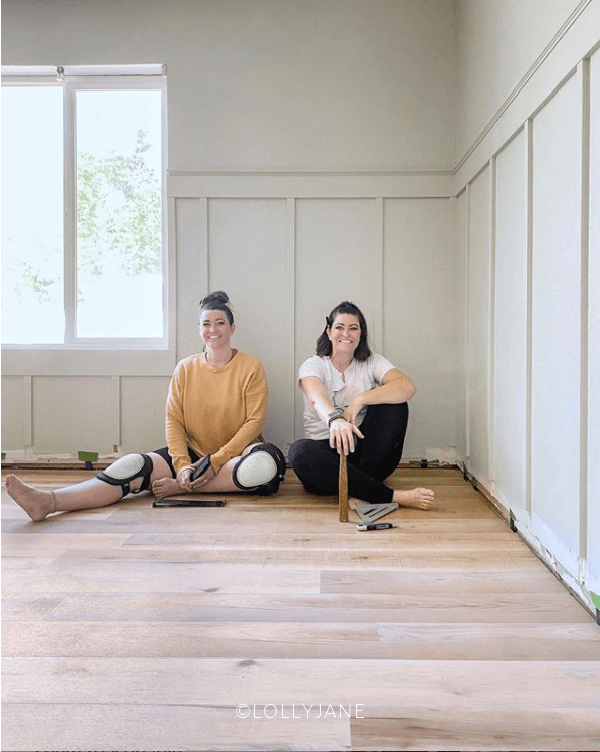
FAMILY ROOM MAKEOVER
Update: See the full family room makeover reveal! This room is my new favorite room in the house.
Our family has always gathered here at night for scriptures or movies or a good puzzle but now I find myself working on the couch instead of the recently renovated dining room.
It feels more personal and cozy back here.
Check out the full before/after and how we styled these beautiful floors:
Helpful Shopping Links
We’ve based this shopping list from our most asked about items from our Instagram community during this process. Feel free to leave further comments below! Note: as an Amazon Associate and member of other affiliate programs, we may earn from qualifying purchases at no extra cost to you.
- Utility Knife
- Square
- Knee Pads
- Rubber Mallet
- All-in-1-Flooring Kit (Pull Bar, Tapping Block, Spacers)
- Oscillating Tool
- Cordless Nail Gun
- Favorite Paint Brush
- Paintable Caulk
- Miter Saw
- Jigsaw
- 1/2″ Craftsman Baseboards (locals, use code lollyjane for 10% off)
PLEASE PIN!
We’d be honored if you pinned this image so your friends and family can enjoy this project too! xo
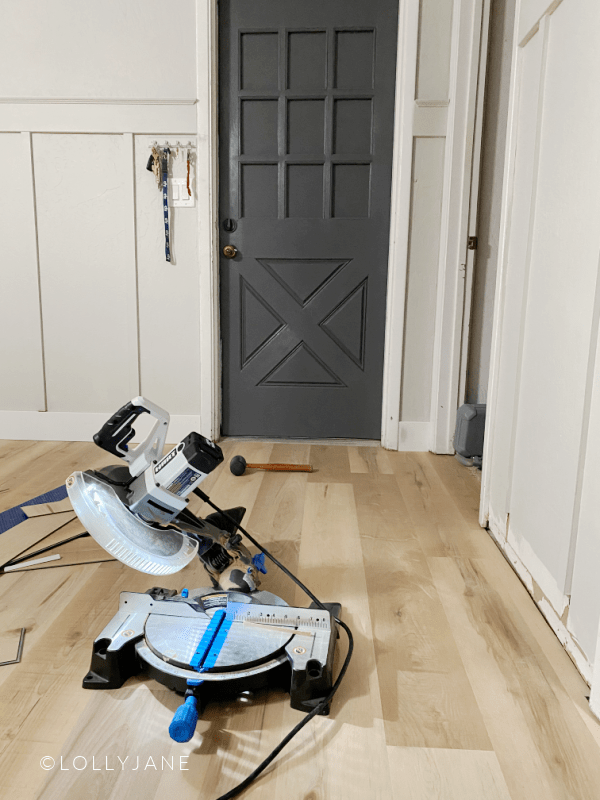
Hey just wondering what paint color is on the door? Thanks!
Hi Laura! The color is SW 7069 Iron Ore 🙂
What is the name of the flooring in the main picture and where can I get it?
Hi Jodi! We used English Grove Oak for these floors and they’re stunning 🙂 You can get free samples at Lowes.com: https://www.lowes.com/pd/ProCore-Plus-8-Piece-7-in-x-59-75-in-English-Grove-Oak-Luxury-Vinyl-Plank-Flooring/1003091586
Ladies, you’ve outdone yourselves! Not only do your ProCore floors look GORGEOUS, but you tackled this project like pros! #GirlPower
Thank you thank you!! WE LOVE THEM!! xoxo