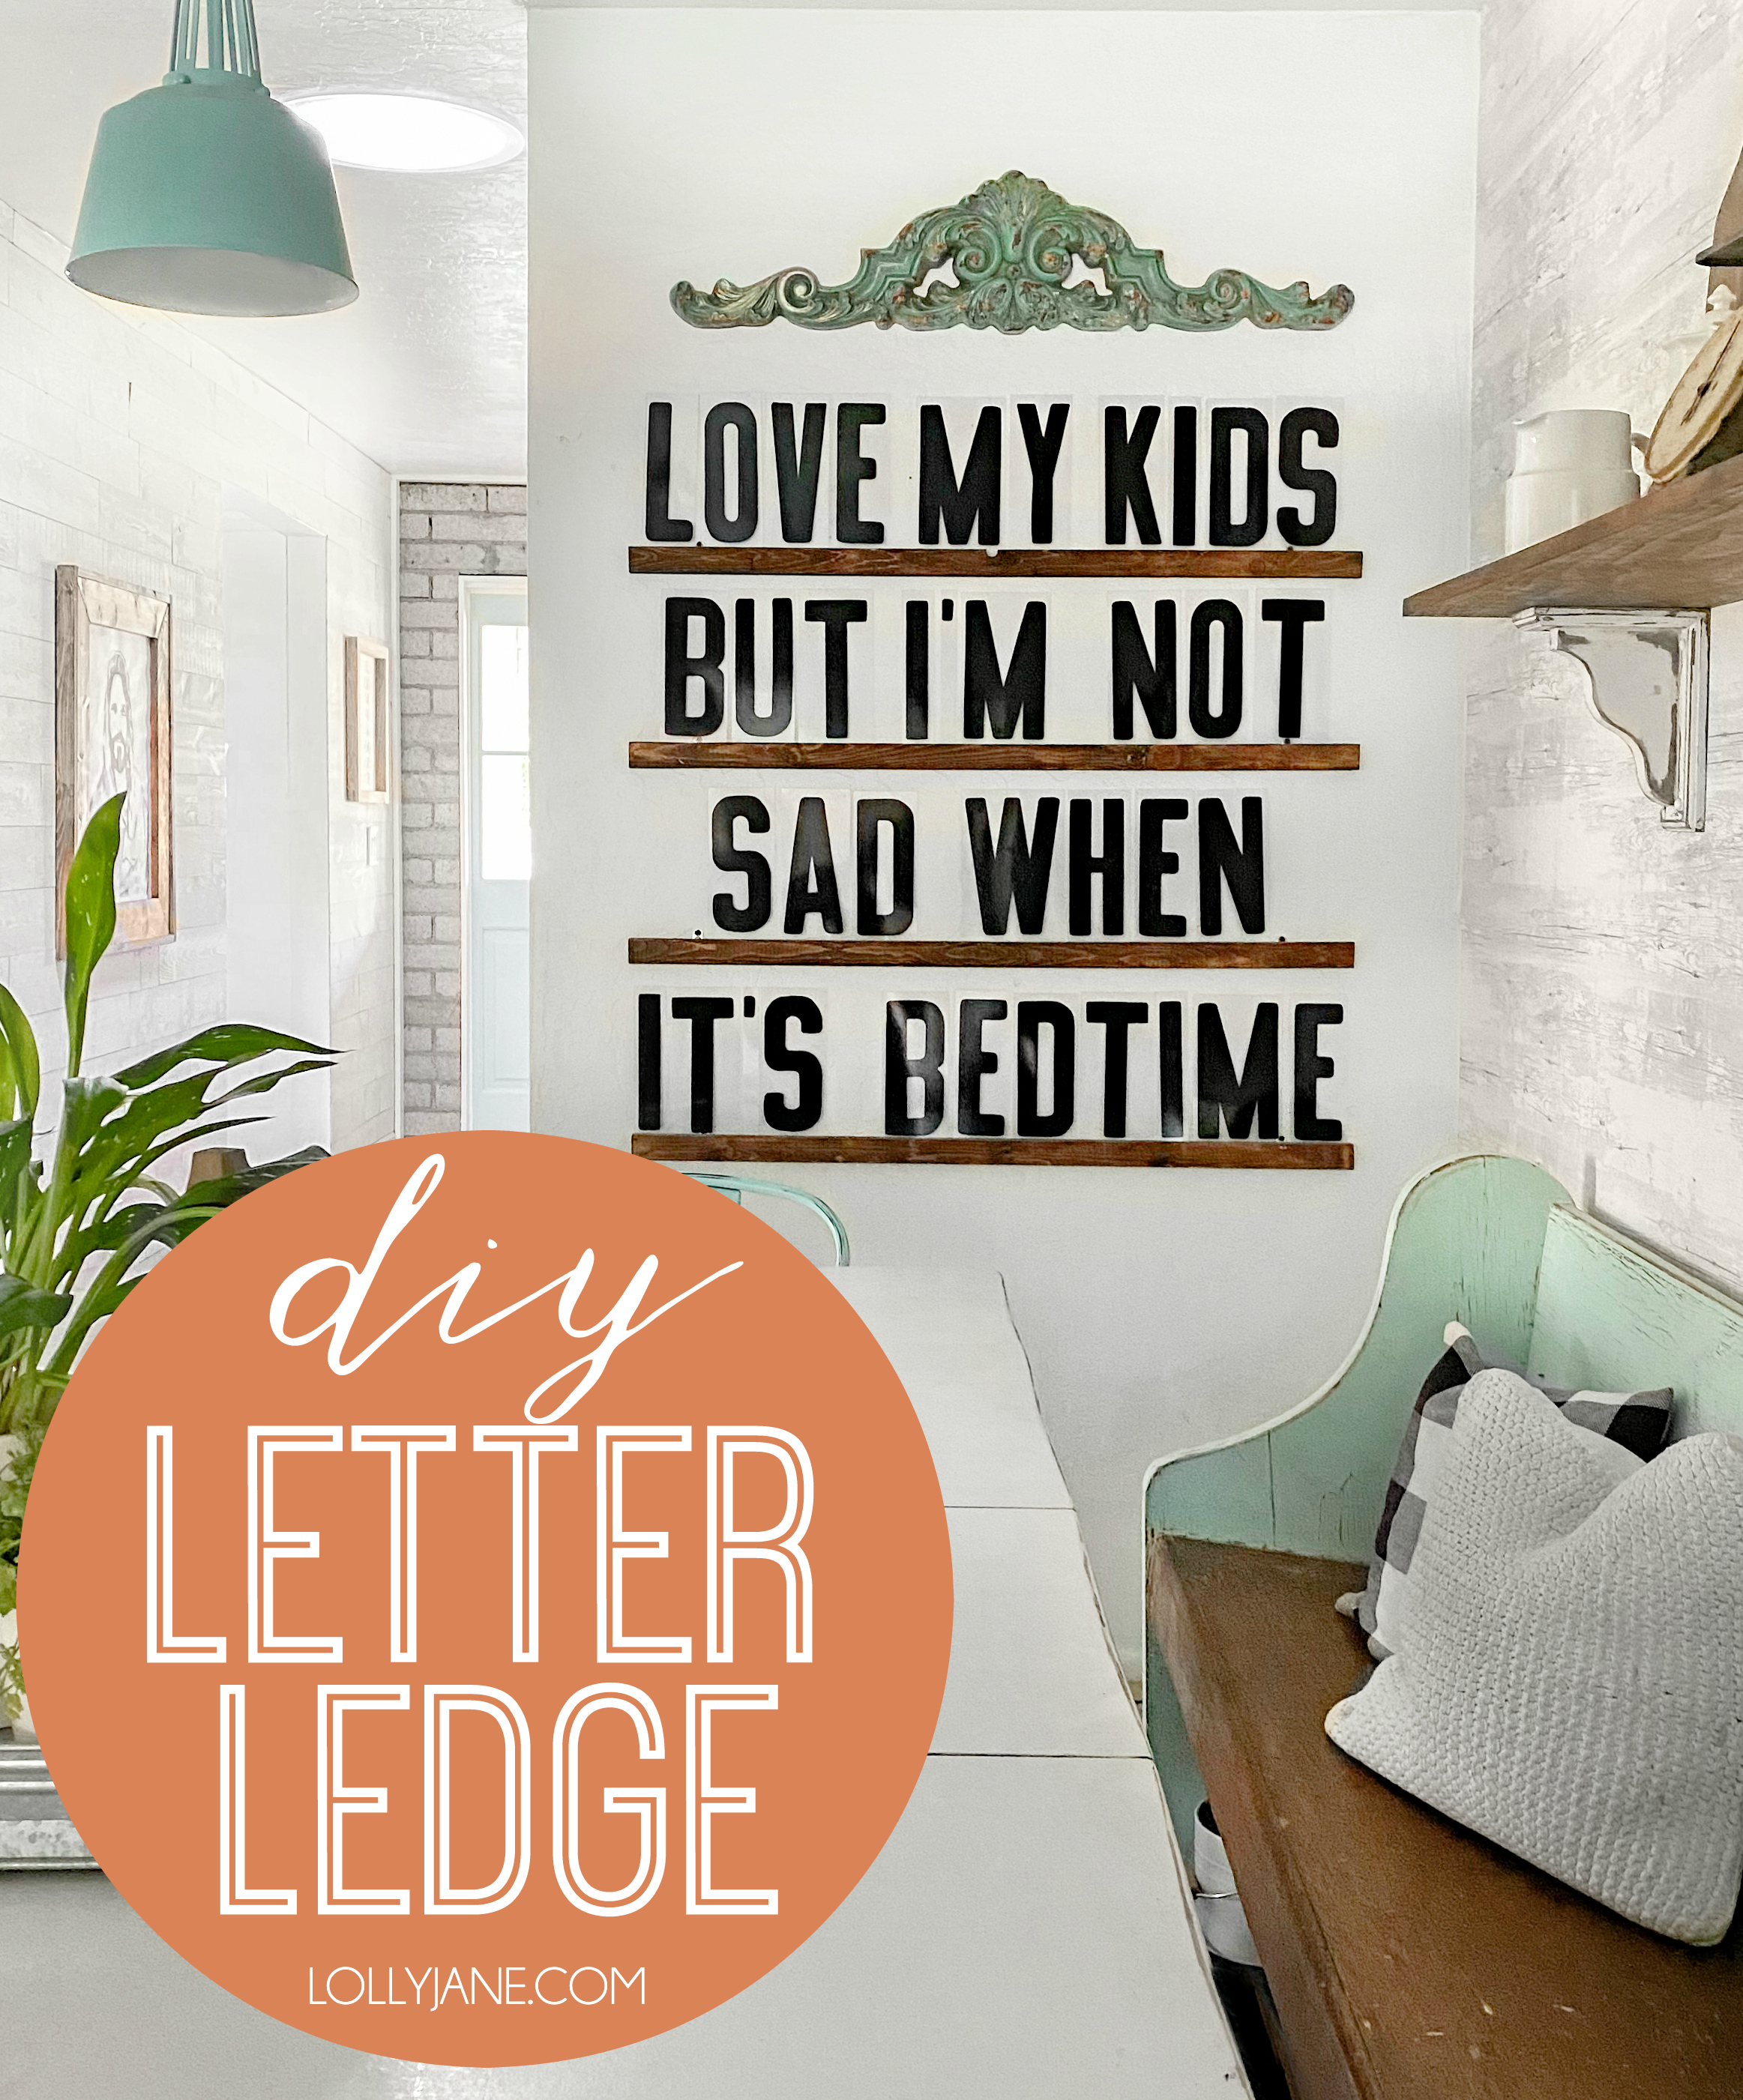
diy letter board ledge
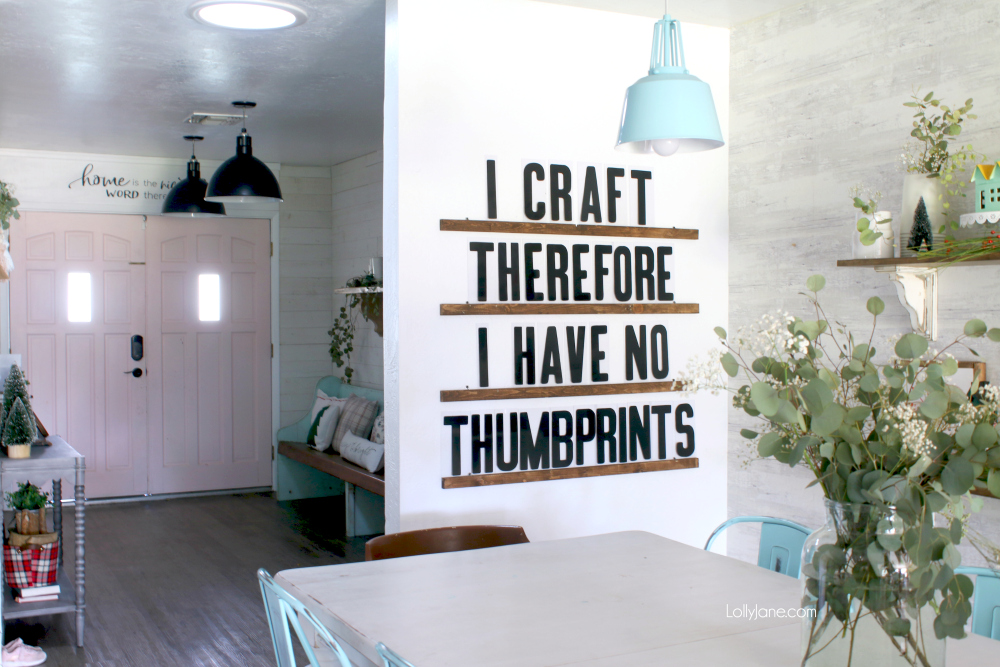
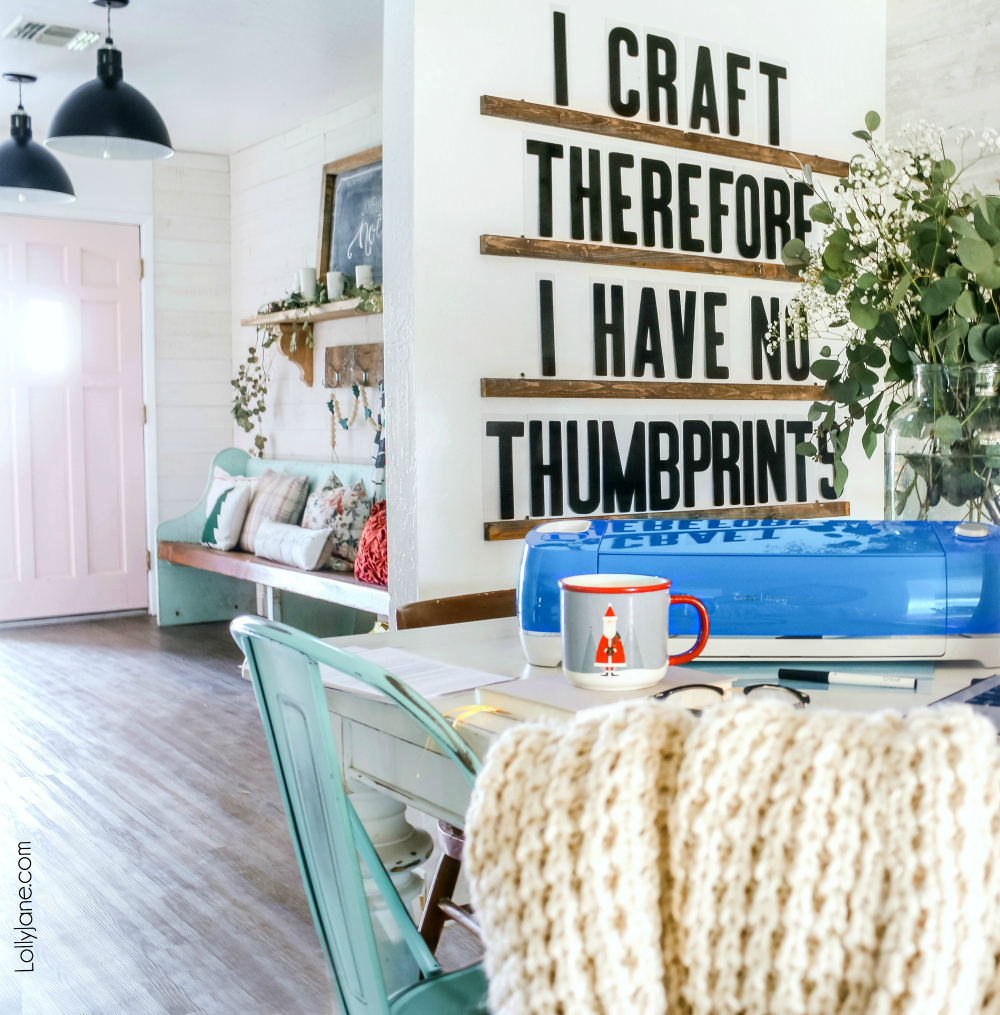
This DIY letter board ledge is fun and easy way to create oversize art to fill a wall… customize it for parties, everyday inspirational quotes, funny sayings, reminders, silly jokes, and more!
Classic black and white letter boards took over the decor world in 2016 and we were all in! By 2017, different shaped letter boards and colorful letters took over, even emojis for letter boards were (still are) all the rage. Now you can head to Amazon for super inexpensive letter boards; different colors, shapes, sizes, and prices, with cursive lettering, or block letters, and phrases. You can find hundreds of DIY versions, of course. We even featured a 10′ giant DIY letter board on our instagram feed. The newest trend? Letter board ledges. aka: Cute letter board shelf sets. And once again, WE ARE IN!
What is a letter board ledge?
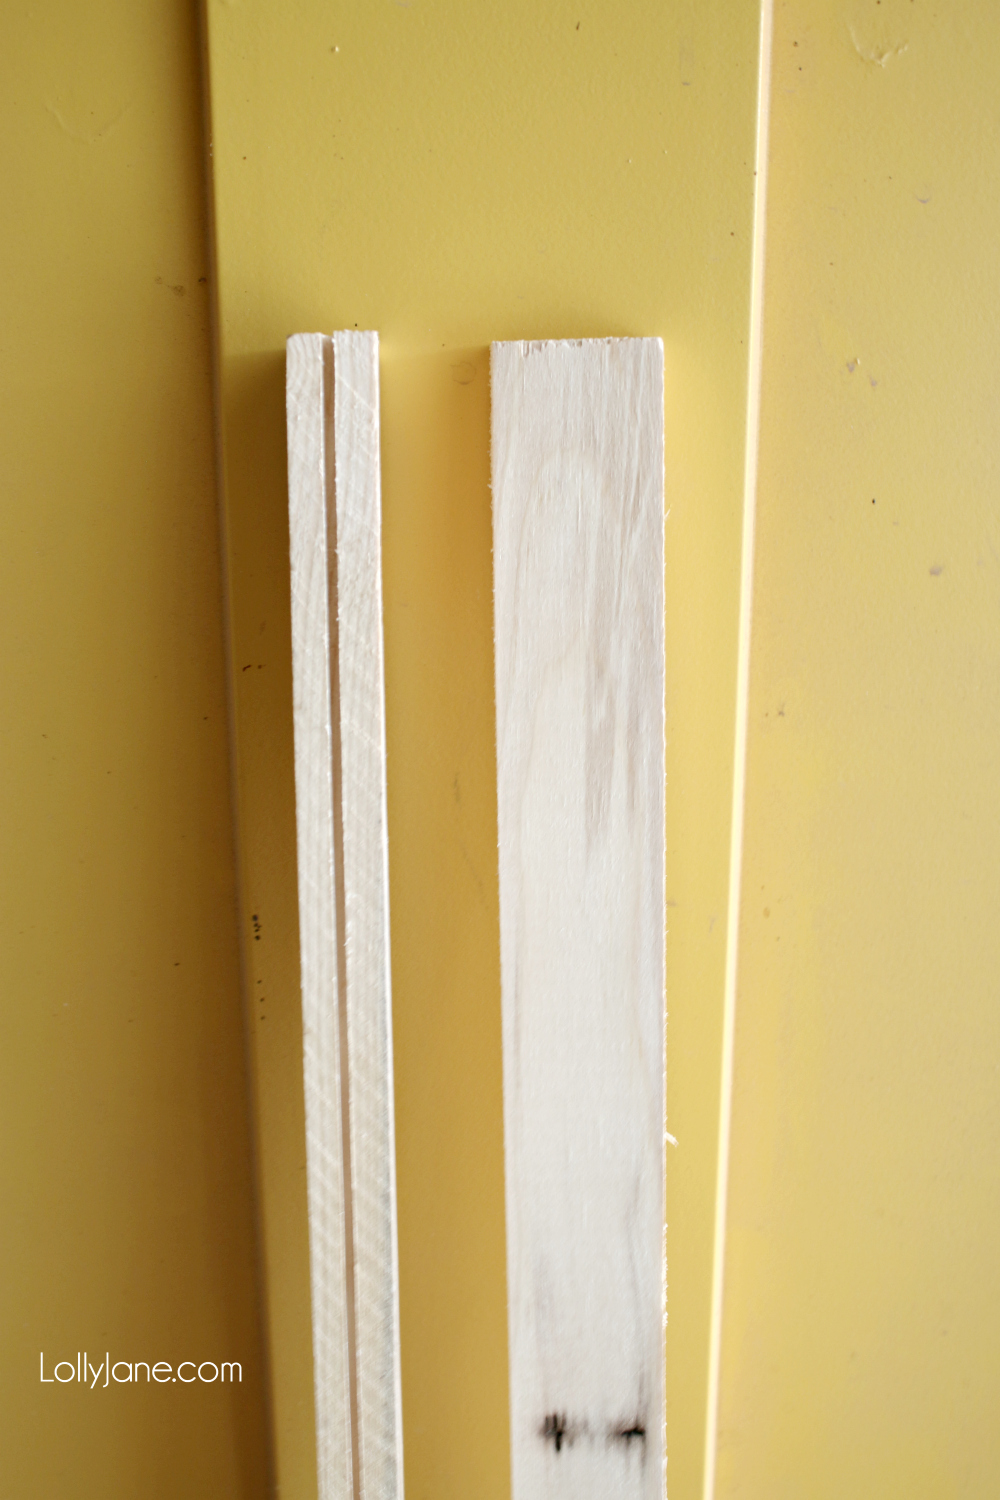
It’s simply a 1″ x 2″ piece of wood that is attached to the wall to hold acrylic letters in place. They’re basically thin shelves or mini picture ledges. You can run a saw down the middle to create a slit so the letters will stay put; you can even skip that step for the letters to lean against the wall if you’re feelin’ lazy. You can use any kind of letter: printed card stock letters, acrylic letters, add in a picture or two, whatever suits your style!
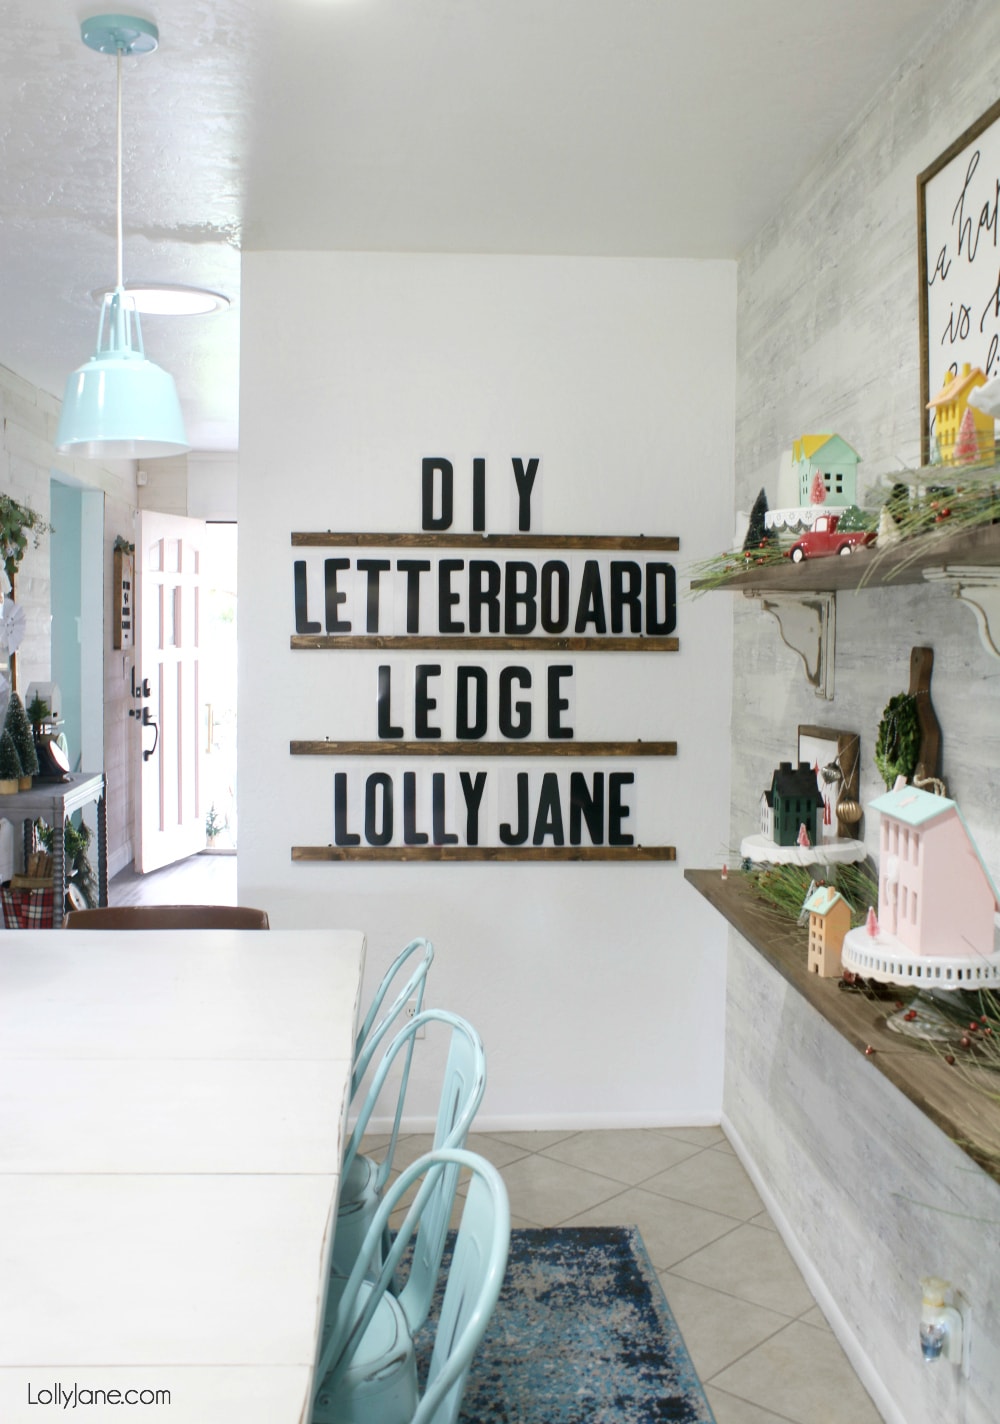
DIY letter board ledge
We’ll show you how to make a letter board ledge using acrylic letters or acrylic marquee letters, as we learned they’re also called. We also included some diy letter board ledge options, too, if you don’t want to spend the money as the letters are not cheap, unfortunately!

Letter Board Ledge Supplies
- 1×2 wood (ours are 3.5′ in length).
- Stain or Paint *optional, you can leave it raw if you prefer, we used Dark Walnut
- 8″ Letters
- Pop tabs (see our hack here)
- Screws
- Table saw (to create a channel for the letters) *optional but recommend so letters don’t fall easily
Where can you get large letters cheaper?
We’re spent the time researching the cheapest acrylic letters. You can find them on eBay, Etsy, Amazon, Alphabet Signs and even Staples for but for the quality and price, the ones we bought were the least expensive. Still not cheap, but cheaper than any other source we could find. Good news: You CAN make your own! Here are a couple different ways to get large letter board letters cheaper: DIY your own letter board letters!
- You can download and print your own letters on card stock to your desired size. We considered this option and decided our ink would be eaten up.
- Grab a transparency film pack and cut your own letters to size. Stick these vinyl capital letters (aka 4″ tall black stickers) on top to create your own letter board letters on the cheap! (If you have a vinyl cutter or Cricut or Silhouette, you can also cut your own letters AND numbers.) We considered this option but decided it would take quite a while and our brain didn’t want to do all the thinking of how many pieces we would need total, lol!
- This small version from Pier1 is done for you, so cute although very tiny in comparison. Only $21!
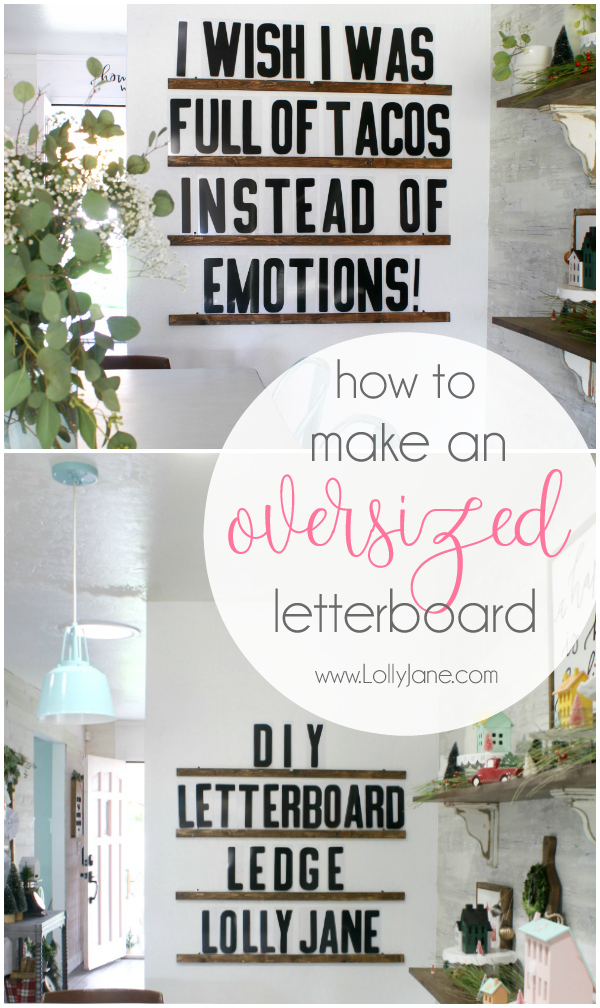
DIY Letter Board Ledge
Follow this easy step by step to make your own letter board ledge. We love the simplicity of how to make an over sized letter board wall:
- Cut wood down to size. Ours are 42″ long.
- Using a table saw to run a channel down the middle of the wood, set it about 1/4″ deep.
- Screw in pop tabs to backside, 8″ in from each side. Make sure to screw in lower than the channel so your letters won’t be affected.
- Using a level and measuring tape, mark holes for accuracy.
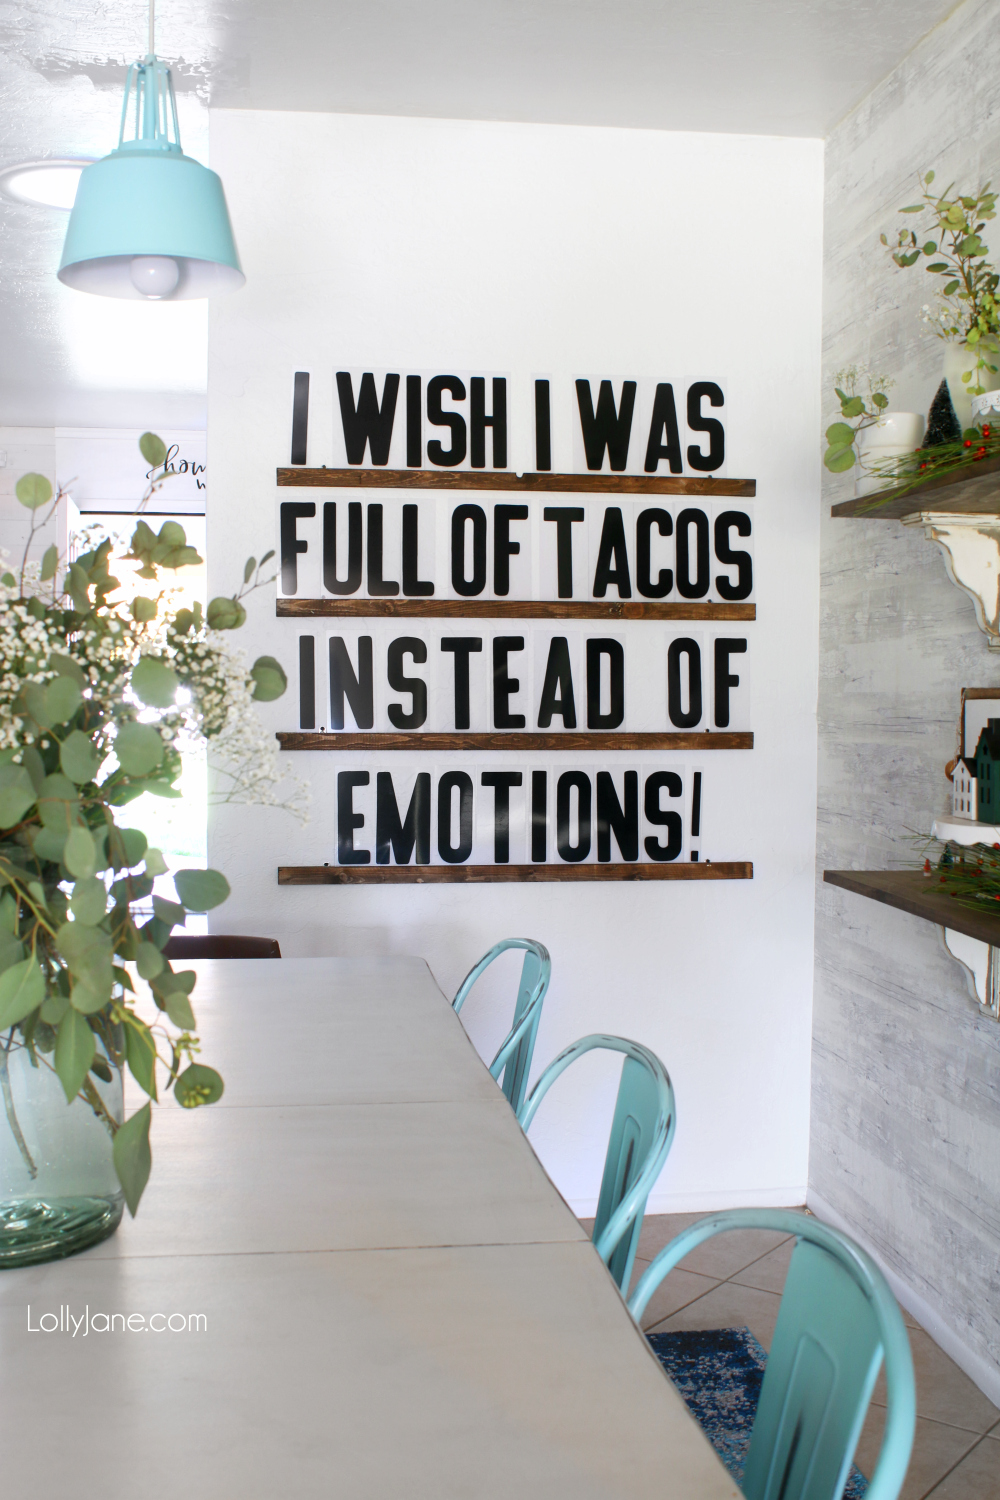
- Hang up 9.5″ apart or add 1.5″ to your letter height.
- Come up with super clever sayings to enjoy all the day long!
Loved personalizing my letter board ledge for my husbands Christmas SPD (Scottsdale Police Department) K9 unit. Our sweet police dog makes quite the model in her Christmas best! 😉

NOTE:
- There are different ways to hang the boards:
- You can pre-drill holes to the front side then screw in from the front so the holes will be exposed. You can even find little hole fillers to plug the hole after. We figured hanging from the backside was easiest for us and you wouldn’t be left with holes showing in the front.
That’s all there is to it! What do you think? What would YOUR letter board ledge say?
PLEASE PIN so your friends can make one too 😀
Love this! Just made mine and ordered the letters. Going for this exact look. How far apart did you space the shelves?
Hi AJ, So sorry for the pokey reply! Ours are 1.5″ longer than our letters (updated the post to reflect this, thank you for asking!) so ours are spaced 9.5″ as our letters are 8″. 🙂
Best tutorial for this yet, and I have read tons! Thanks for the link to the perfectly priced letters too!! I cannot wait to make one for my own home ♡♡♡