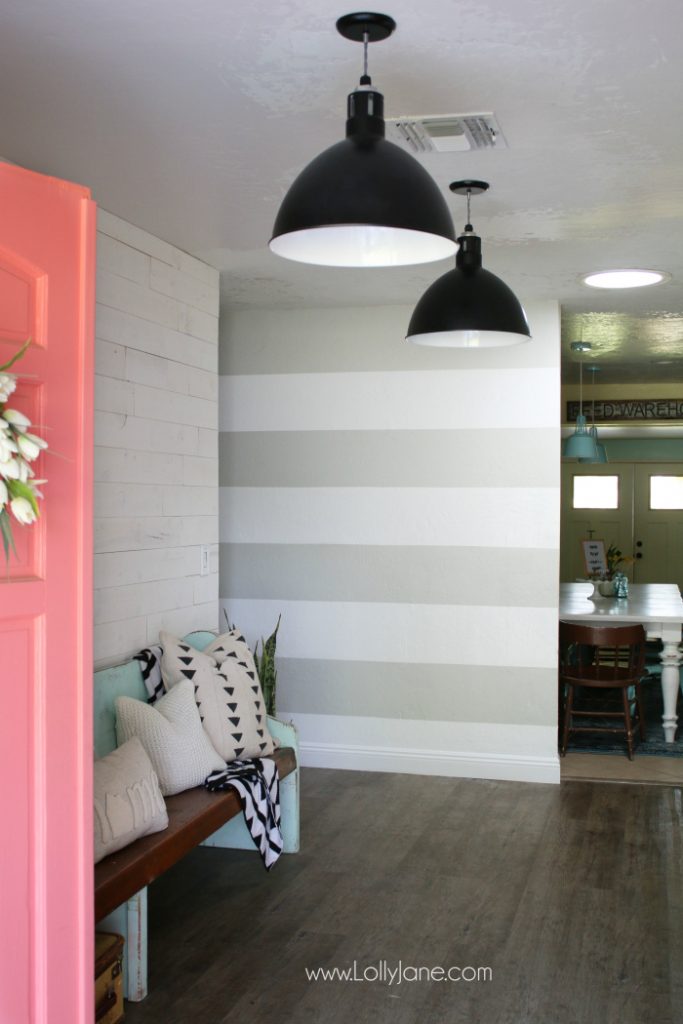
We raised our 7′ drop ceiling! Such a big difference!
This has got to be the longest project in the history of projects. We tore out our 7′ ceilings back in April and here it is, August, and we just put the finishing touches on the ceilings. WOW. In my defense, we’ve had a baptism in the middle of it plus jr high graduations, summer break, our grandfather passed away, registering kids for high school and jr high then we had some minor issues with our transom windows. But because we’re an older home, I thought it would be fun to share our very slow remodel journey. I often get envious of families who get to build their brand new dream homes but then I get over it and am grateful for living on beautiful 1.5 acres…the same 1.5 acres my twin and I were born on (not physically, lol, but we did reside here till we were two years old then moved next door to where our parent’s still live). The Ray brothers designed this home, they were the people to go to back in the 70’s. Our dad and this brothers literally built this home with their own hands. It was fun to see my dad’s handwriting on some of the framing when we were tearing the old ceiling apart. Hopefully this will help you learn how to increase ceiling height in your own home, among several other things.
Other than looks, the main reason to open up the ceiling was to upgrade the air conditioning. Our air conditioner was nearly forty years old. Isn’t that crazy!? We replaced it along with the remodel at the same time. By opening up the ceiling, we accomplished several upgrades at once:
- we upgraded the metal AC ducts to flex tubing
- we raised the drop ceilings/soffits to taller 8′ ceilings
- we installed solar tubes to bring in natural light
- we installed several pendants throughout for better night lighting
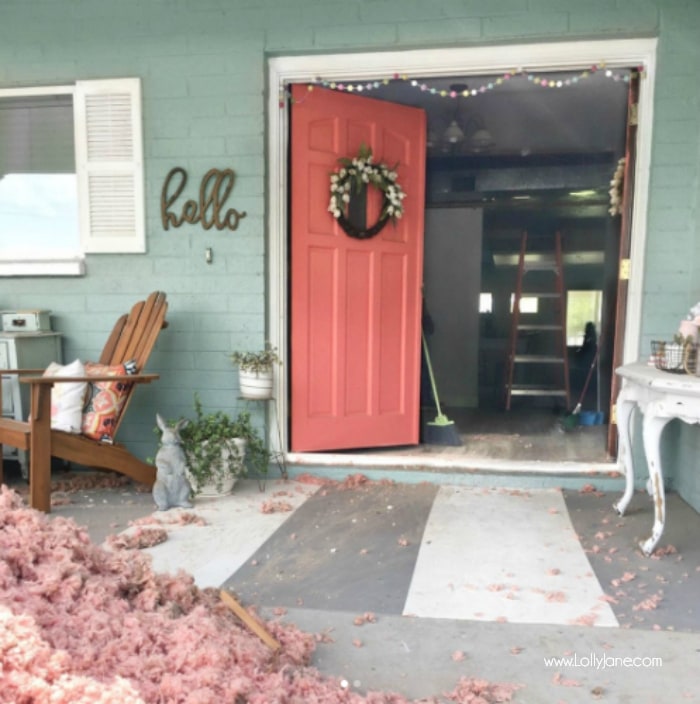
We saved money ourselves on the demo by ripping the ceiling out ourselves. It was SUCH A MESS. We had a UHaul size trailer FULL of the old insulation. Some people keep the old insulation and recycle it for their new remodel. We happily threw ours out since this wasn’t the only critter we found plus it was peppered with droppings. Our Instagram readers had some hilarious commentary 😉

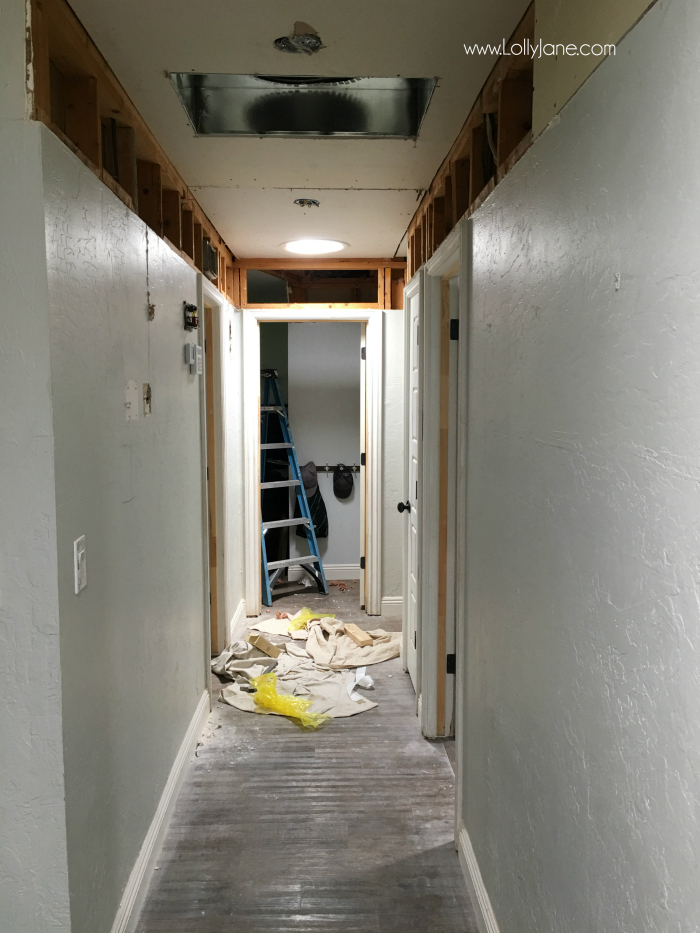
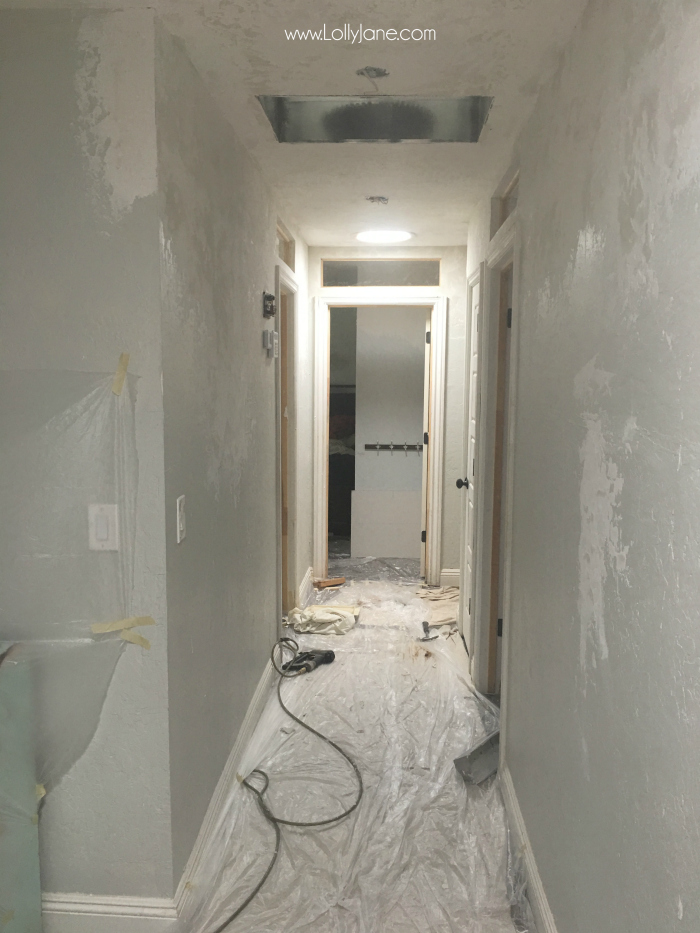
Here’s our naked ceilings. We could already see how much an extra foot of height really added to the hallway which made demo day worth it!
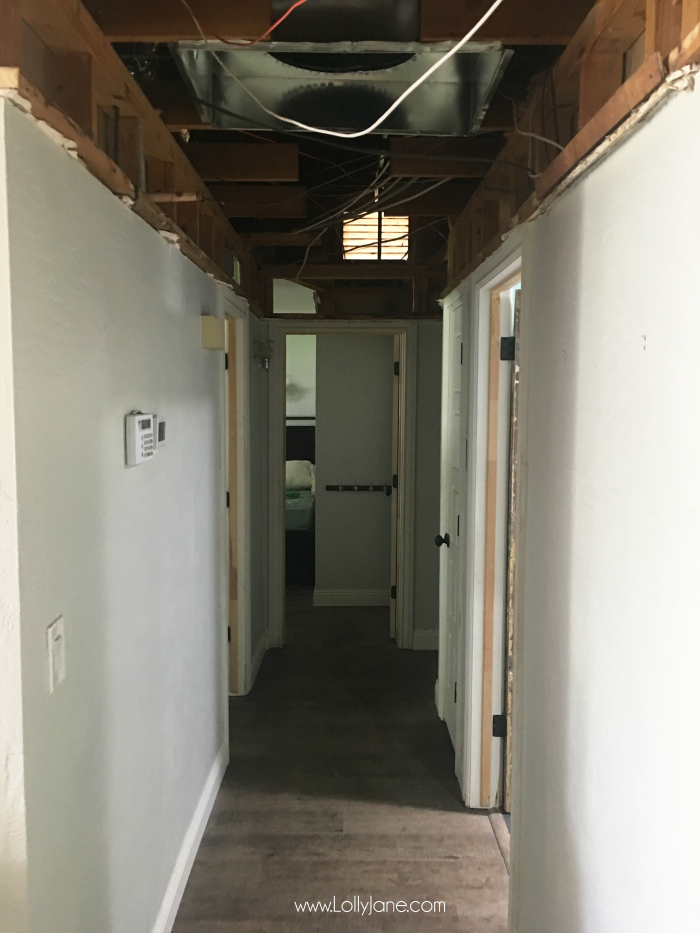
See all the tinfoil looking tubes? That’s called flex tubing, it’s an upgrade from the old metal air conditioning ducts we ripped out. It’s more efficient for your home and takes up less room up there too.
We moved the old vents from above the bedroom doors to the middle of the rooms for a more efficient flow. The difference of how cool this side of the house is versus the east side is amazing! The east side is so HOT all the time! Can’t wait to tackle that side of the home next.
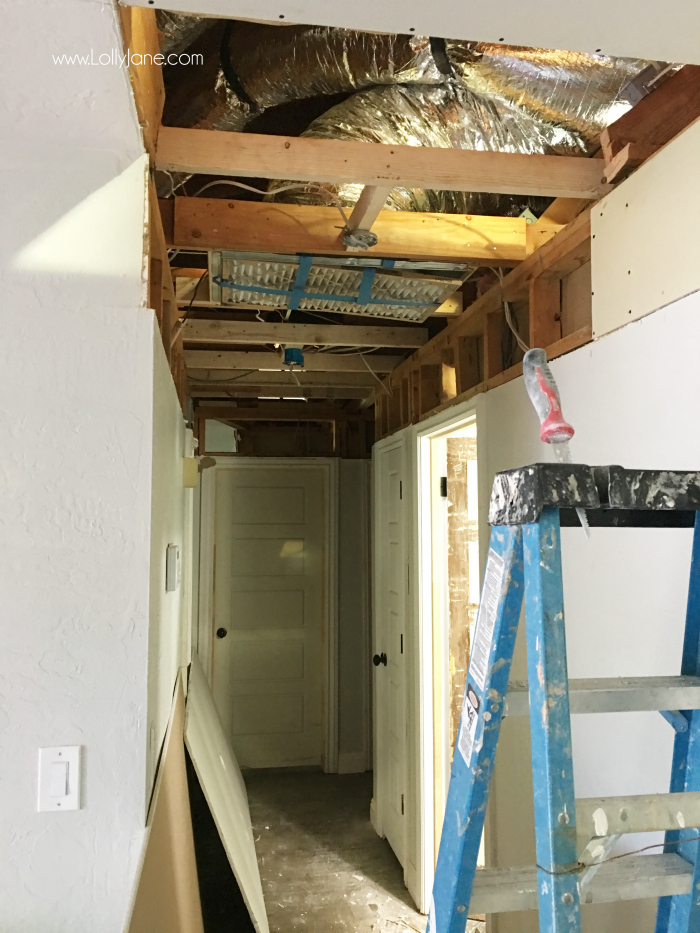
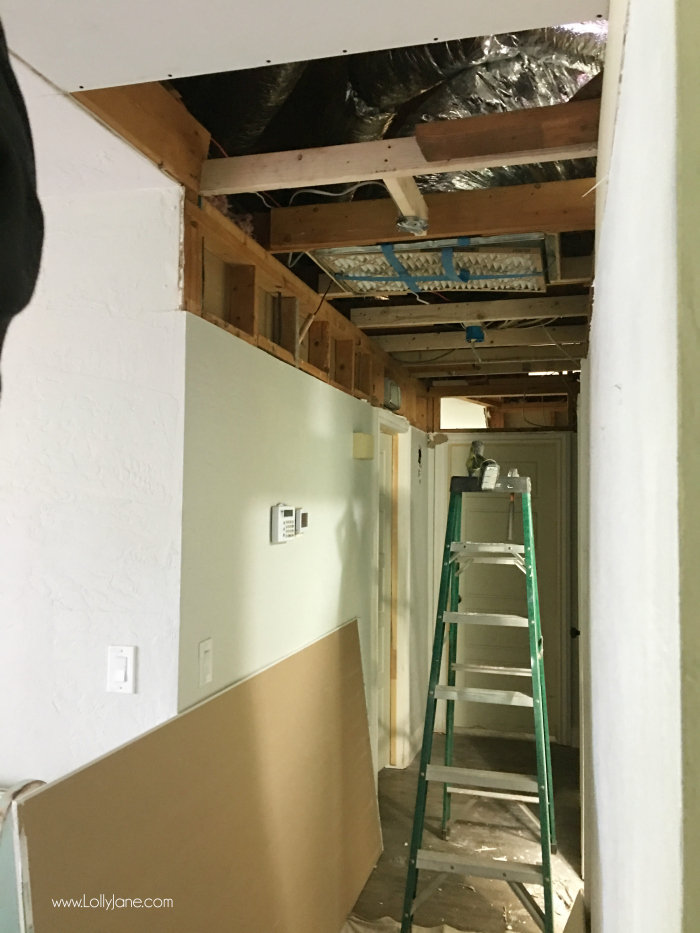
When we started putting the ceiling back together with drywall, Kristi looked at the already exsisting framed out rectangle above the boy’s bedroom door. She suggested building transom windows above each of the doors. Since we already had the tops of the ceilings ripped out anyway, it made sense to add that into the upgrade process. During this stage, we moved the previous one small hallway light to the ceilings for 3 future pendants to hang. We also added two solar tubes on each end of the hallway (you can see the installed solar tube in the back, light box one, the AC vent and the 2nd light box below).
What are solar tubes, you may wonder? Solar tubes are basically mini skylights. My mom had a few installed in her house a couple years and I love that it lets in natural light for just a couple hundred dollars. Here’s a diagram of how they work:
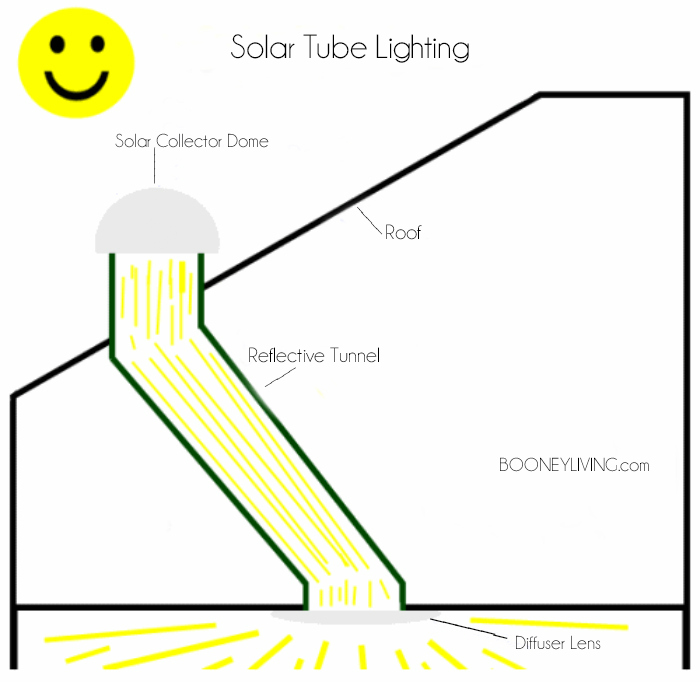
You can hire a company to install them for you or you can buy them yourselves online and install them on your own. We actually bought ours from Home Depot (we got the 14″ size for the hallway) and had our handyman install them since cutting into the roof was a little over our heads. To answer some basic questions: no, they don’t leak. Yes, they let it amazing light. Yes, if it’s cloudy outside, it’ll be darker inside. Overall, we have three now (Kristi’s husband installed a 10″ solar tube in our hall bathroom earlier this year) and we are so happy with them. Here you can see the bottom of the tube installed, looking up from the ground…you can see the bottom of the roof (the wood) which hadn’t been cut yet.

Here you can see how you add the tin tubing and build up from there, ending at the top of the roof.
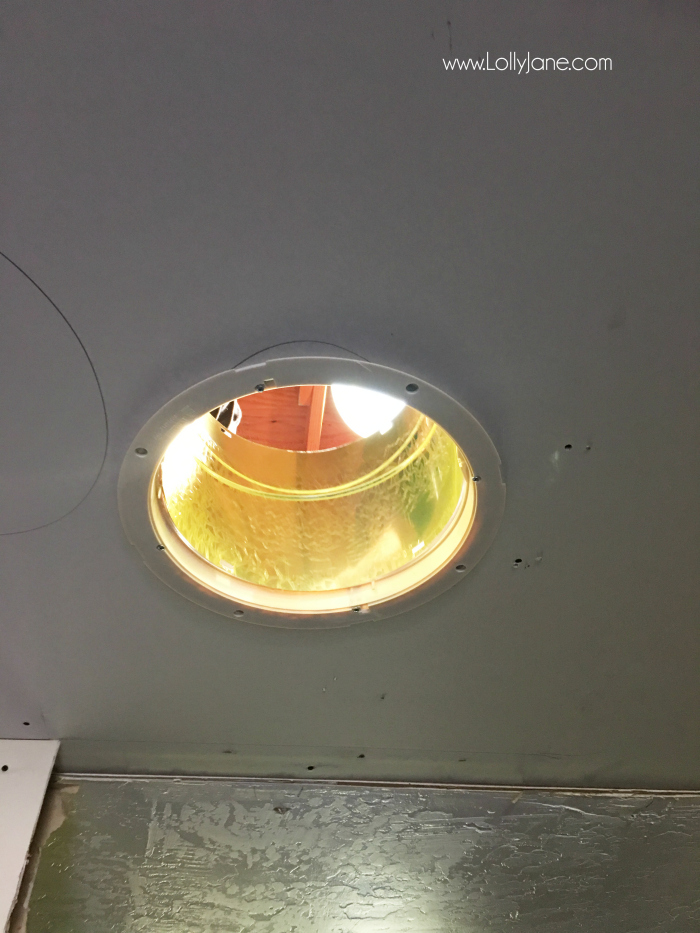
This is the bottom of the solar tube, where all that pretty light will shine bright! There’s a white cover that goes over the screws so it’s attractive. If you wanted it to match your lights, you could always spray paint the cover black, silver or bronze.

Next up was drywall. You can see we added the boxes for the new pendant lights here. I wish (for cosmetic sake) that the AC vent wasn’t smack dab in the middle of my new pretty ceilings! But it’s the most sensible spot for it so no changing it.
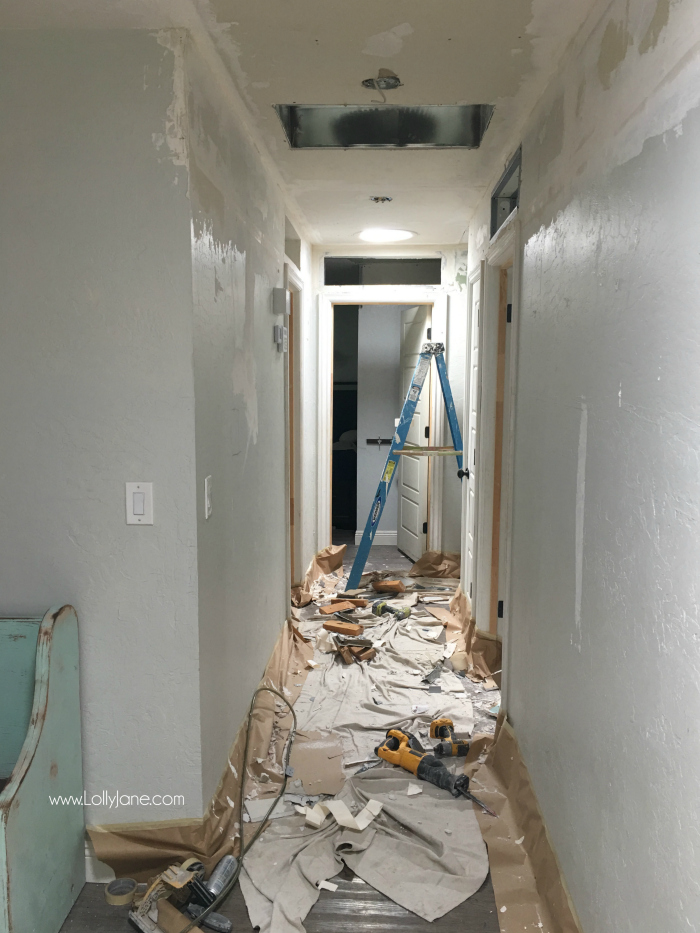
Add mudding (texture) to the drywall to finish off the project. Here in Arizona, most houses have texture. Some people love flat walls and ceilings but I don’t mind the texture…it hides dirt better. HA 😉
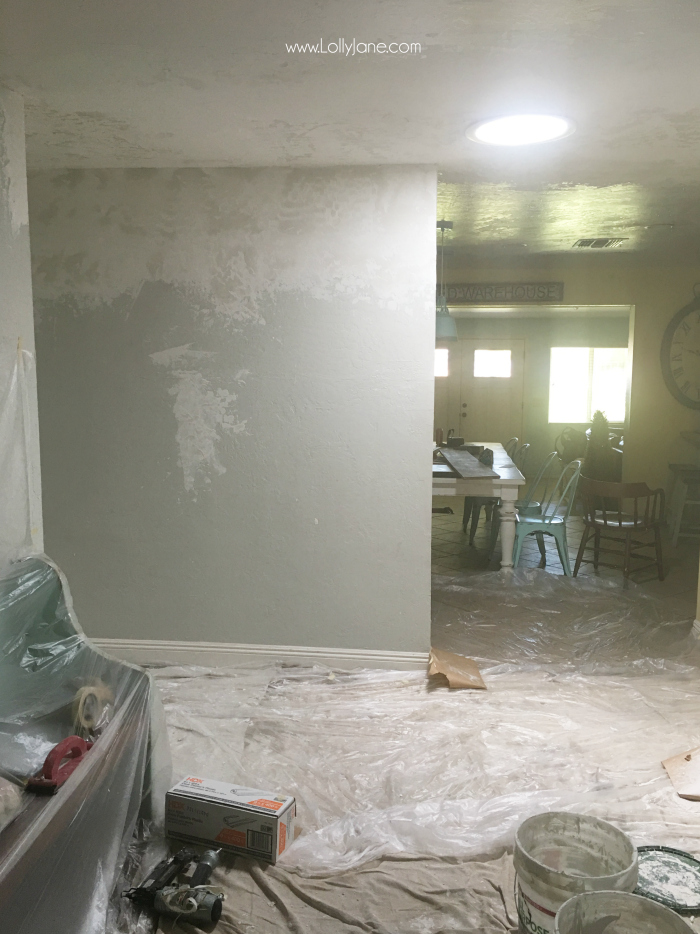
I think the part of this project I hated the most was lightly sanding down the dry texture after 24 hours. It created a fine dust that got EVERYWHERE. Be sure you also clean that dust REALLY well or your new paint will have a hard time adhering fully. I have to share how messy my vinyl floors got. Most would freak that their new floors were being remodeled on but I didn’t worry one bit, they washed right up, no problem!

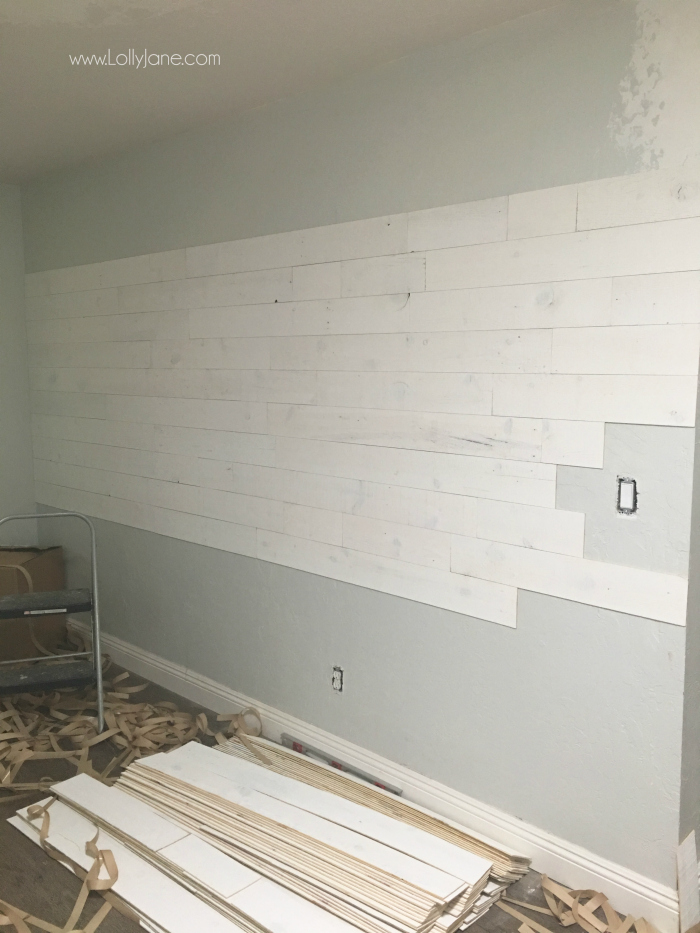
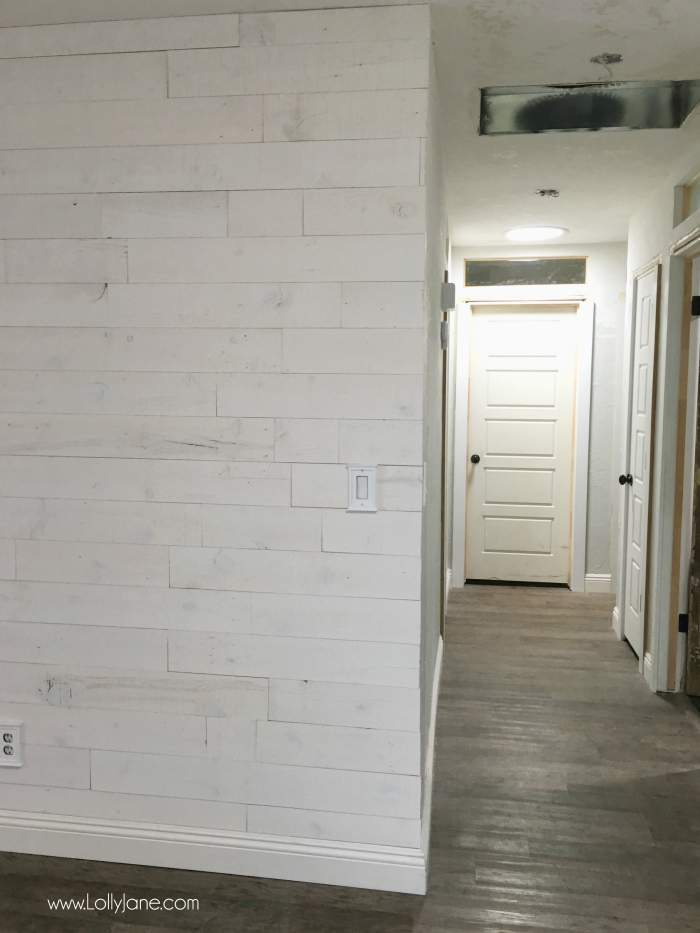
Here’s a sneek peek at our shiplap install in the entryway!
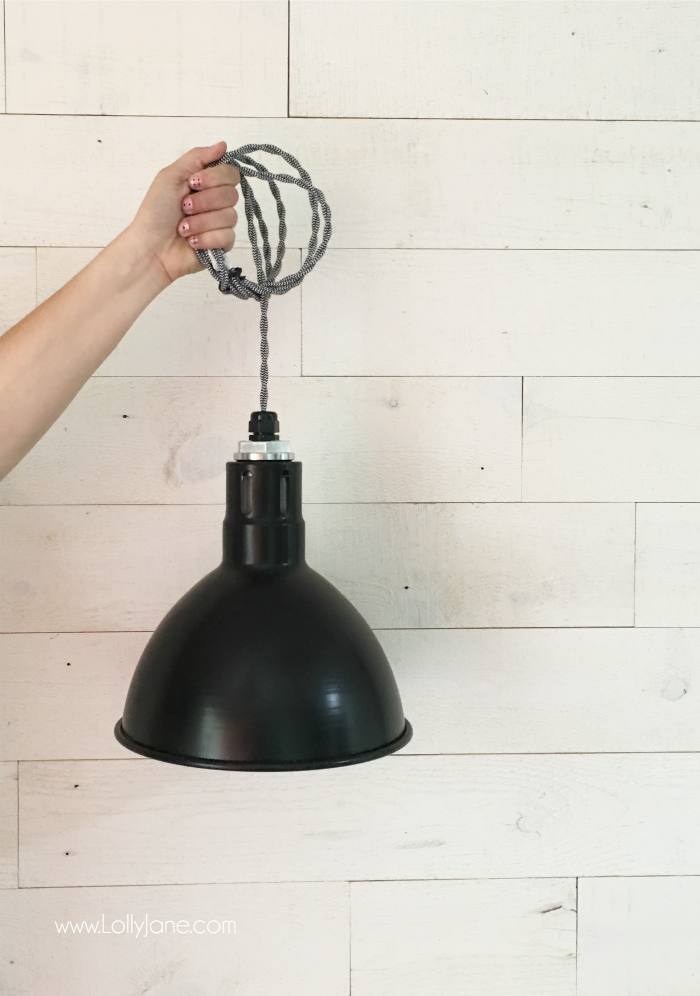
Let’s ooh and aah over my black pendants from Barn Light Electric. Several of my family members were surprised I chose black lights instead of my usual aqua, pink or mustard BUT I knew the dark color would really stand out with all the white and act as a classy base. I absolutely LOVE them. More to come on the lights but I had to share this tasty little preview with you!
Can’t wait to show you the rest! We will share more details on the peel and stick shiplap, installing those gorgeous pendants, sharing the right way to create transom windows and the step by step for creating that gallery wall on our freshly striped accent wall.


So did you just build a frame on top of the current wall and then added dry wall. I am just wondering how the attic area is now.
Hi Nary! Yes, we did. Then we were able to use flex tubing instead of metal ducts to fit the AC ducts back in there. We did hire out for the AC then added drywall, textured it and repainted.
Hello! I realize this is an older post but still very relevant! Thank you so much for all the detailed information. One question I had is…does raising the hallway ceiling mean you also raised the ceilings of all the rooms off the hallway? Sorry if I missed that but was the ceiling raised in the entire home or just the hallway?
Hi Veronica! We raised the ceilings from the entryway down to the bedrooms. We had to re-do the duct work on about 1500 sq ft of the house. We still have the kitchen and pantry to raise as well and another 1500 sq ft in duct work in the future 🙂
Wanting to raise my cealing just had a new roof done
It was so much work (and dirty!) but worth the effort! I want a new roof so badly!!
I did a google search on raising a hallway ceiling and saw your blog! I just got an outrageous quote from my otherwise reasonable contractor to raise our 6’10” hallway ceiling (second floor) to standard 8 foot. It’s a 22 foot hallway. For that cost, i could remodel a luxury master bathroom completely! Honestly, I don’t know how you did it yourself. And for a fraction of the cost I was quoted. Any advice for me?
Hi!
That’s so frustrating! We ripped out the ceilings ourselves to save money. To do so, we used a razor blade where the ceilings met and cut a line all the way down. Then we pulled the drywall down and removed all the insulation. You can totally do that!–just wear a mask so you don’t breath it in.
The expensive part was converting our metal AC ducting to the new flex tube ducting which we did have to hire out for. I’m not sure what’s inside your ceilings but in our older home, the duct work was hung low so the AC/Heater vents were in the wall inside of in the ceiling. In the new raised ceiling, we were able to use the flex tube (basically like plastic tube) to go higher in the attic so our new vents are in the ceiling. If I remember correctly, that was about $3k for his materials/labor.
From there, it was just drywall, mud and paint. If that’s above your skill level, you can hire a drywaller and not a contractor to bid you by the job. I would get the materials yourself beforehand and find a drywall professional to install for you.
Hope that helps?? Let me know if you have any further questions. I’d love to help save you money!
XO, Kelli
So my husband I am where looking at a house but ceilings in the kitchen are short. We thought raising them might make the house more appealing to us . We are tall people and use to taller ceilings. Is having a bathroom above it an issue. Is there usually this much space between floors?
Hi Shaleena! We don’t have a second story so I would contact your contractor as you’ll have to make adjustments from what we did, most likely. We had a foot between ours and had to re-route our metal AC ducts into the ceiling and replaced them with plastic flex tubing. It was so worth it!
Thank you for the detailed, thoughtful write-up about your raised ceiling project! I was looking for realistic info on an actual project so this was perfect. Not to mention the end product looks great!! I’m not sure if this would help for any future projects but as someone who re-drywalled an entire house I grew weary of all the dust from sanding drywall mud and discovered that using a big drywall/grouting damp sponge works just as well for most situations, and there’s NO dust. yay!!
Great tip, thank you!!
Love this project. I dream of doing this in OUR phx home. Can I ask a rough estimate of total hallway spend?
Hi Michelle!
We did the demo ourselves and spent about $2k/labor to put it ceiling/drywall back together. It was $2800 to install the flex tubing/replace the metal ac ducts. It was another $1800 for the transom windows to install/trim/paint. We did it as cheap as possible but it adds up, argh!
Hope that helps 🙂
Love this! We have an older home with 7′ ceilings and are planning to do this asap! Question: Did you have any issues with lead paint? I think we could do the work ourselves, but I am worried about lead paint dust. Thanks!
Hi Abby! We didn’t have any issues but we did wear masks, we went through several masks!! So messy but worth it!! Good luck 😉
Thanks, Kathleen! It’s definitely a ton of work, yikes, and a ton of money, lol! BUT this home means a lot to us and we’re happy to bring it back to life. Thanks for swinging by!
WOW that is quite an undertaking! I love the difference that it made in that hallway! Raising the ceiling like that was an amazing change! The entrance looks great! I’m sure that was a ton of work. Love the post! Glad I found it through the Grace at home party:) Can’t wait to see the upcoming changes.