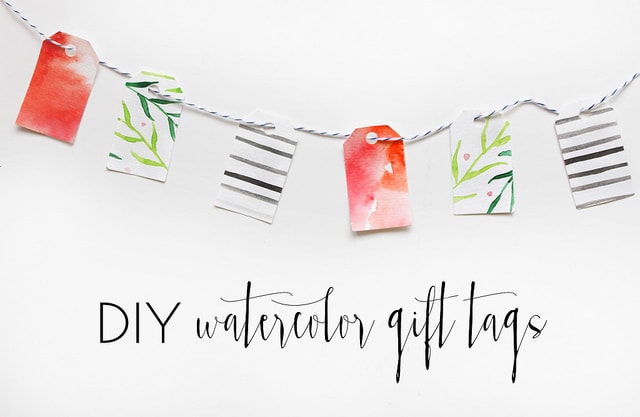
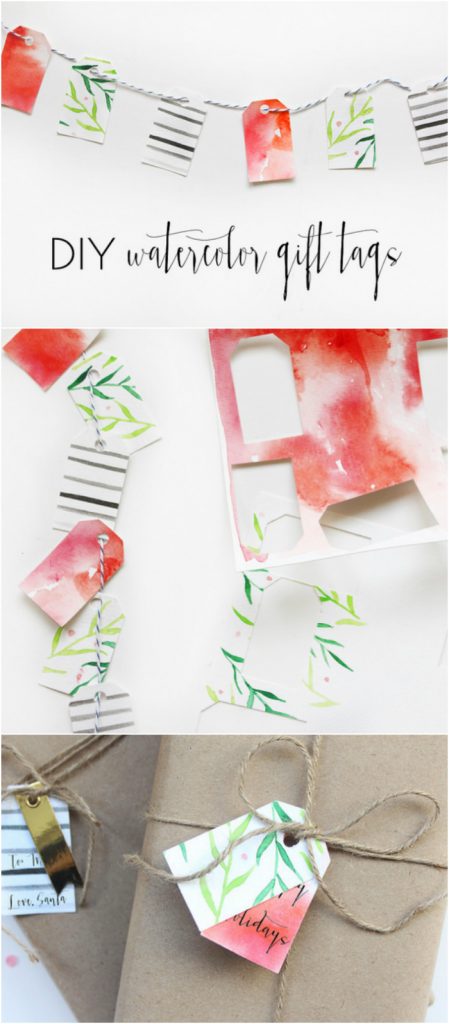
DIY Sweet and Simple Watercolor Gift Tags
Hi there! It’s Ashley from Star & Arrow Designs. This time of year is by far my favorite- the egg nog, the smell of fresh cut pine, the overall mood of coziness and goodwill, it cannot be beat. I am so excited to share with you this quick tutorial for DIY watercolor tags that you can do to get into the Christmas spirit and spruce up your gift wrapping. Hope you love these DIY Sweet and Simple Watercolor Gift Tags.
Every year I ooh and ahh over the beautifully wrapped packages on Instagram and pin a dozen examples of gift wrapping that I don’t have the talent (or time) to tackle. Along with the Lolly Jane I thought we would bring you a SIMPLE and chic way to wrap your gifts with a watercolor flair. These watercolor tags are quick and a great craft to have your kids join in on.
In case you missed it, see my previous post about watercolor 101 and some basics to get you started.
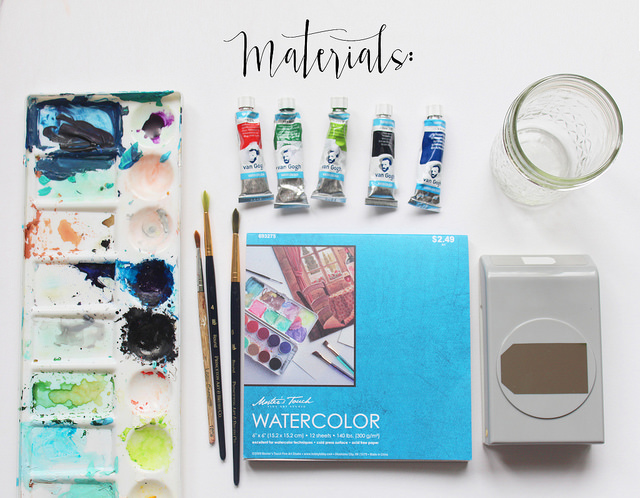
For materials you will need the following:
Watercolor Paper (I used a mini pad which is so easy and affordable for this project)
Watercolors
Couple of paintbrushes
Cup of water
Tag punch (I used this one)
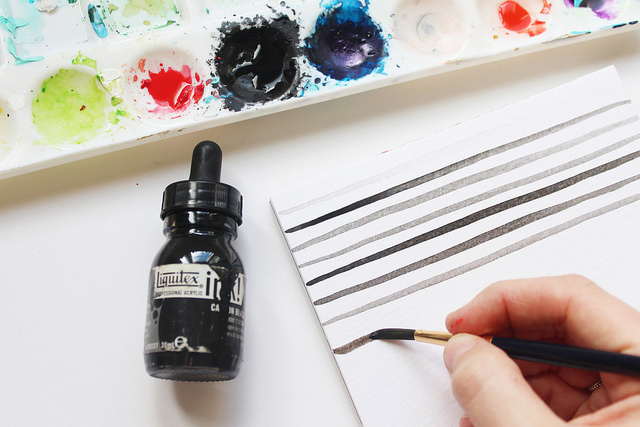
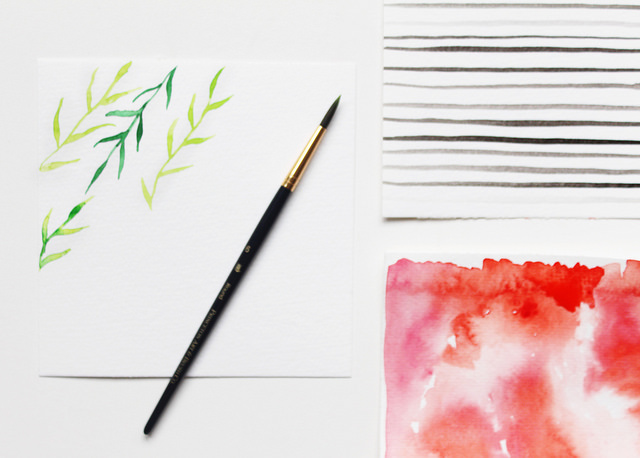
STEP 1: Choose out a few patterns you want to paint. I started with a black + white stripe. Add water to your paint and paint lines across the dry paper. Experiment with different saturations of paint on your brush to have a pretty variation of shades
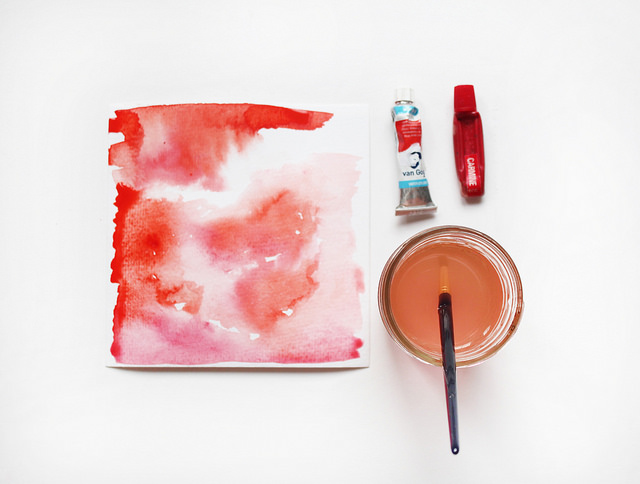
STEP 2: The next pattern is a typical watercolor texture. Start by taping the edges of your paper down to the table. This will prevent your paper from warping with the water. With this pattern, you want to paint a thin layer water to you paper FIRST and then add wet, saturated paint. Liquid watercolors work best for this. You can add more water and paint to different areas of the paper and let the watercolor work its magic.
STEP 3: Last, I painted a loose greenery pattern. I used the same technique as I describe here.
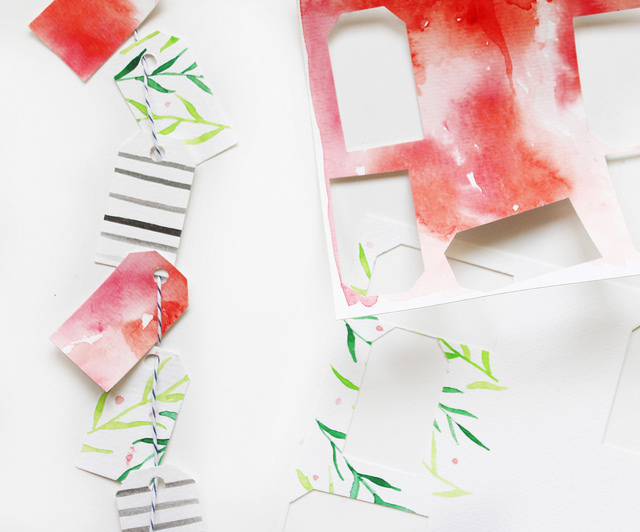
STEP 4: Punch those babies out! After your paint has (very thoroughly) dried, punch away! If your tag punch doesn’t have an eyelet, you will need a normal hole punch to punch out the eyelet for stringing.
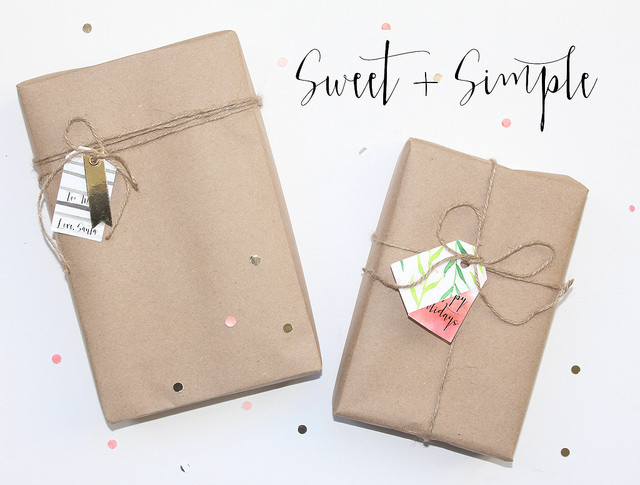
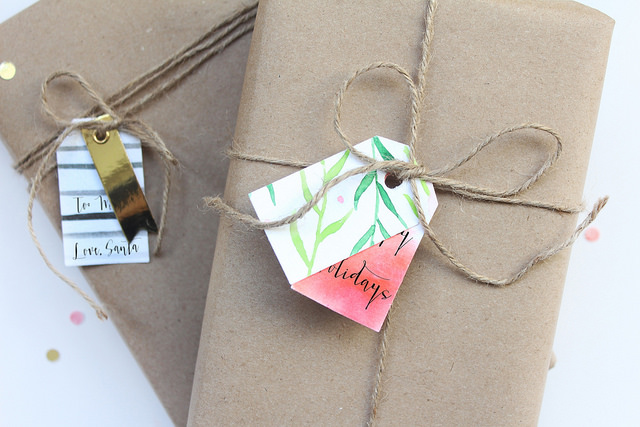
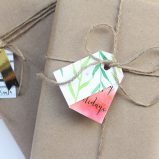
Last but not least, wrap up your gifts and tie them with string! These tags look great with bakers or hemp twine and butcher paper. Most local paper stores sell butcher paper by the foot (mine does at $.35/ft) which saves you a lot of money for the same darling look.
What I love about these tags, is that they add that perfect handmade touch without taking up your entire night to create.
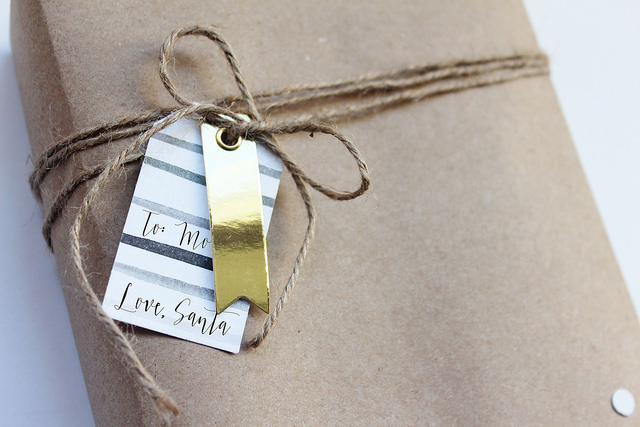
Sweet and simple, perfect for the holiday season.
Be sure to follow along on Instagram for more watercolor inspiration and our latest projects or my Etsy shop which has creations like my Oh Be Jolly Card,

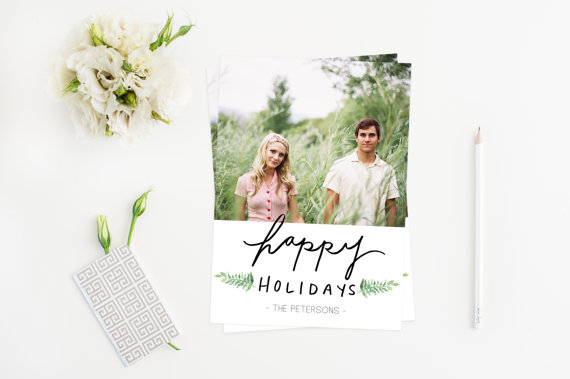
and my Watercolor Branches Card. Enjoy!

DIY Sweet and Simple Watercolor Gift Tags
Materials
- Watercolor Paper
- Watercolors
- Couple of paintbrushes
- Cup of water
- Tag punch
Instructions
- Choose out a few patterns you want to paint. I started with a black + white stripe. Add water to your paint and paint lines across the dry paper. Experiment with different saturations of paint on your brush to have a pretty variation of shades
- The next pattern is a typical watercolor texture. Start by taping the edges of your paper down to the table. This will prevent your paper from warping with the water. With this pattern, you want to paint a thin layer water to you paper FIRST and then add wet, saturated paint. Liquid watercolors work best for this. You can add more water and paint to different areas of the paper and let the watercolor work its magic.
- Last, I painted a loose greenery pattern. I used the same technique as I describe here.
- Punch those babies out! After your paint has (very thoroughly) dried, punch away! If your tag punch doesn’t have an eyelet, you will need a normal hole punch to punch out the eyelet for stringing.
- Last but not least, wrap up your gifts and tie them with string! These tags look great with bakers or hemp twine and butcher paper.


Thanks for sharing information. I love your post. I will visit again on your blog.
These are too cute! I love the idea of adding watercolor to gift tags, but I never thought to just paint and then make gift tags! So creative. Thanks for sharing!
Thanks, Jessica! Ashley is so talented!!