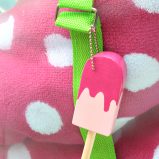
DIY Popsicle Key Fob
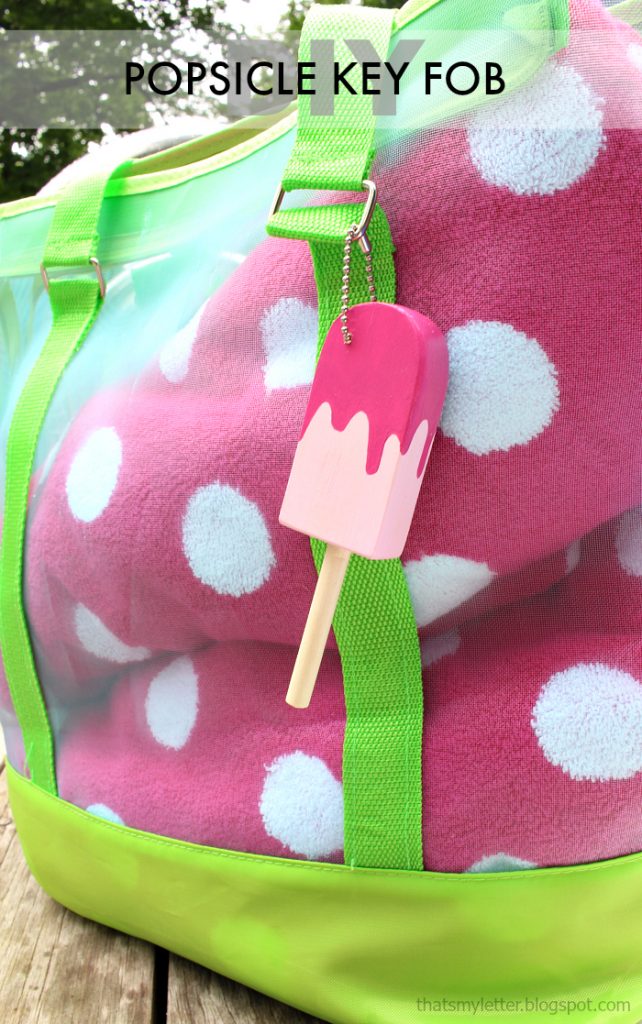
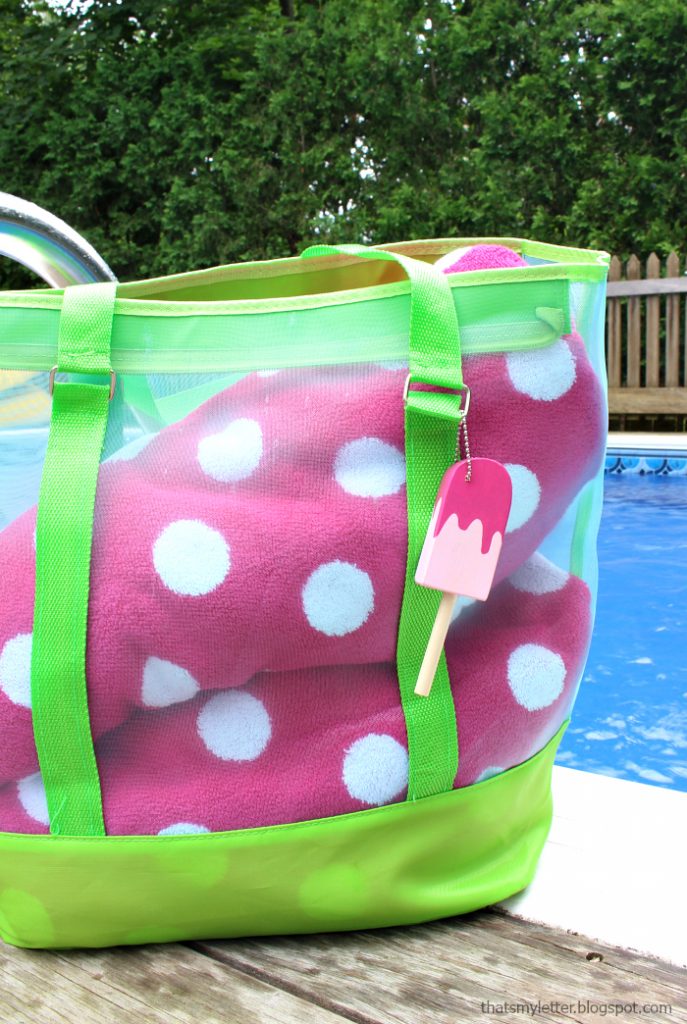
Hello Lolly Jane readers, Jaime from That’s My Letter here again to share these diy popsicle key fobs because it’s summer and all we can think about are cool summer treats! Where I live we call these ice pops or ice cream bars but growing up they were popsicles so no matter what you call them they are super fun, easy and make a great addition to your beach or pool bag, your kids backpacks or even your key chain.
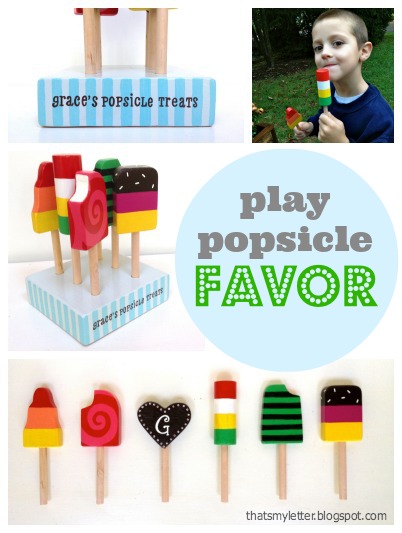
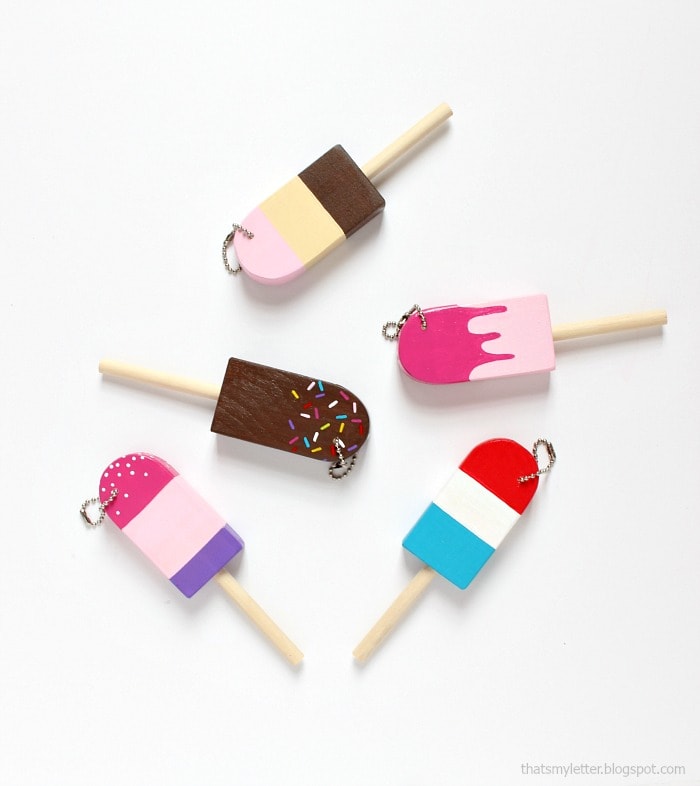 Paint them any color you like, go crazy with flavors and add sprinkles and toppings to make it extra fun. Wouldn’t these make a great party favor?
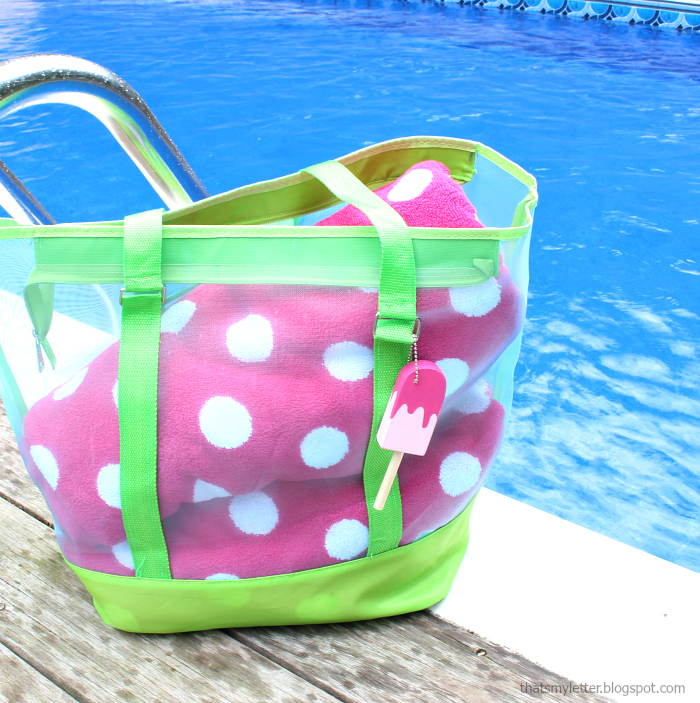
We made these for end of the year teacher gifts wrapped up with a nice gift card. They scream summer and add just a touch of whimsy.
Supplies:
- 1×2 scrap wood cut at 3″ long
- 5/16″ circular dowel
- scroll saw or bandsaw
- drill & drill bits
- wood glue
- sander
- gloss acrylic paint & paint brush
- painters tape
- key chains
Directions:
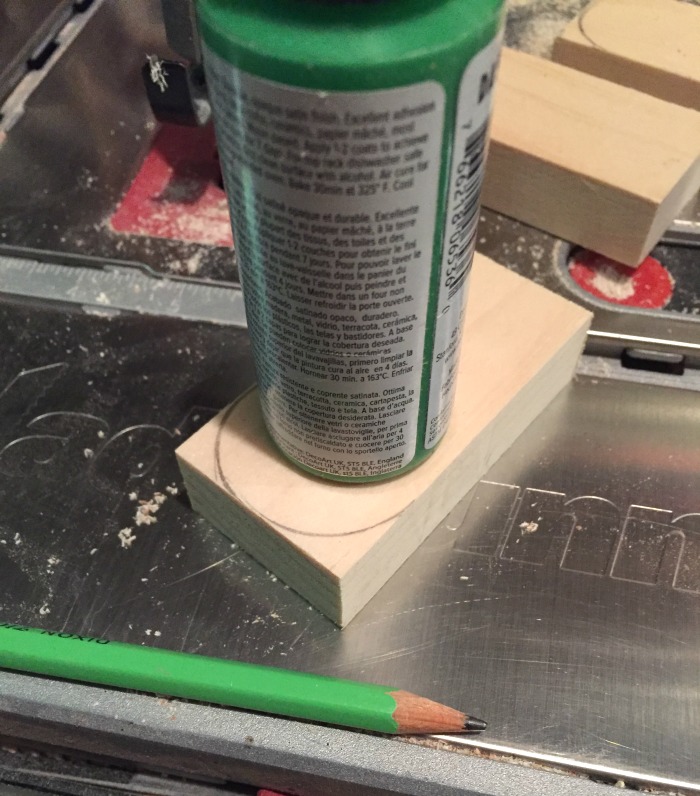
Step 1: At one end of the 1×2 wood piece mark with a pencil the curved cuts using a small acrylic paint bottle as the template. Use a scroll saw or band saw to cut off the sharp corners then sand everything smooth.
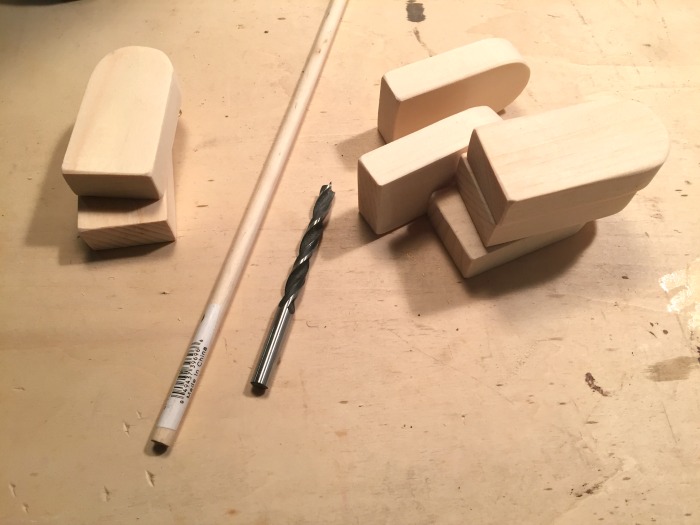
Step 2: Use a 5/16″ drill bit (to match the dowel size) and make a 3/4″ deep hole at the center bottom of each wood popsicle.
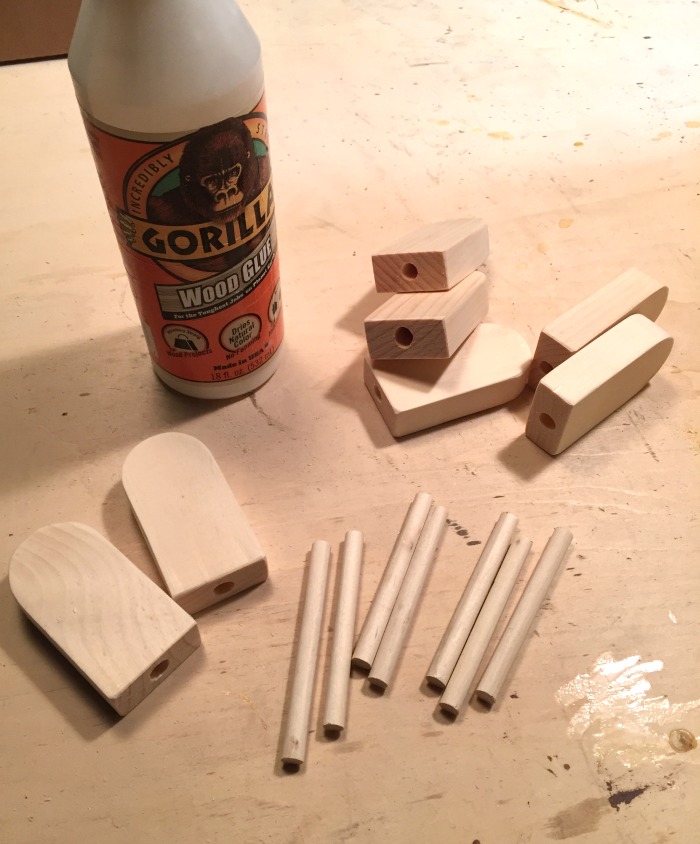
Step 3: Cut the dowel into 3″ sections. Apply a dab of wood glue into the hole then shove the dowel in for a secure, snug fit.
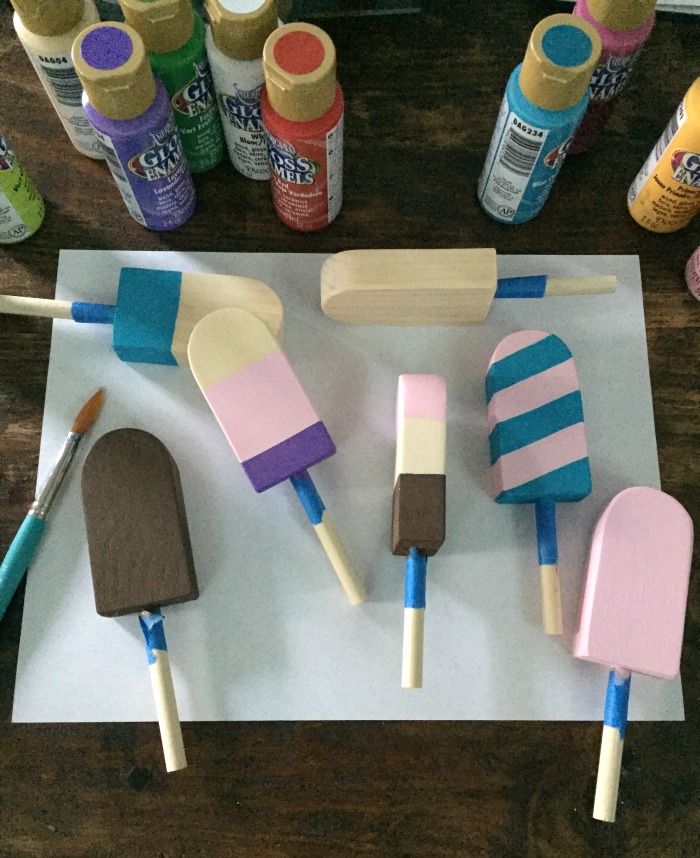
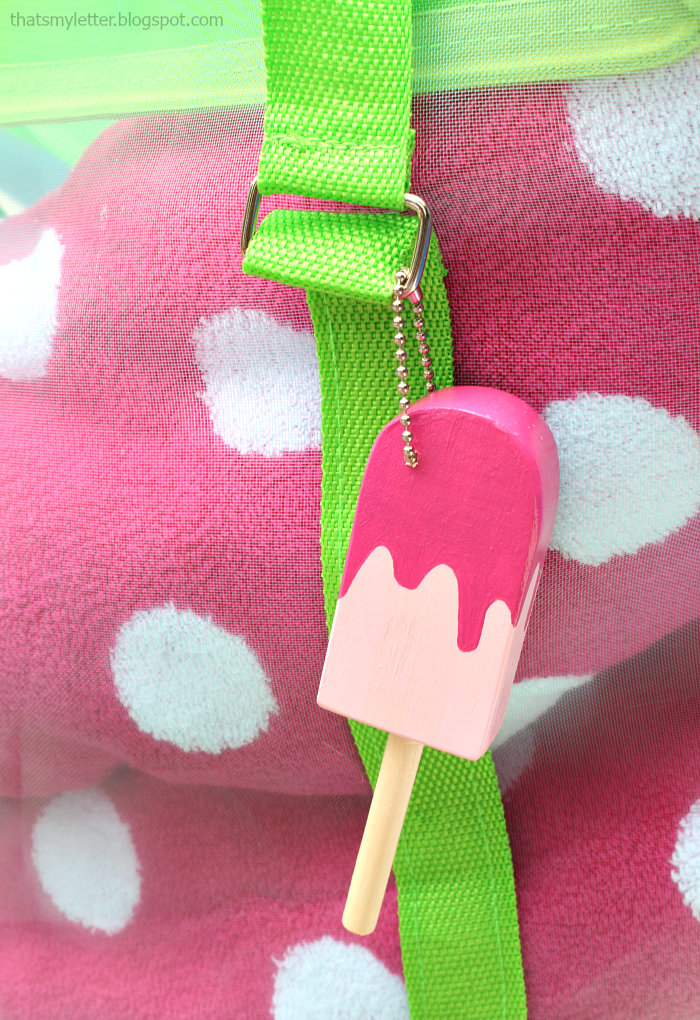
Step 4: Wrap painters tape around the wood handle to protect it from paint. Paint your popsicles as desired.
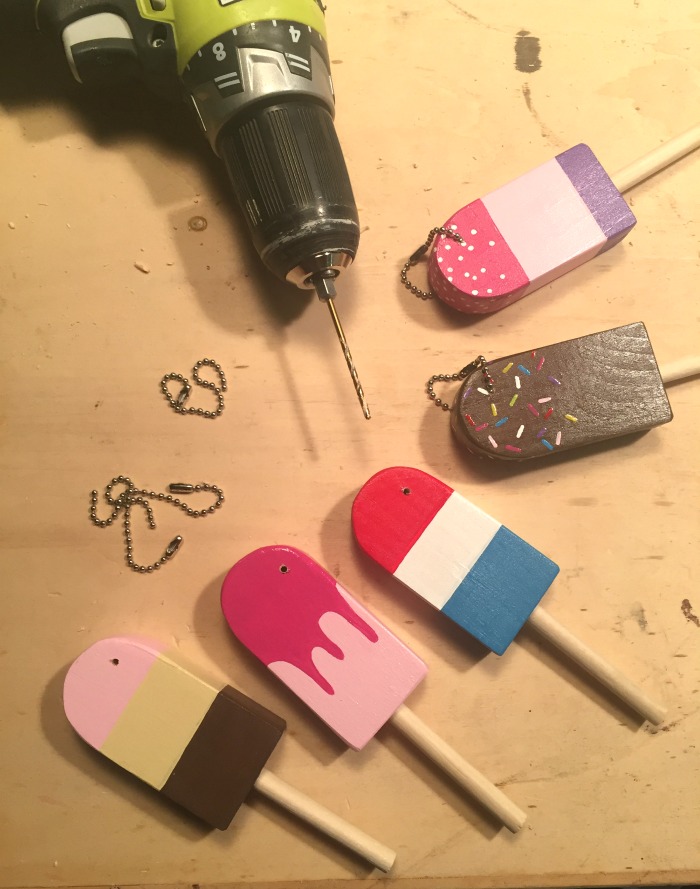
Step 5: Drill a small hole for the key chain into one corner of the popsicle. Thread the key chain through and lock.
Tips: I used gloss enamel acrylic paints because they leave a shiny, glossy finish. You can always spray a clear gloss polyurethane protective coating over your paint to further protect it from wear and tear.
I hope you enjoyed this popsicle key fob project. I would love to see your versions, please share on social media so we can see your creativity!
Be sure to follow me on social media for more project ideas and sneak peeks:
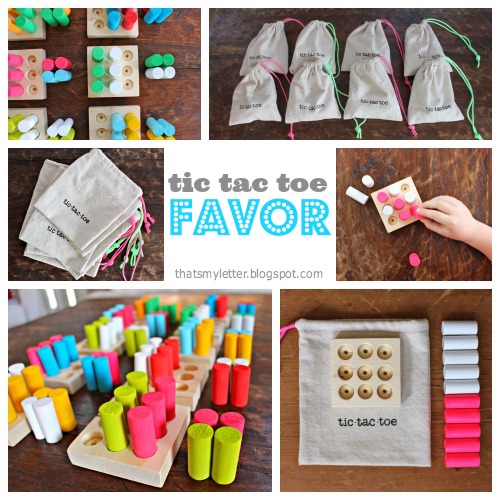
For more diy party favor ideas that are kid friendly how about this little wood tic tac toe game?
DIY Popsicle Key Fob
Materials
- 1×2 scrap wood cut at 3″ long
- 5/16″ circular dowel
- scroll saw or bandsaw
- drill & drill bits
- wood glue
- sander
- gloss acrylic paint & paint brush
- painters tape
- key chains
Instructions
- At one end of the 1×2 wood piece mark with a pencil the curved cuts using a small acrylic paint bottle as the template. Use a scroll saw or band saw to cut off the sharp corners then sand everything smooth.
- Use a 5/16″ drill bit (to match the dowel size) and make a 3/4″ deep hole at the center bottom of each wood popsicle.
- Cut the dowel into 3″ sections. Apply a dab of wood glue into the hole then shove the dowel in for a secure, snug fit.
- Wrap painters tape around the wood handle to protect it from paint. Paint your popsicles as desired.
- Drill a small hole for the key chain into one corner of the popsicle. Thread the key chain through and lock.
Notes
Tips: I used gloss enamel acrylic paints because they leave a shiny, glossy finish. You can always spray a clear gloss polyurethane protective coating over your paint to further protect it from wear and tear.
Paint them any color you like, go crazy with flavors and add sprinkles and toppings to make it extra fun. Wouldn’t these make a great party favor? We made these for end of the year teacher gifts wrapped up with a nice gift card. They scream summer and add just a touch of whimsy.

Brilliant idea! I can’t wait to make these with my grand daughters. Thank you so much!
cute. cute. cute….must pin!!! Thanks 🙂
Agree, so fun for the summertime or a boredom buster activity! Thanks for pinning!
this is so cool!