diy paint stick snowflake
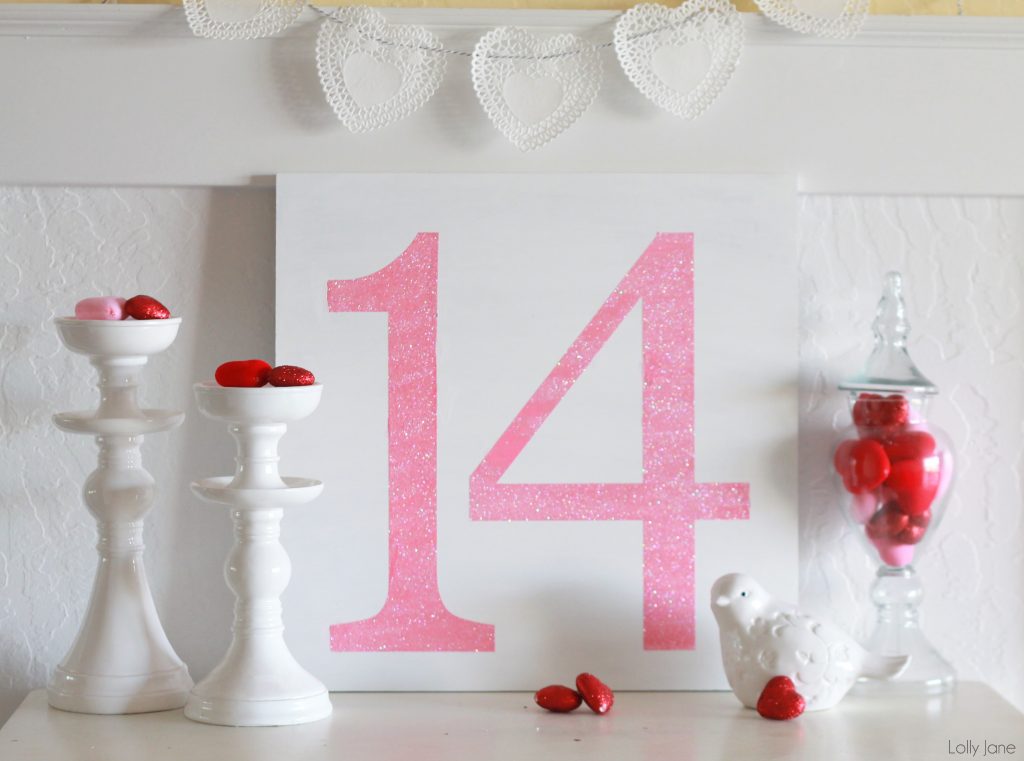
Happy January! We’re getting ready to bust out all things pink as Valentine’s Day is approaching (does that freak you out that it’s barely January??—sorry, here in Sunny, AZ we don’t have “winter” so VDay it is!) but didn’t get a chance to share our easy DIY paint stick snowflake with you. We originally shared it with Mohawk’s readers last year. If you’re decorating for winter, this easy paint stick snowflake tutorial is the perfect addition to your mantel.
You may have most of the items needed to make your own paint stick snowflake already sitting in your garage but if not, head to the paint section of your local home improvement store and grab 10 paint sticks, white paint (latex or acrylic is great but we used Americana Decor Chalky Finish this time) and glue, (we used Elmers Wood Glue Max because it dried quick and holds tight.) Of course you can use BB Frosch chalk paint powder + our favorite brushes too! I whipped this up in under an hour (excluding dry time) but there are a lot of cuts to make so I went with a more rustic look, which is very forgiving for mistakes. 😉
I used (4) paint sticks and criss-crossed them over one another to lay out what I wanted my snowflake to look like. I marked the top 2 paint sticks roughly 1.5″ from each side then cut using a miter saw. I then made a 30 degree angle cut on each piece that was trimmed from the paint stick. Repeat until there are 16 cut pieces total, 4 per stick, (2 per end of each side.)
SAFETY NOTE: These are small pieces and you will be working VERY close to the blade. We have a lot of experience with our saw but if you are not skilled with a miter saw, I would advise to use a new paint stick (or the thicker side of shims) and make your angle cut on each side of the stick then cut 1.5″ roughly from there. Longer pieces are safer to work with.
After making the cuts you can begin to glue! I broke my snowflake into 4 sections and first glued the top paint stick to its 4 small angled pieces and repeated gluing until each paint stick had 4 pieces, (2 per end.) Once the glue dried, I simply glued each layer down and left the shorter paint sticks on top of the longer ones.

Once the glue is completely dry, give it a light coat of white paint.
That’s it! 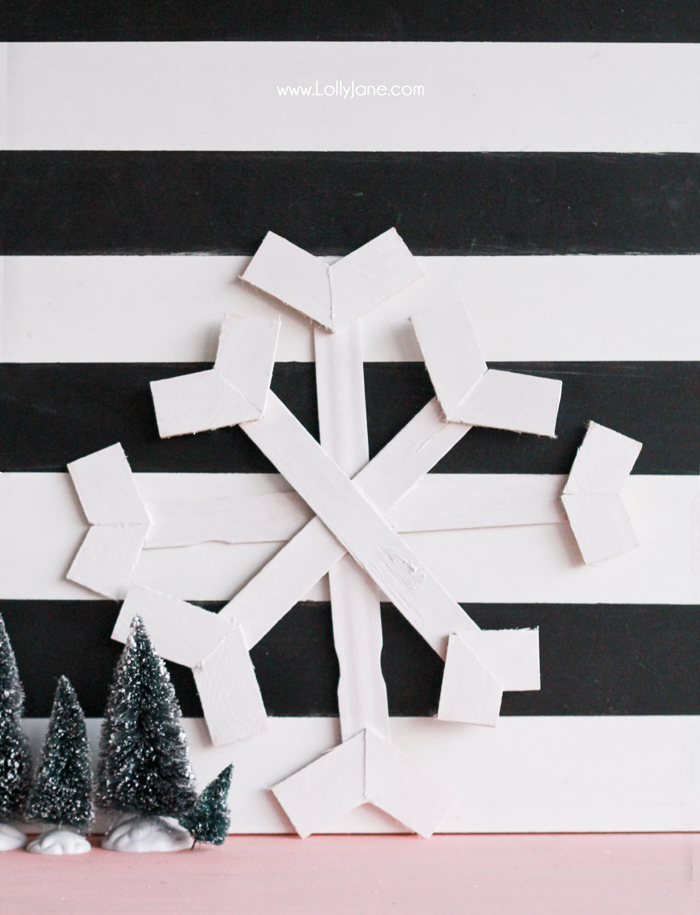
Just display + admire. Easy peasy and this one was FREE!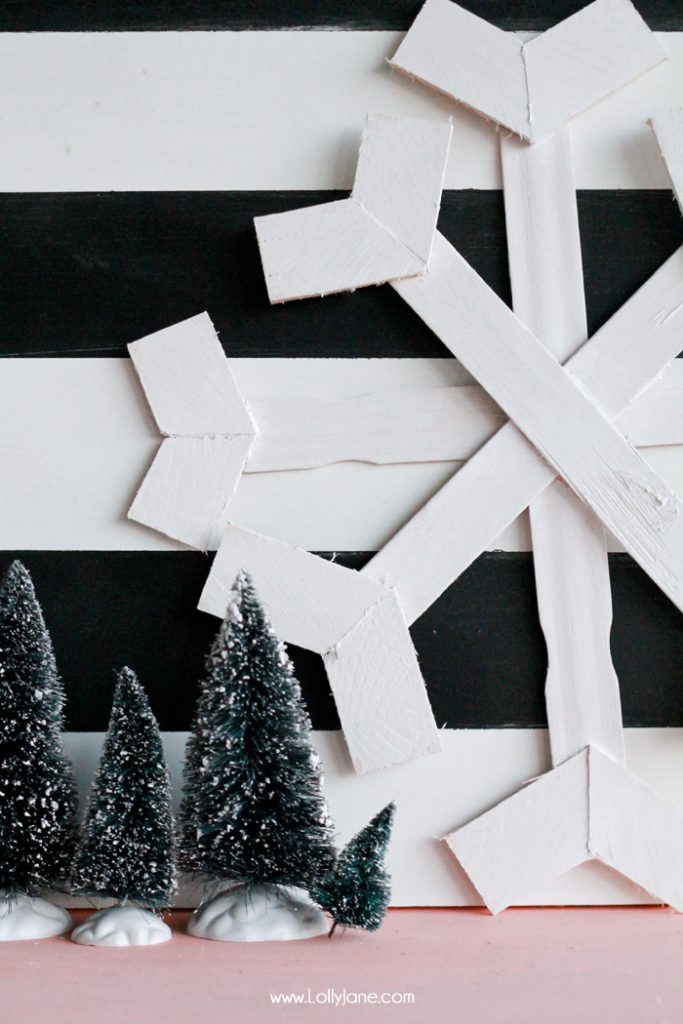

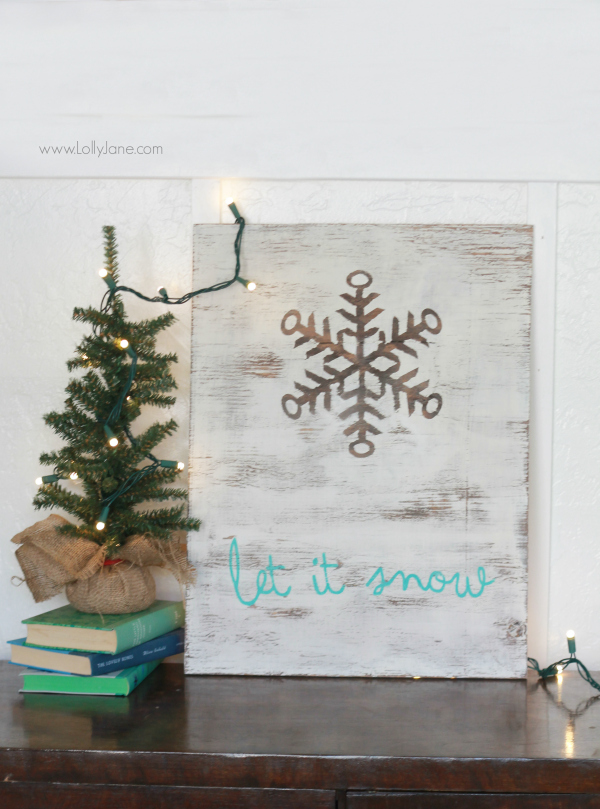
Check out more of our decor ideas like our Let it Snow sign,
.jpeg)
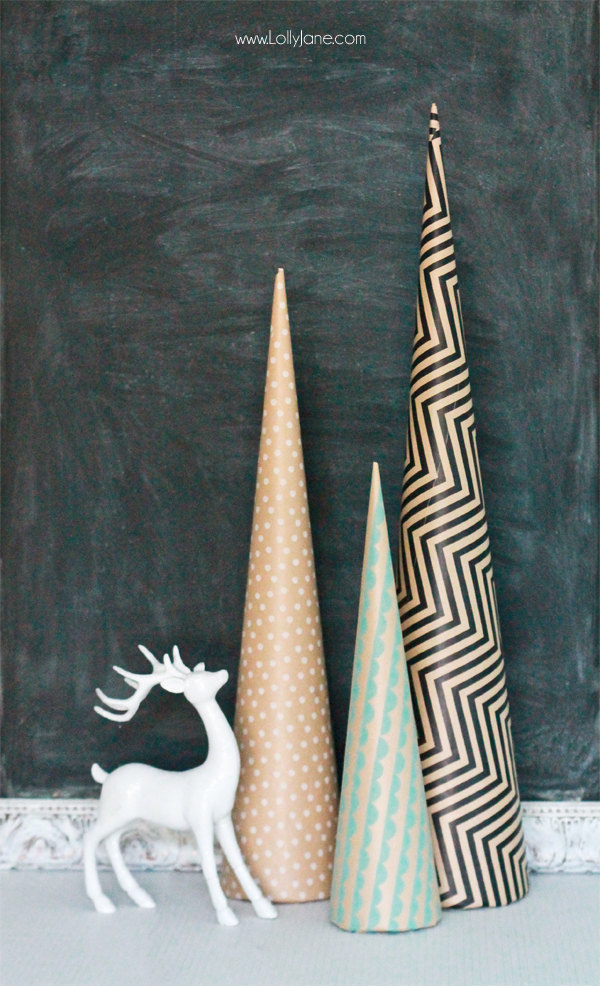
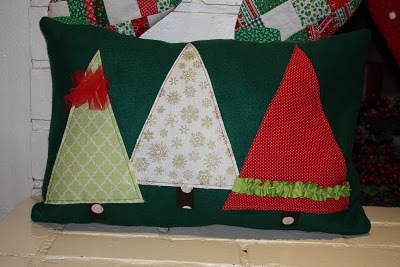
plus our paper wrapped trees!