DIY decorative vent cover
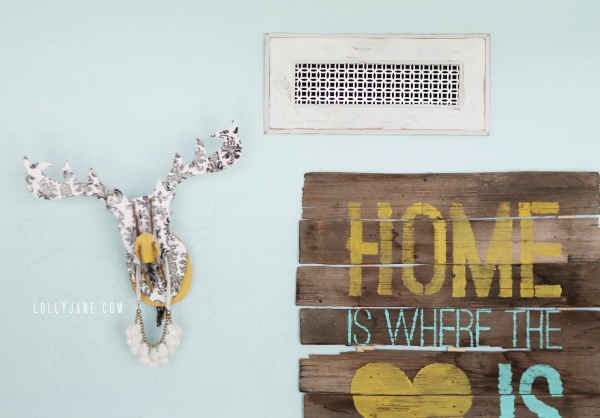
Is your air vent in a prime decorating spot? The one in our craft room is and we were having a hard time decorating around it without it being an eye sore. Our solution? Upcycle an old cabinet drawer front into a rustic decorative vent cover! It was a fast project that doesn’t require any major tools. We just love how it turned out!
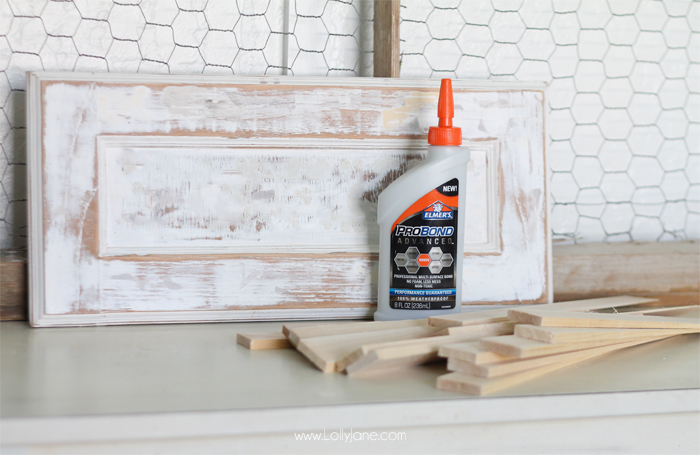
Let’s take a peek and see how we transformed this standard vent cover from a shabby old cabinet drawer front, shall we? Start with an old cupboard door front. We lucked out as this little guy fit the same size as our vent opening. You can nab old cabinet doors at garage sales, second hand stores or in our case, our mom’s kitchen remodel leftovers.
We used a Dremel saw to carve out the inside of the cupboard door. (Another option is to use an old picture frame, which would be waaaay easier. Ha!) We bought this cute aluminum sheet metal at Home Depot. It was $18 but we only ended up using 4.5″ x 15″ so it’s worth the money if you want to do this with all your vents. You can get at least 6 vent covers from one sheet, not too shabby.
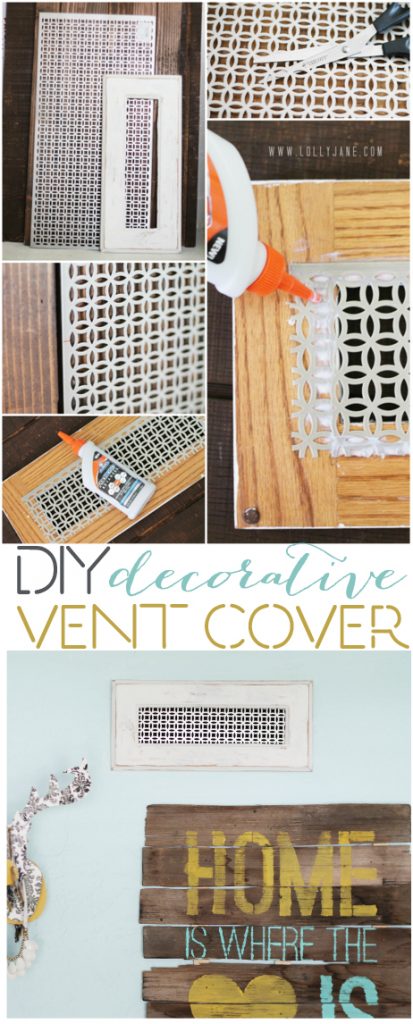
A huge bonus with this sheet metal is that scissors will easily cut it. I was worried I would have to use tin snips but it’s thin enough that a standard pair of scissors sliced right through! Measure out the size you’ll need from the aluminum then cut it to size. I was able to glue the aluminum directly to the backside of the wood. Recommended dry time is two hours but the nice thing is there is no expanding of the glue. After it’s dried, we used our pop tab trick to easily hang the new decorative vent with a small nail right above the vent opening.
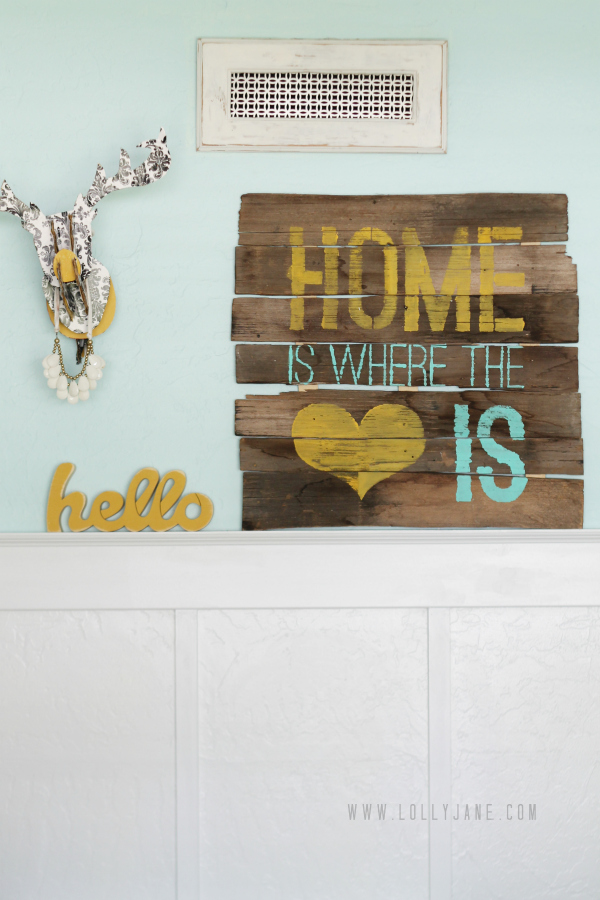
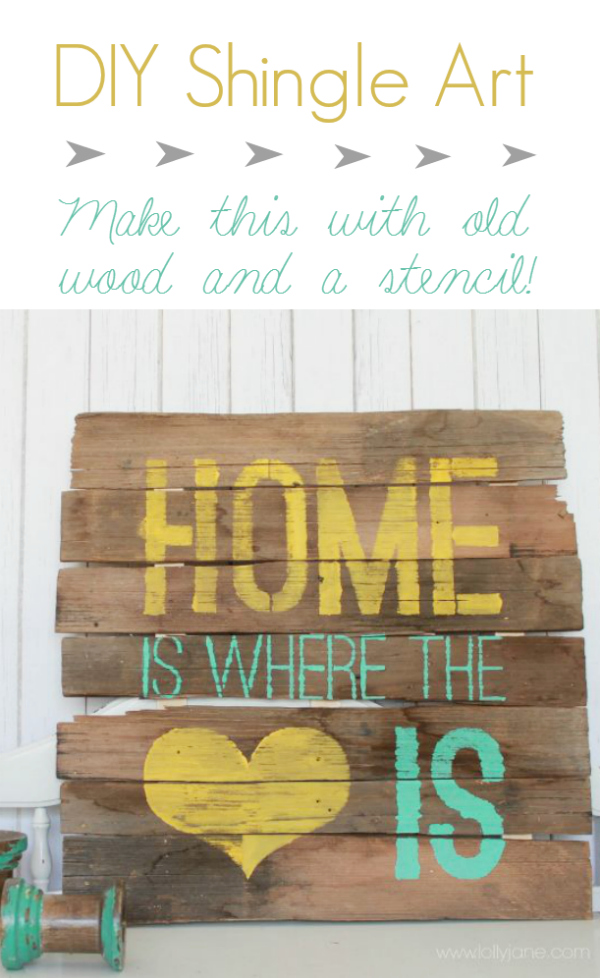
PS: Do you love this Home is Where the Heart is Pallet Art too? Make your own!


Genius!
Thank you, Jeanne!
Astúcia Interior a Alerta Básica. http://garage-alize.ch/index.php/component/k2/item/63-abarth?EntryCode=7615
Stupid question… is there any reason why I SHOULDN’T do this? My only concern is that our vent covers fit into the vent slots, can you imagine any reason why they would need to? I pretty much want to make all new covers TO.DAY! Thank you so much for this awesome idea!
Hi! Not a stupid question at all! The great thing about this tutorial is that we didn’t remove the inner vent at all so you can always slide the old one back in. We simply hung the new one over the open space so it’s not a permanent change ?? So go for it!!! Let us know if you have any questions along the way!
When I got to your site I got a surprise. My name is Kelly and my sister’s is Kristy too!
How funny!! We are with i’s but always wanted to end with y’s! 🙂 Welcome!!
I am Lollie!
Hiii name twin!! ??☺️
Want. !!!!!! My house could use this update,!
It’s so easy! Have fun 😀
I loved your Tip Me Tuesday link this week. {thanks girl!} Would you like Tip Junkie to feature your blog post to over 200,000 creative women? If you upload this blog post into your Tip Junkie craft room using at least 2 images, 2 steps, and blog post URL then I can easily feature it in my RSS feed, home page, and all my social networks instantly. {squealing with delight} ~ Laurie {a.k.a. the Tip Junkie}
http://www.tipjunkie.com/post/how-to-add-a-craft-room-project-on-tip-junkie/
Yep love it! Ours is up high but still not super cute like this!
So fun! We’ll have to check it out 🙂
Very nice, the vent looks much better now than it did before.
What a simple difference, right? Thanks, Harumi!!
Um, brilliant!! Love this idea and it looks SO much better!!
oh my heck, that’s cute!!!! I’ve never seen that glue in Canada…. sometimes it takes a while for products to make their way up here!
This looks so much better!! I have a terrible vent too… need to pin this to check back and make my own … one of these days:)
That’s beautiful…Seriously so much better than the regular vent!