Antique White Dresser Makeover
Hello! I’m Jes from My DIY Envy and I am sharing my latest antique white dresser makeover with you today!

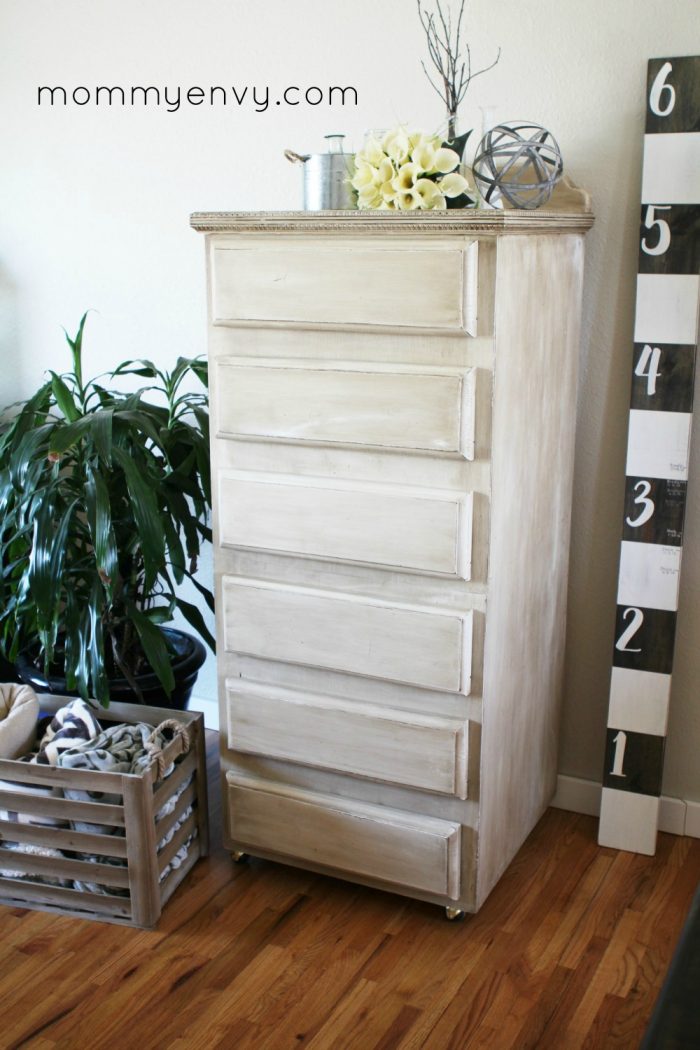
I found this dresser on the side of the road. Yep, that’s right, I saw it on the sidewalk on my way home. I was 7 months pregnant and didn’t have a vehicle that would fit this tall dresser. Sadly, I texted a photo to my husband and told him if it was still there when he got home that he should pick it up. (And he totally would have but my neighbor came home and saved the day; he even put it in my garage for me!)
It was in our garage for a couple of months before I could paint it. I had a hard time deciding what color to paint it. (You can see my tips for choosing furniture colors here.) I finally decided on a neutral color that I already knew I loved. I used Pot of Cream by Behr. It’s a great white paint color with just a hint of cream. I used it on my coffee table and I love that it doesn’t have a green or blue tint to it and it goes with just about everything! That’s the great thing about using neutral colors for your furniture projects.
Dresser Makeover Tutorial
Prep work: I sprayed the dresser with a mixture of bleach and water to lift oils from the surface. Using the Plaster of Paris and paint mixture I do not sand or prime the surface. But I will fill in holes with wood filler and sand that area smooth.
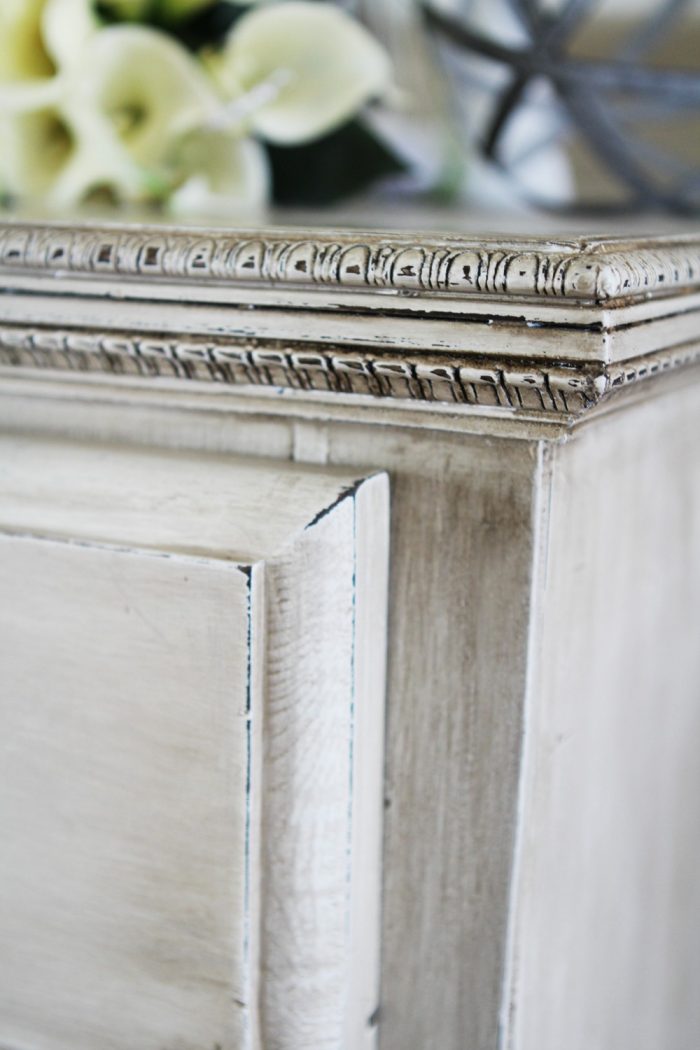
Painting: For painting furniture I like to mix Plaster of Paris with a sample size (8 oz.) container of paint to create a chalky finish paint product. There are many recipes for this type of chalky finish paint. The one I use the most is 2 Tbsp Plaster of Paris with 1 Tbsp water. You might not use the whole tablespoon of water. Mix the water into the Plaster of Paris until it’s a creamy (sour cream) consistency. Then add it to the sample of paint in the color you choose. After I have the coverage I want, typically 2-3 coats, I sand the surface smooth. I use 220 grit sandpaper or steel wool. You can also decide if you want to distress the corners and a few other areas by sanding them down.
Finishing touches: For an antique white finish I brush stain over the paint. My favorite is Minwax in Dark Walnut. It’s a little scary at first. I just brush it on with a sponge brush and then wipe it off with a disposable shop towel. Here is where you need to make another decision. If you want it to be more on the white side then you need to wax immediately. The stain will give it a warm white color and fill in the cracks and distressed areas. Or you can wait over night to put on the wax. Waiting over night will make it a tan or cream color like this dresser. I love the way the stain makes the details stand out. You can do this with dark wax too.
Right now it holds all of our games and preschool supplies and I love having those things with easy access, yet out of sight. But I feel like there’s still something missing. It had handles carved out of the bottom of each drawer but I think it could really use decorative handles to really stand out.
Which drawer pull would you choose? (These links are affiliate links)
Be sure to comment below to tell us your favorite drawer pull. Thank you for the help!
You can find more of my DIY projects and furniture makeovers on Mommy Envy and these social media sites: Facebook//Instagram//Google+//Twitter
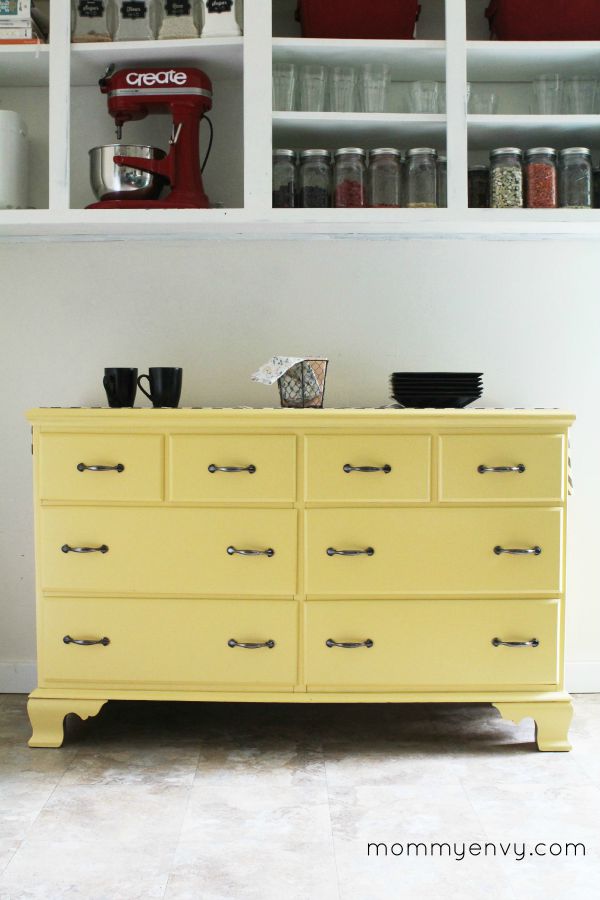
So pretty! Check out more of Jes’ pretty furniture makeovers like her yellow kitchen dresser,
and her coral kitchen hutch!


I love the medicine handles, but I think that pop of color would look awesome! And I LOVE the coral Hutch, it’s gorgeous!